View Merchants
Navigate to Reports by selecting Merchants from the navigation menu on the left. Choose the number of rows displayed by selecting a number on the Show entries dropdown list.
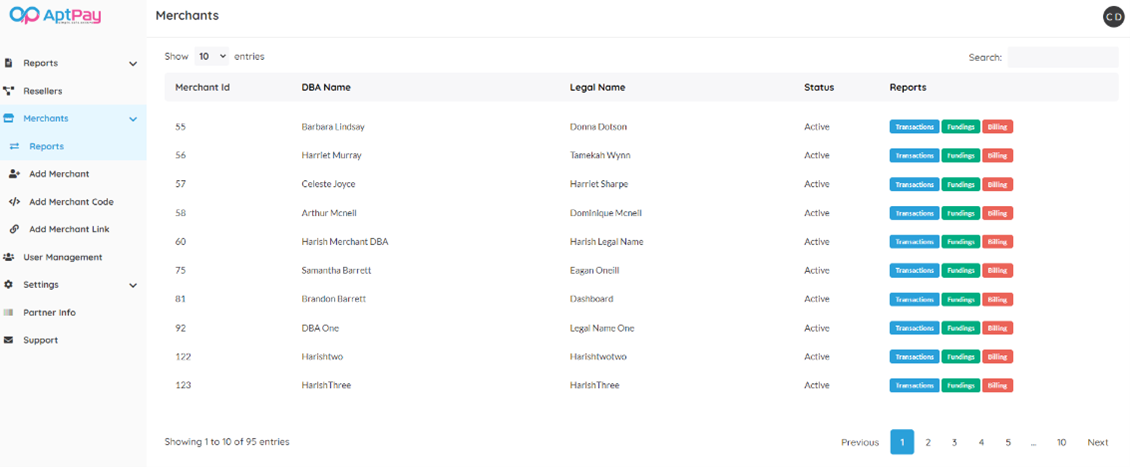
The following Fields are available for view.
| Field Name |
Description |
| Merchant ID |
Unique Merchant Identifier |
| DBA Name |
Operating name of Merchant |
| Legal Name |
Legal name of Merchant |
| Status |
Merchant status |
| Reports |
Transactions/Fundings/Billing |
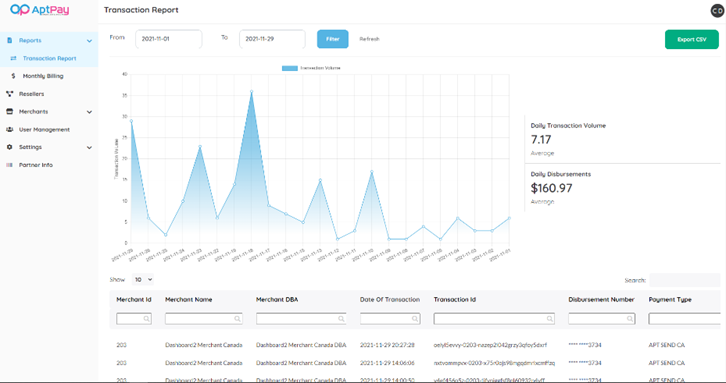
View Merchant Transaction Report
To display a transaction report for a specific Merchant, click on the Transactions button from the Reports column to navigate to the Transaction Report page.
View Merchant Funding Report
To display a funding report for a specific Merchant, click on the Fundings button from the Reports column to navigate to the Funding Report page. Select From and To date to specify funding period. Once dates have been specified, select Filter. Export the funding report by clicking the Export CSV button. To clear filter select Refresh.
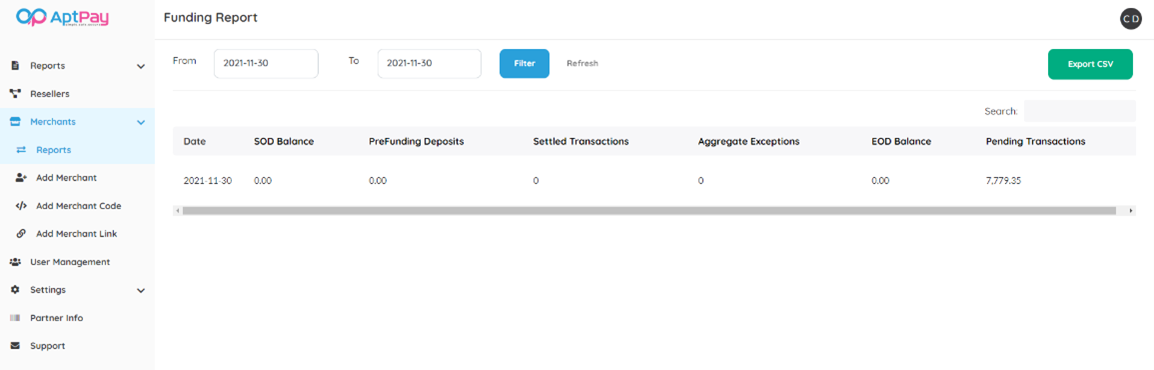
The following Fields are available for view.
| Field Name |
Description |
| SOD Balance |
Start Of the Day balance |
| PreFunding Deposits |
Balance Added |
| Settled Transactions |
Transactions completed |
| Aggregate Exceptions |
Failed Transactions |
| EOD Balance |
End Of the Day balance |
| Pending Transactions |
Transactions pending |
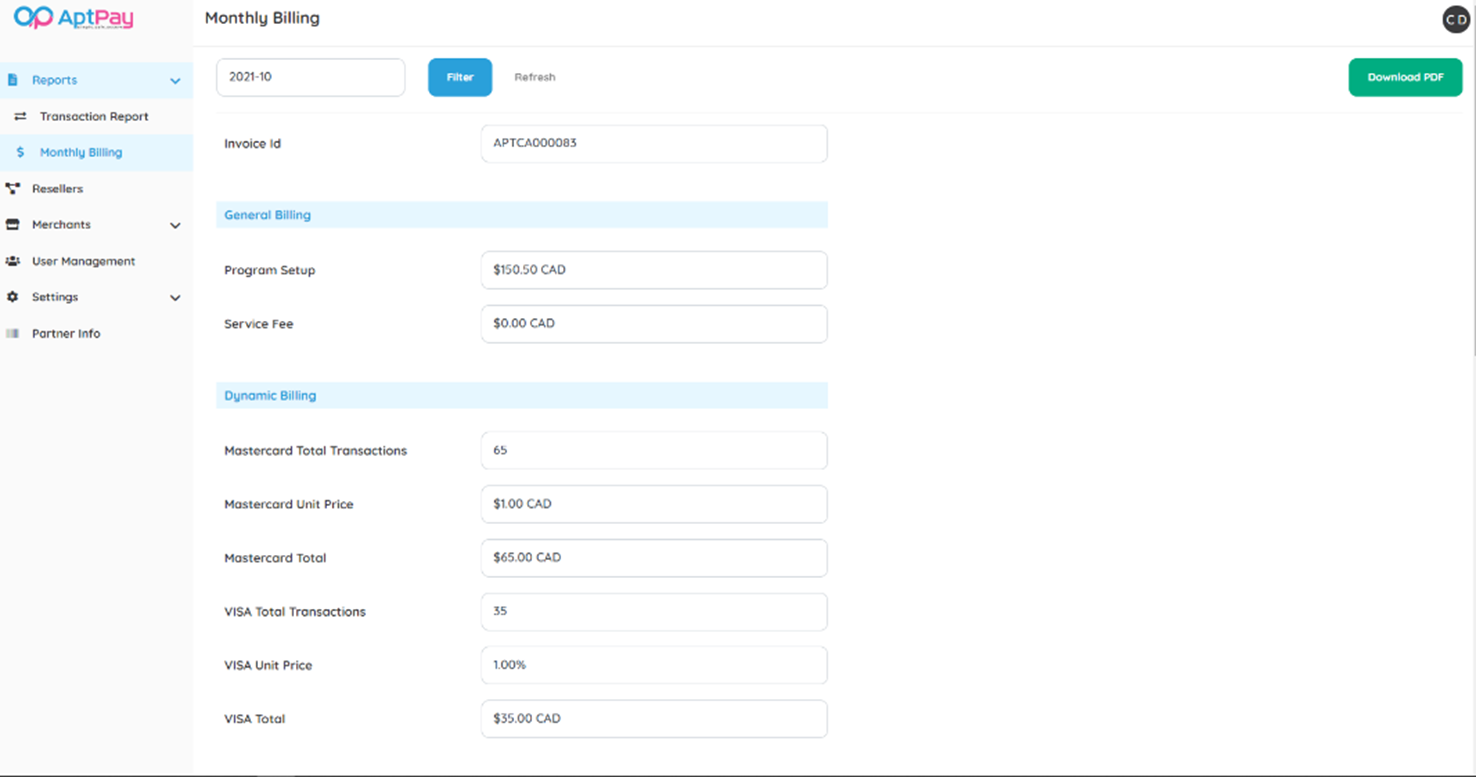
View Merchant Billing Report
To display a monthly billing report for a specific Merchant, click on the Billing button from the Reports column to navigate to the Monthly Billing page.
Add Merchant

Navigate to Add Merchant by selecting Merchants drop-down list from the navigation menu on the left. Click on the Let’s Get Started button at the bottom of the page.
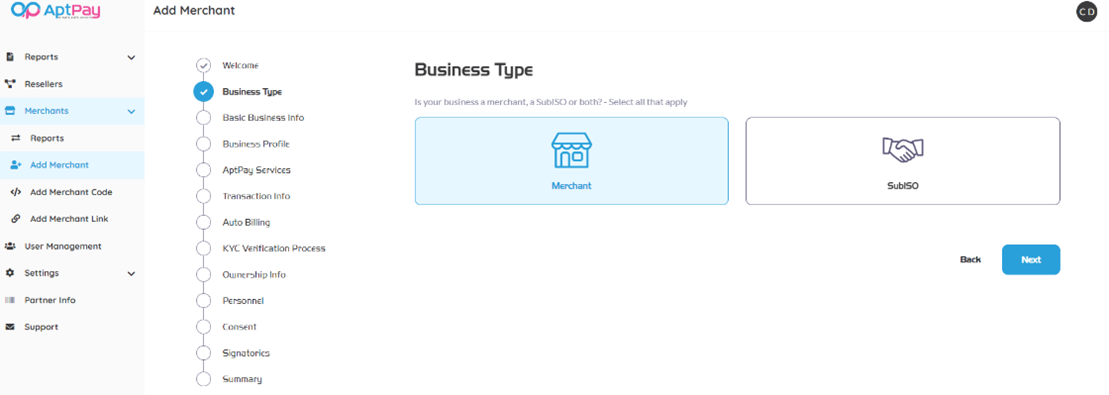
Select Business Type from options (select all that apply). After selection, click on the Next button to proceed to the Basic Business Info page.
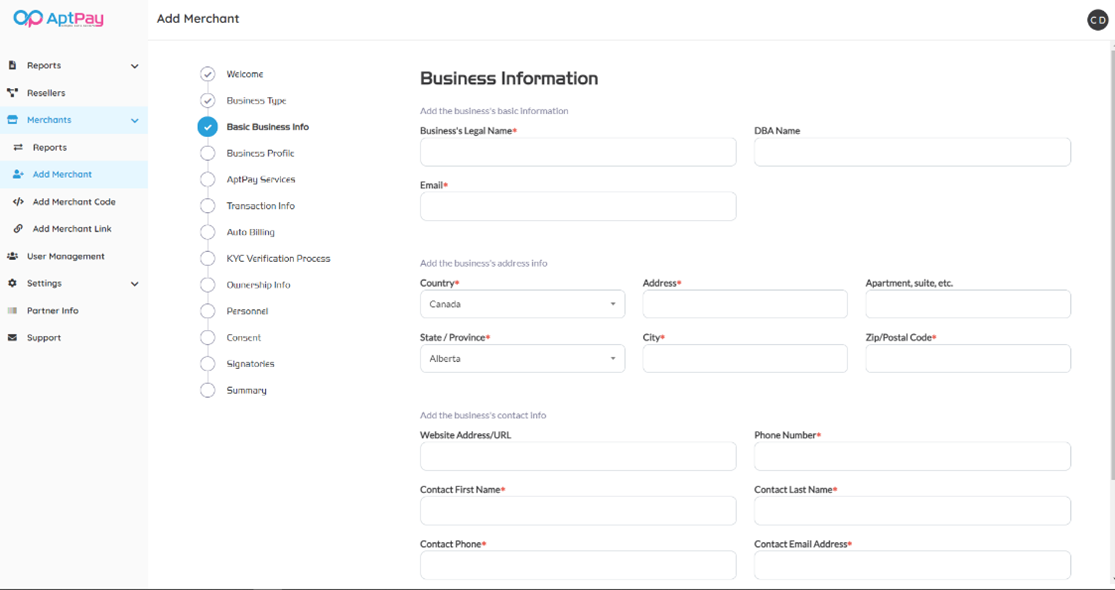
Enter Business Information as specified on the form. All fields with * are mandatory and must be completed to proceed. Once information is completed click on the Next button to proceed to the Business Profile page.
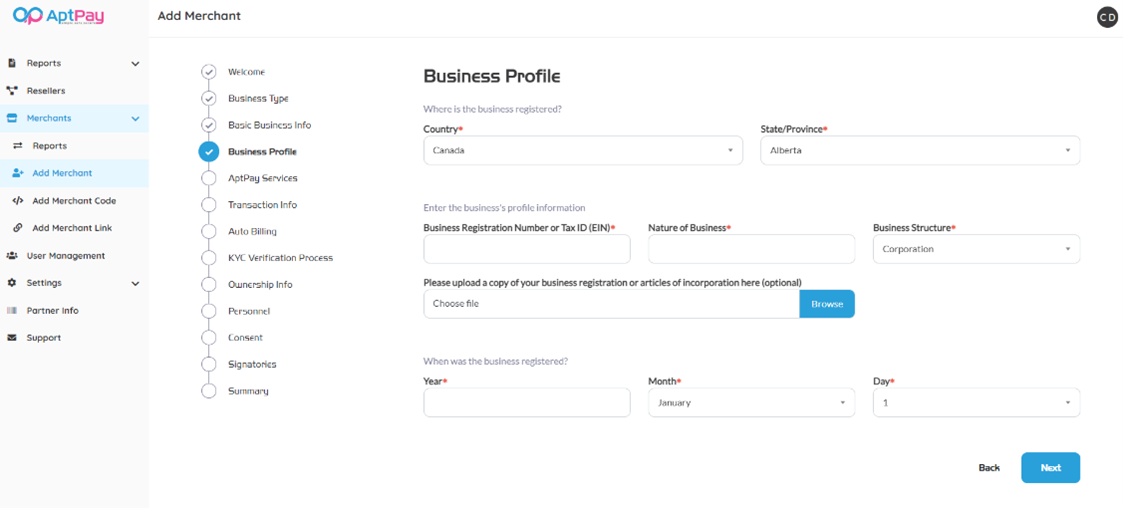
Enter Business Profile information as specified on the form. All fields with * are mandatory and must be completed to proceed. Once information is completed click on the Next button to proceed to the AptPay Services page.
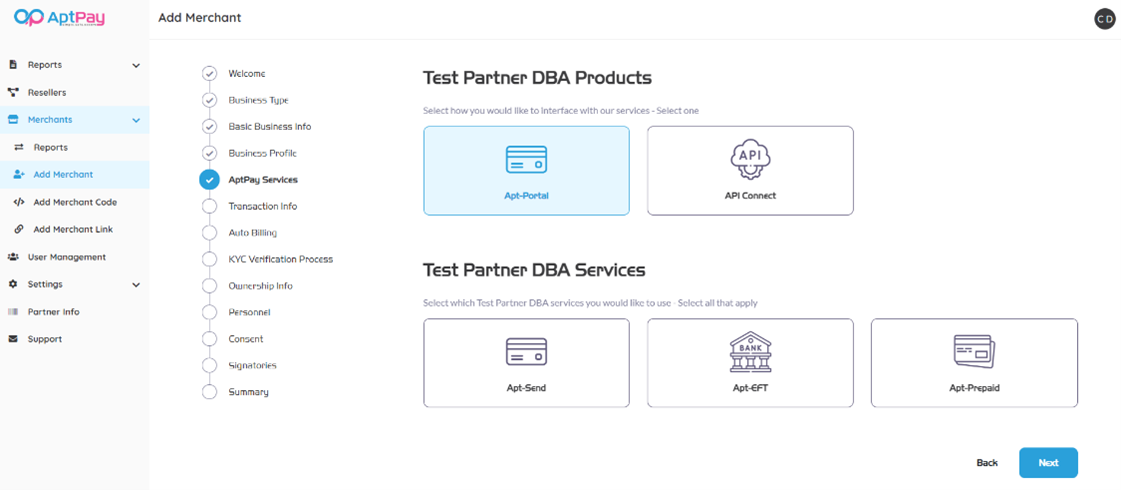
Select Partner Products from options. Then select Partner Services from options (select all that apply). After selection, click on the Next button to proceed to the Transaction Info page.
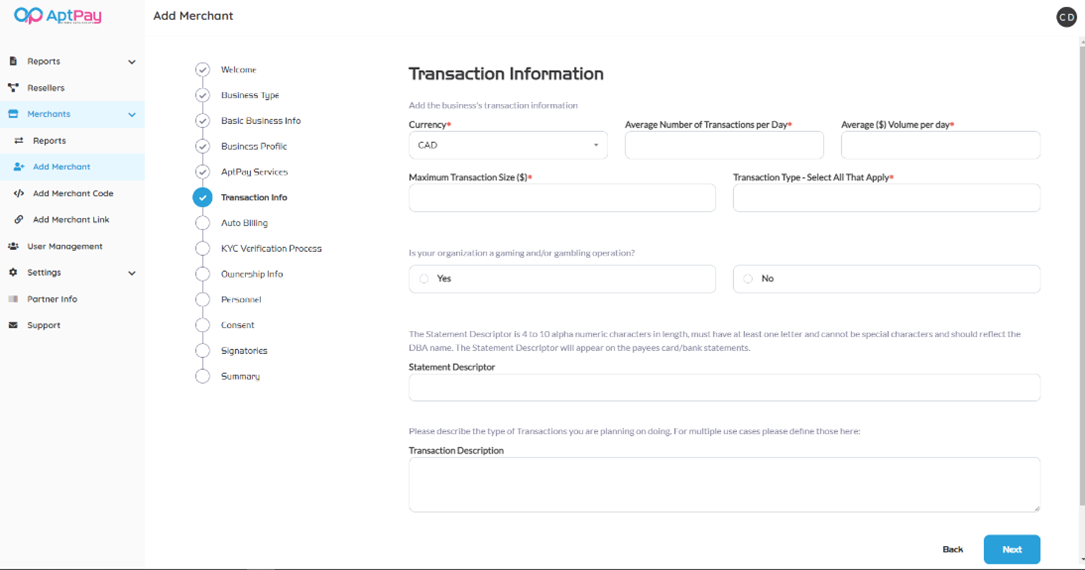
Enter Transaction Information as specified on the form. All fields with * are mandatory and must be completed to proceed. Once information is completed click on the Next button to proceed to the Auto Billing page.
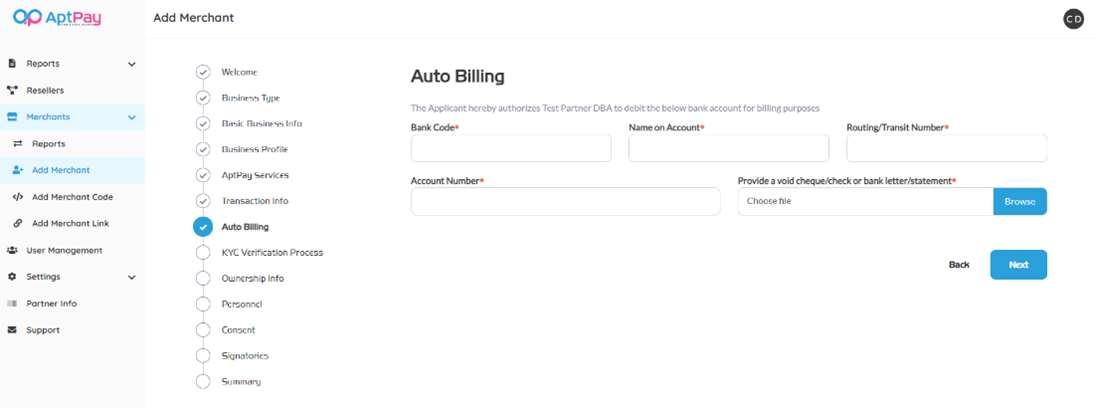
Enter Auto Billing information as specified on the form. All fields with * are mandatory and must be completed to proceed. Once information is completed click on the Next button to proceed to the KYC (Know Your Customer) Verification Process page.
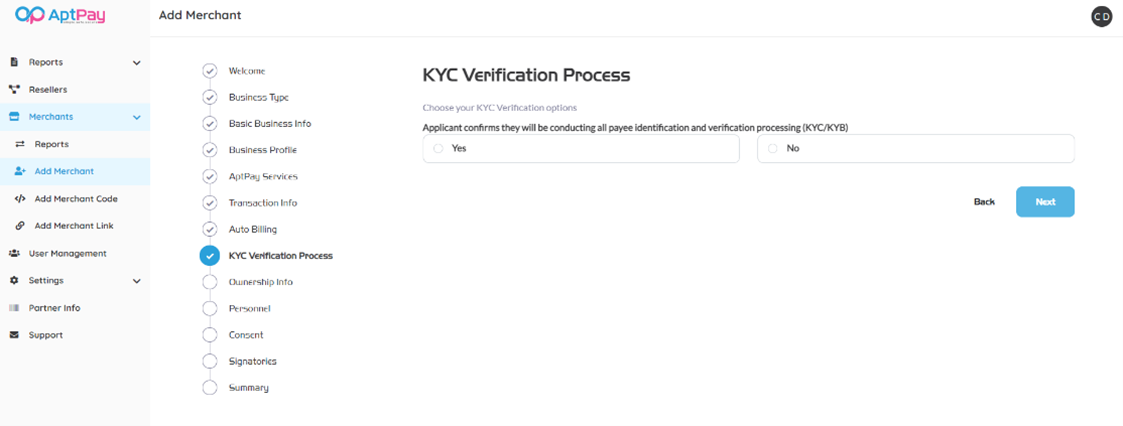
Confirm KYC (Know Your Customer) Verification process and click on the Next button to proceed to the KYC (Know Your Customer) Verification Compliance page.
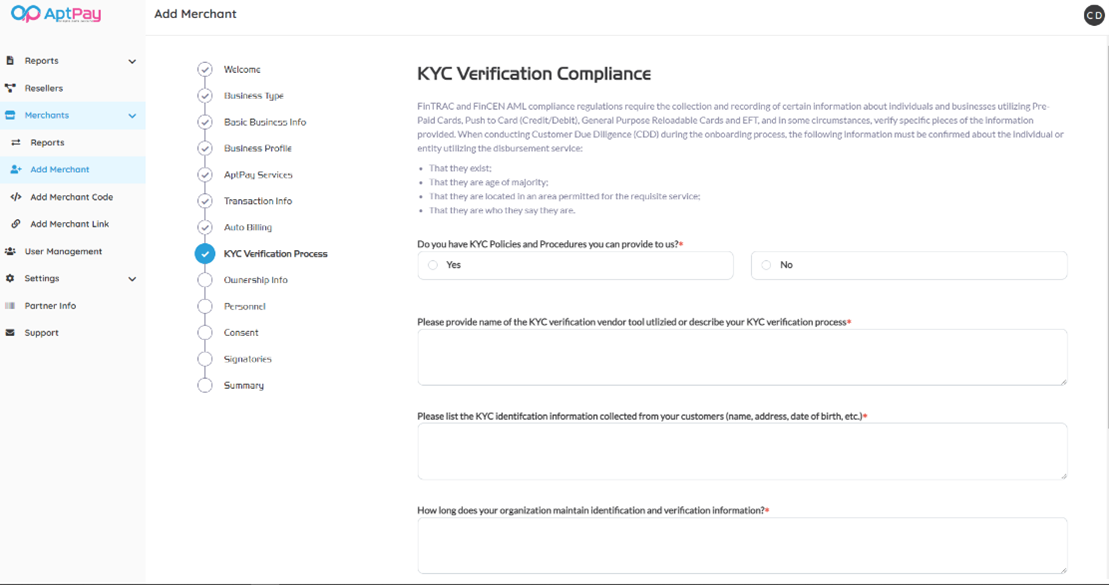
Enter KYC (Know Your Customer) Verification Compliance information as specified on the form. All fields with * are mandatory and must be completed to proceed. Once information is completed click on the Next button to proceed to the Ownership Info page.
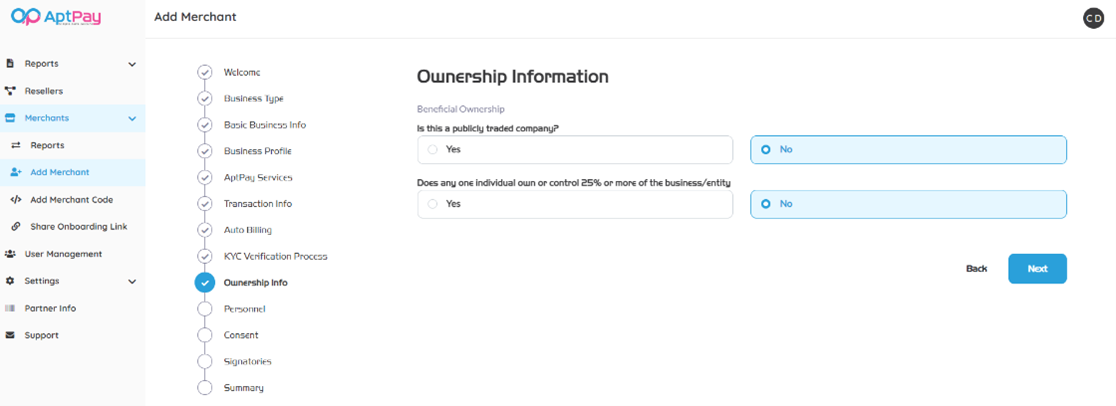
Confirm Ownership Information as specified on the form. All fields with * are mandatory and must be completed to proceed. Once information is completed click on the Next button to proceed to the Personnel page.
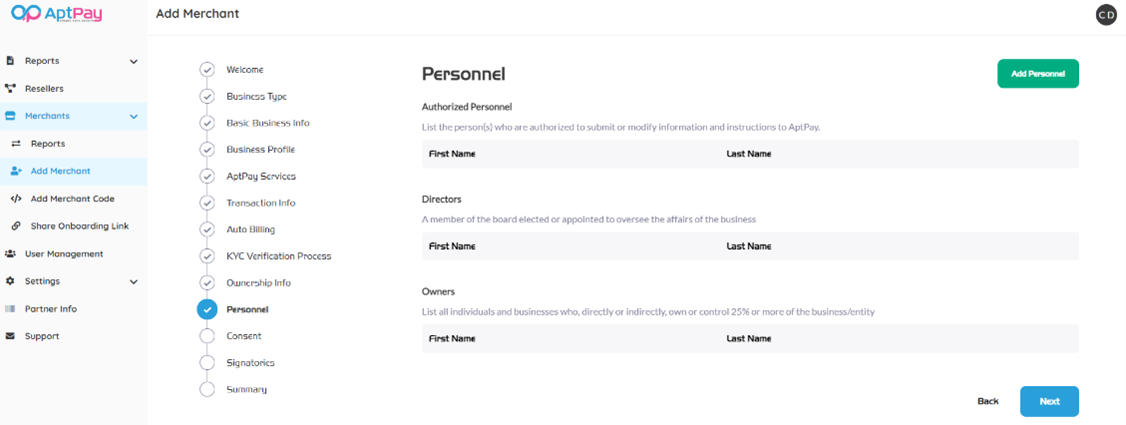
To add personnel, click on Add Personnel button located at the top right of the page.
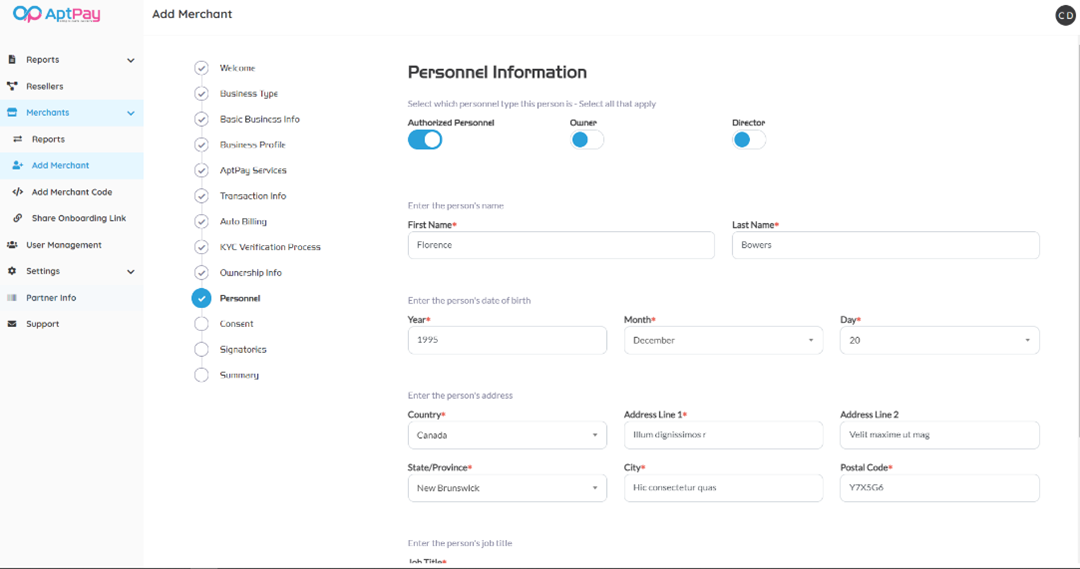
Select personnel type (select all that apply) and enter personnel information as specified on the form. All fields with * are mandatory and must be completed to proceed. Once information is completed click on the Save button to add new personnel.
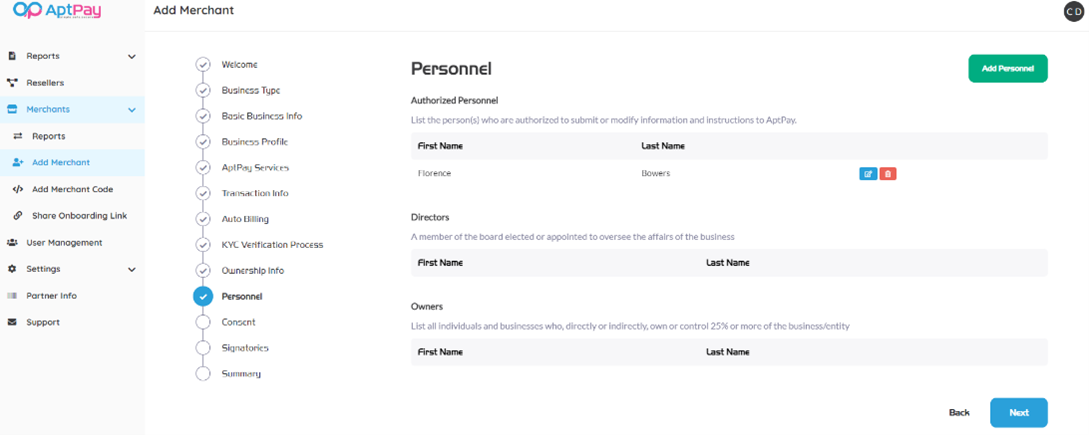
To edit added personnel, click on the blue edit icon located to the right of the personnel Last Name. Update personnel information as needed and click on the Save button to save updated personnel information.
To delete added personnel, click on the red trash can icon located to the right of the Edit icon.
Once all personnel have been added, click on the Next button to proceed to the Consent page.
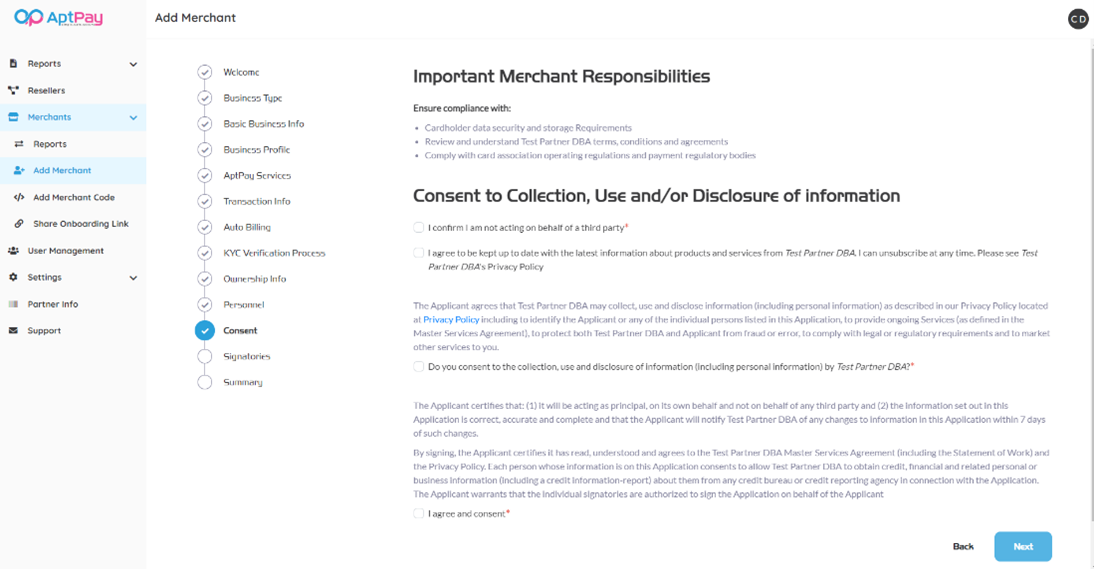
Read the Consent page thoroughly and provide consent to the collection, use and disclosure of information by marking the required statements checked. All fields with * are mandatory and must be completed to proceed. Once statements have been checked, click on the Next button to proceed to the Signatories page.
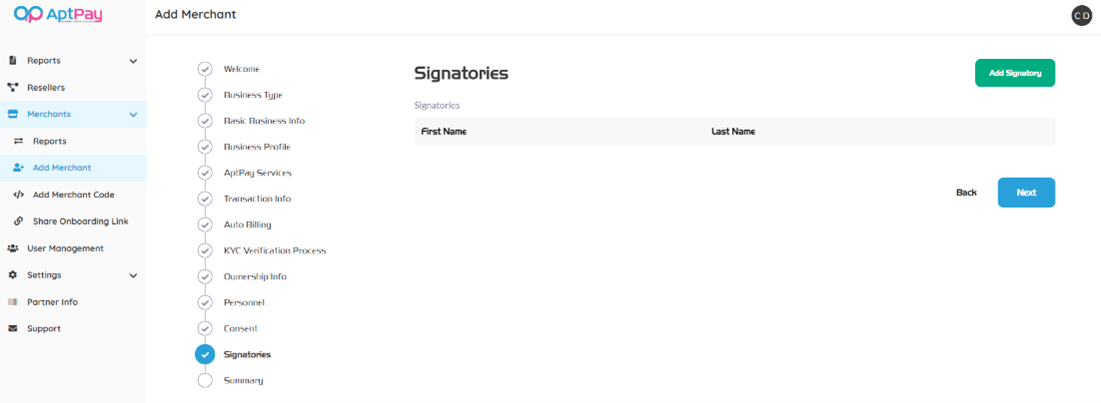
To add a signatory, click on Add Signatory button located at the top right of the page.
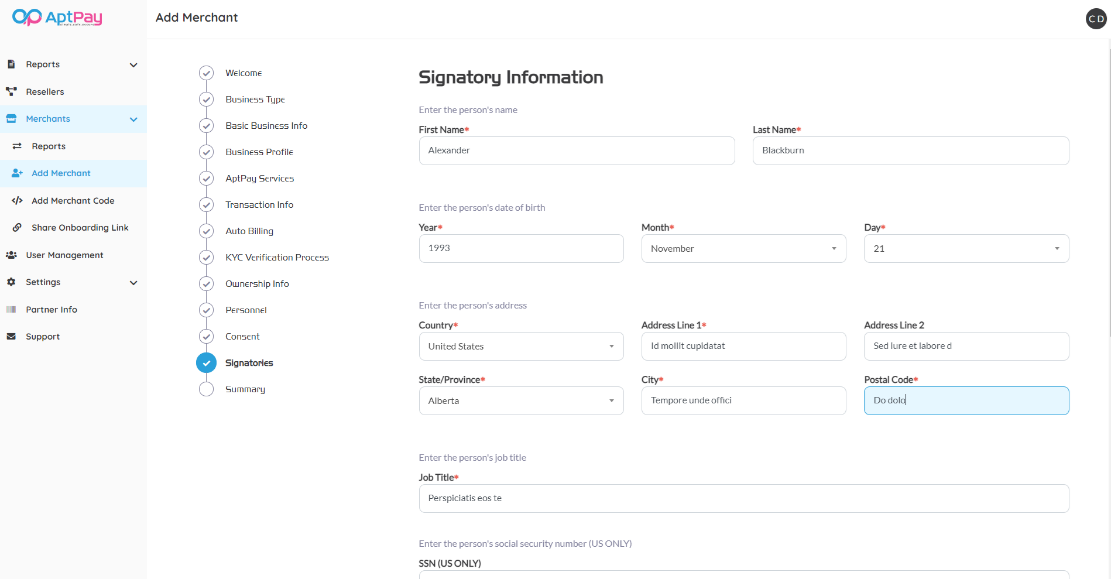
Enter Signatory information as specified on the form. All fields with * are mandatory and must be completed to proceed. Once information is completed click on the Save button to add a new signatory.
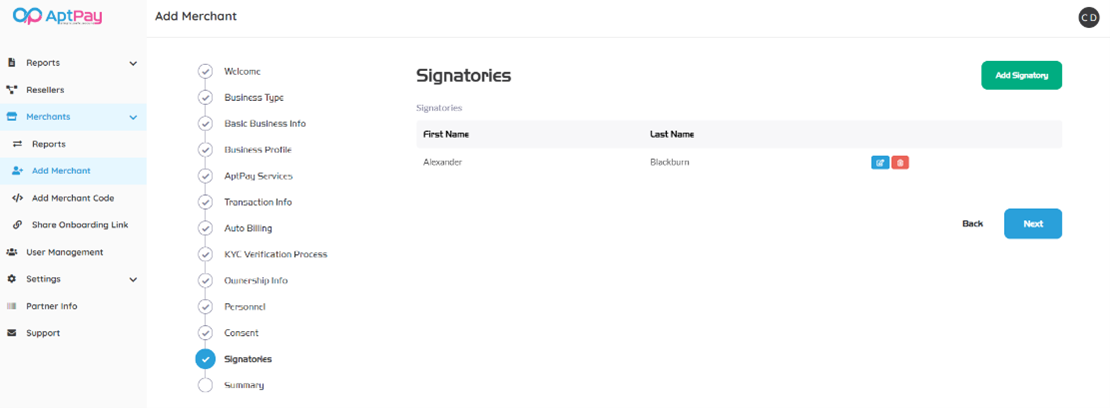
To edit added Signatories, click on the blue edit icon located to the right of the signatory Last Name. Update signatory information as needed and click on the Save button to save updated signatory information.
To delete added signatories, click on the red trash can icon located to the right of the Edit icon. Once all signatories have been added, click on the Next button to proceed to the Summary page.
Review all the information entered and ensure information is accurate. Make any necessary changes before submitting the form. When ready to submit, click on the Submit button to add a new Merchant. Message will confirm that Merchant Onboarding Request has been successfully submitted.