There are a multitude of options available to receive payments regardless of the Role assigned to the account. Listed here are outlines of what is possible in the Receive Payments portal.
Navigating the Receive Payments Portal Dashboard
Receive Payments
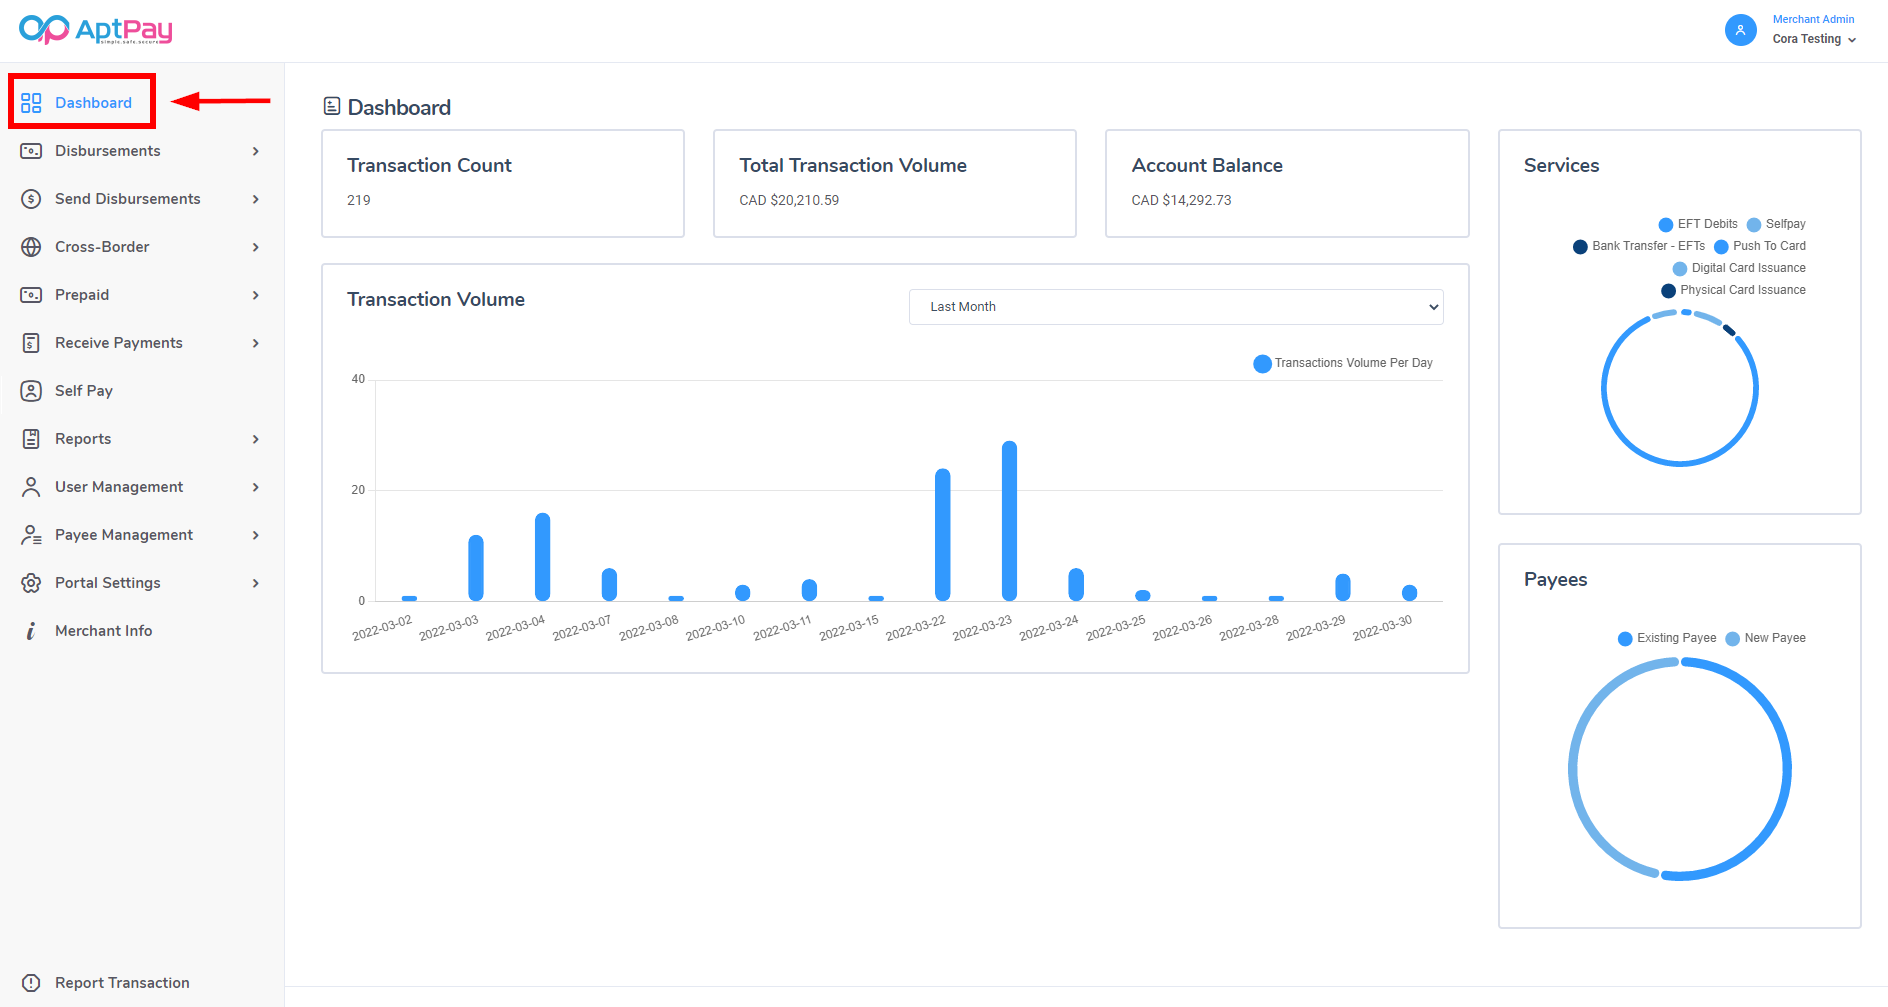
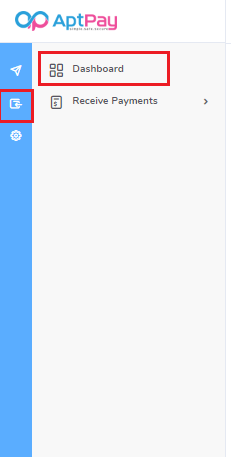
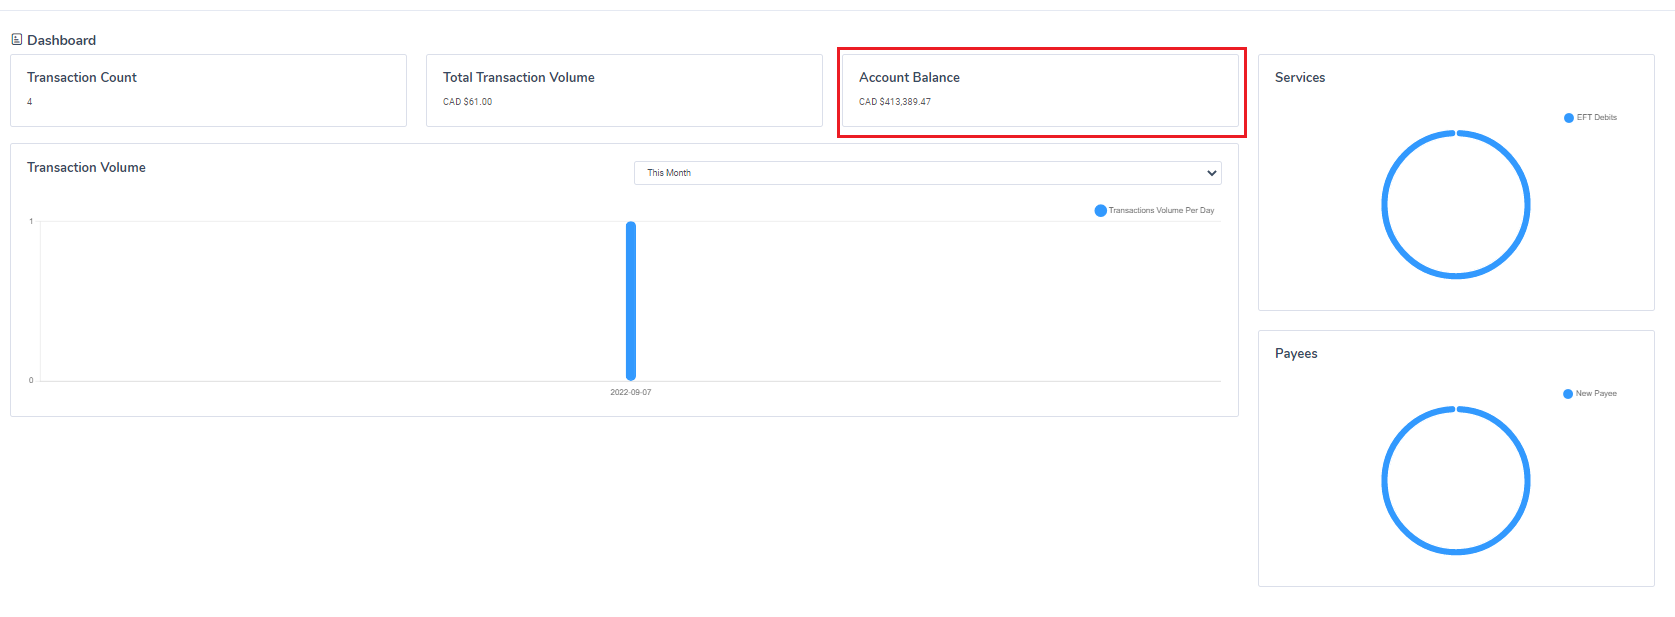
The Receive Payments dashboard is a powerful tool that offers a robust array of information, segmented into numerous metrics. The dashboard can be accessed by clicking the Receive option in the upper-left corner of the portal and then clicking on the Dashboard function.
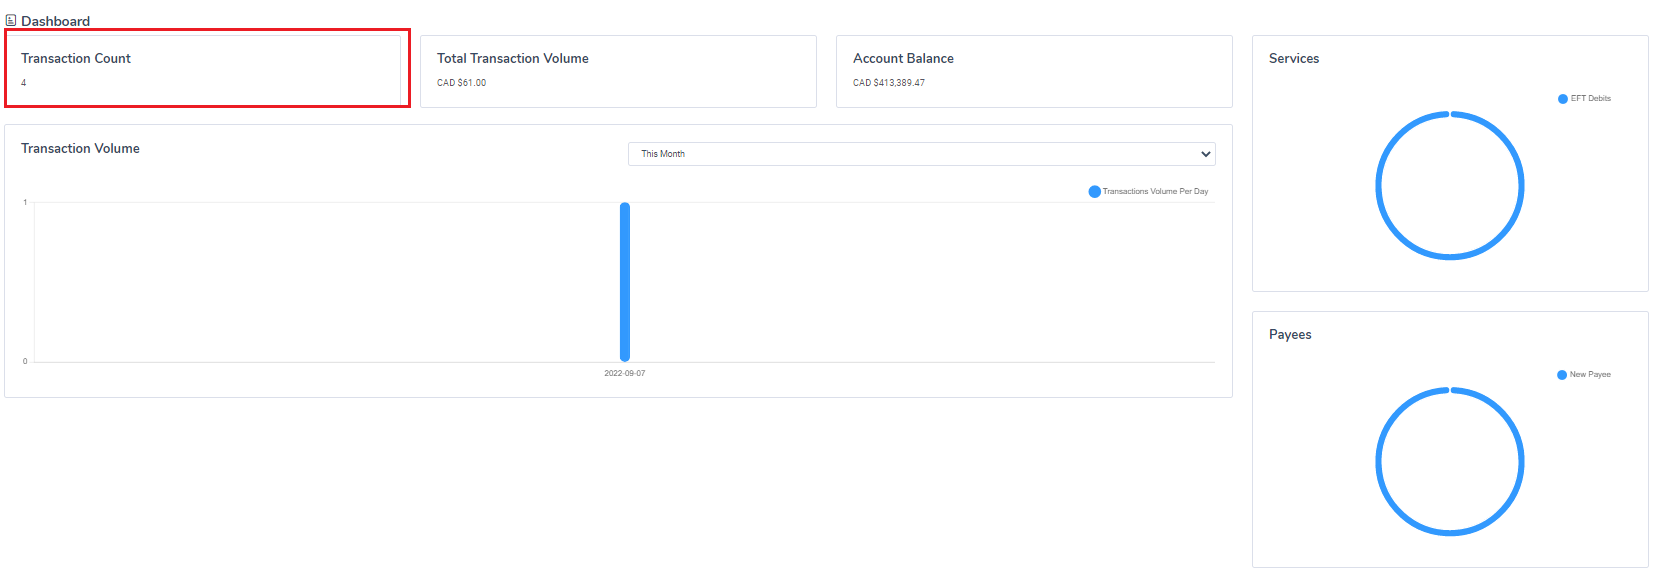
Transaction Count - The transaction count is the number of transactions completed during the indicated period.
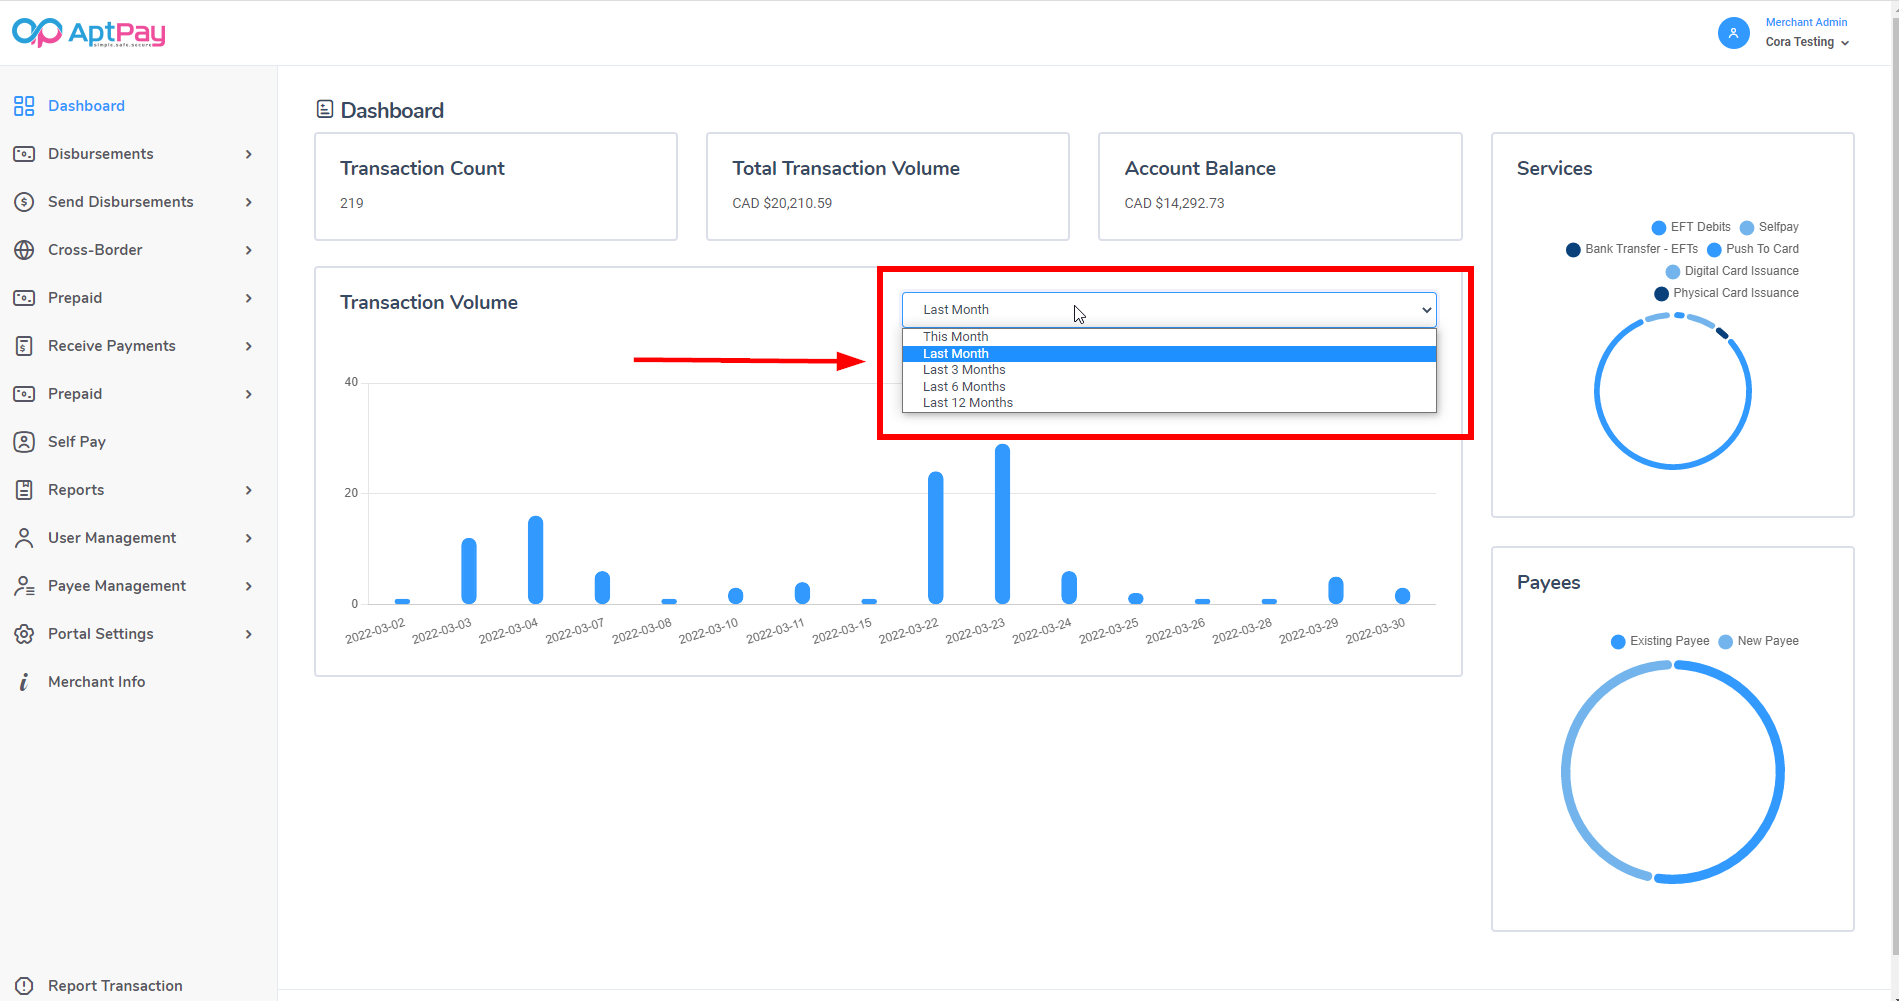
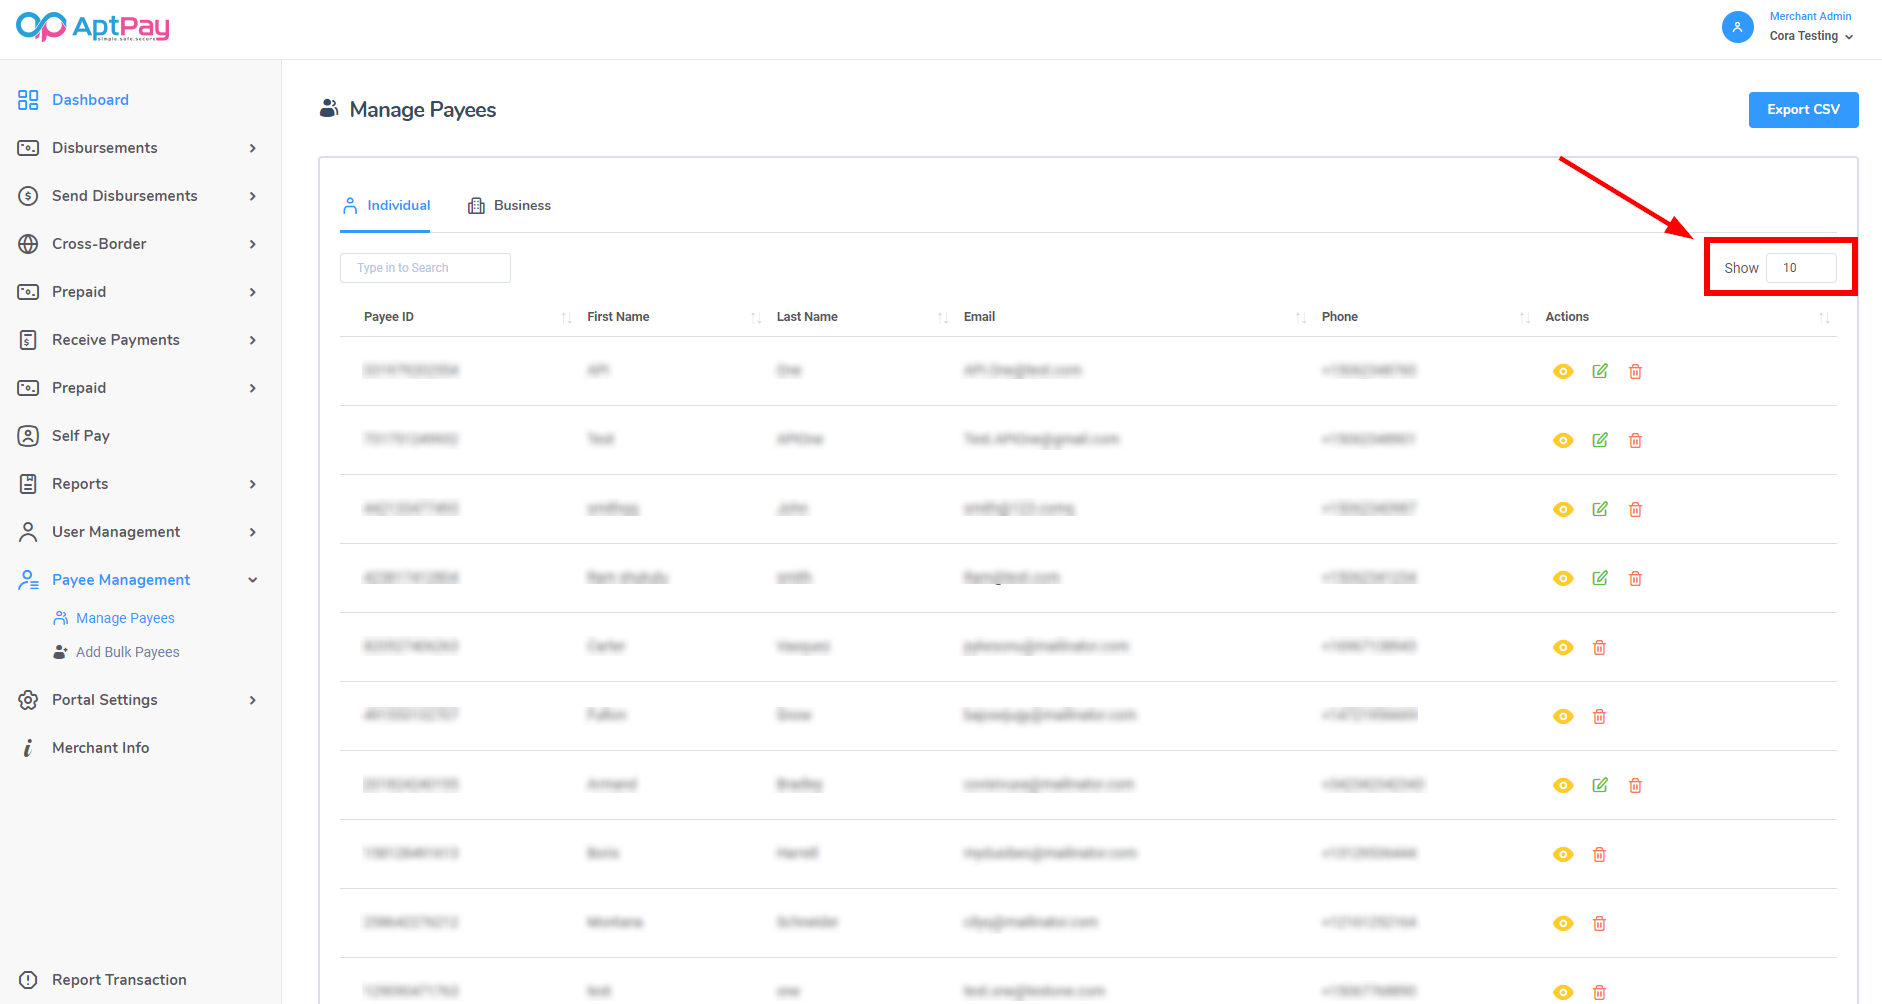
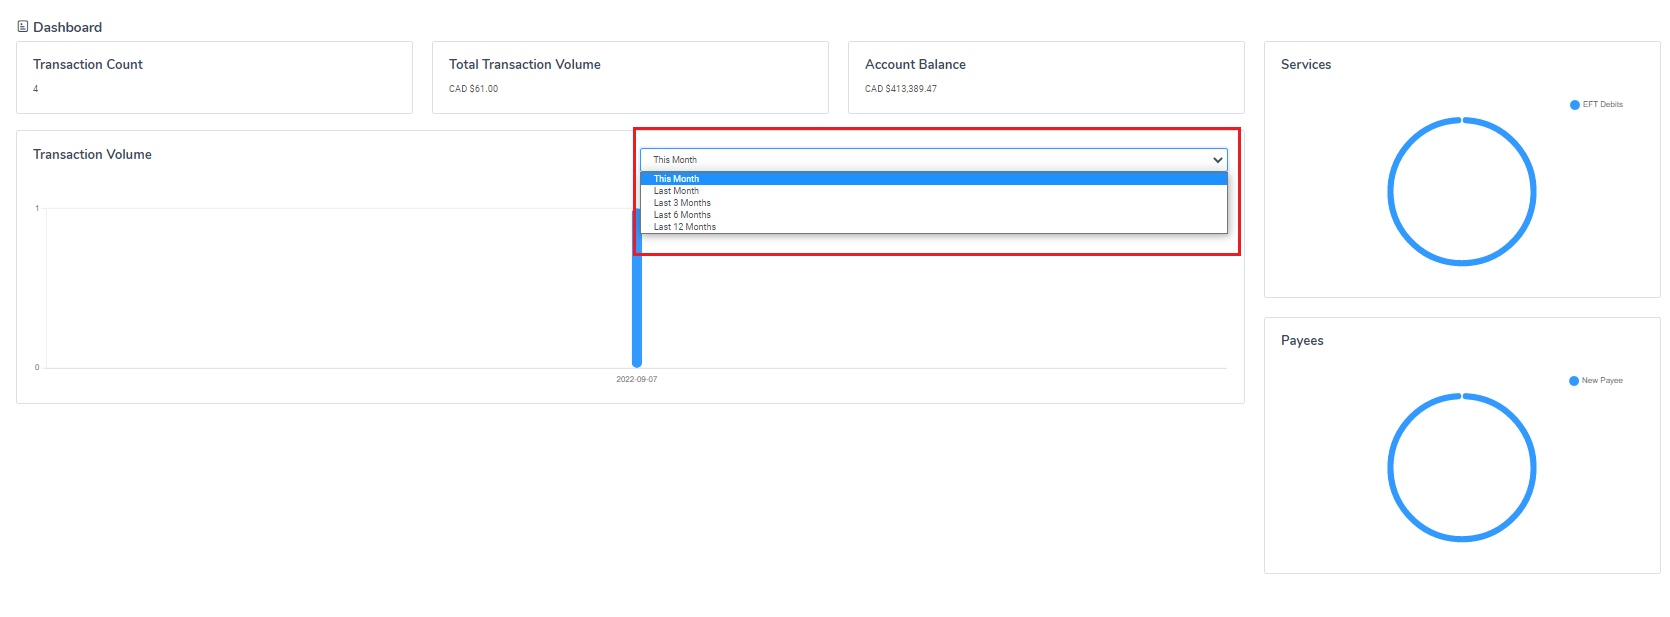
You can change this information by changing the transaction volume period value in the drop-down.
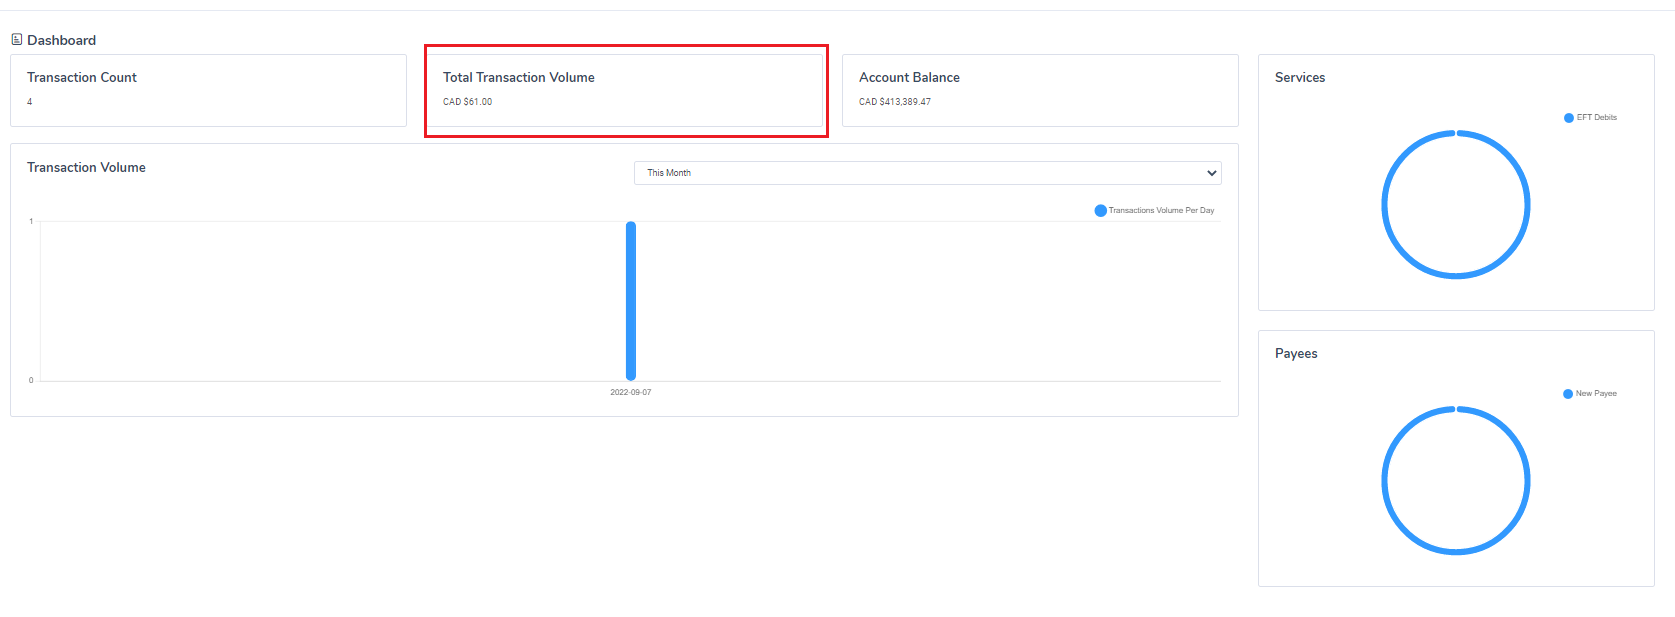
Total Transaction Volume - The total transaction volume is the total value of transactions, in dollars, for the selected pay period.
Account Balance - The account balance metric measures the overall merchant balance for the selected pay period.
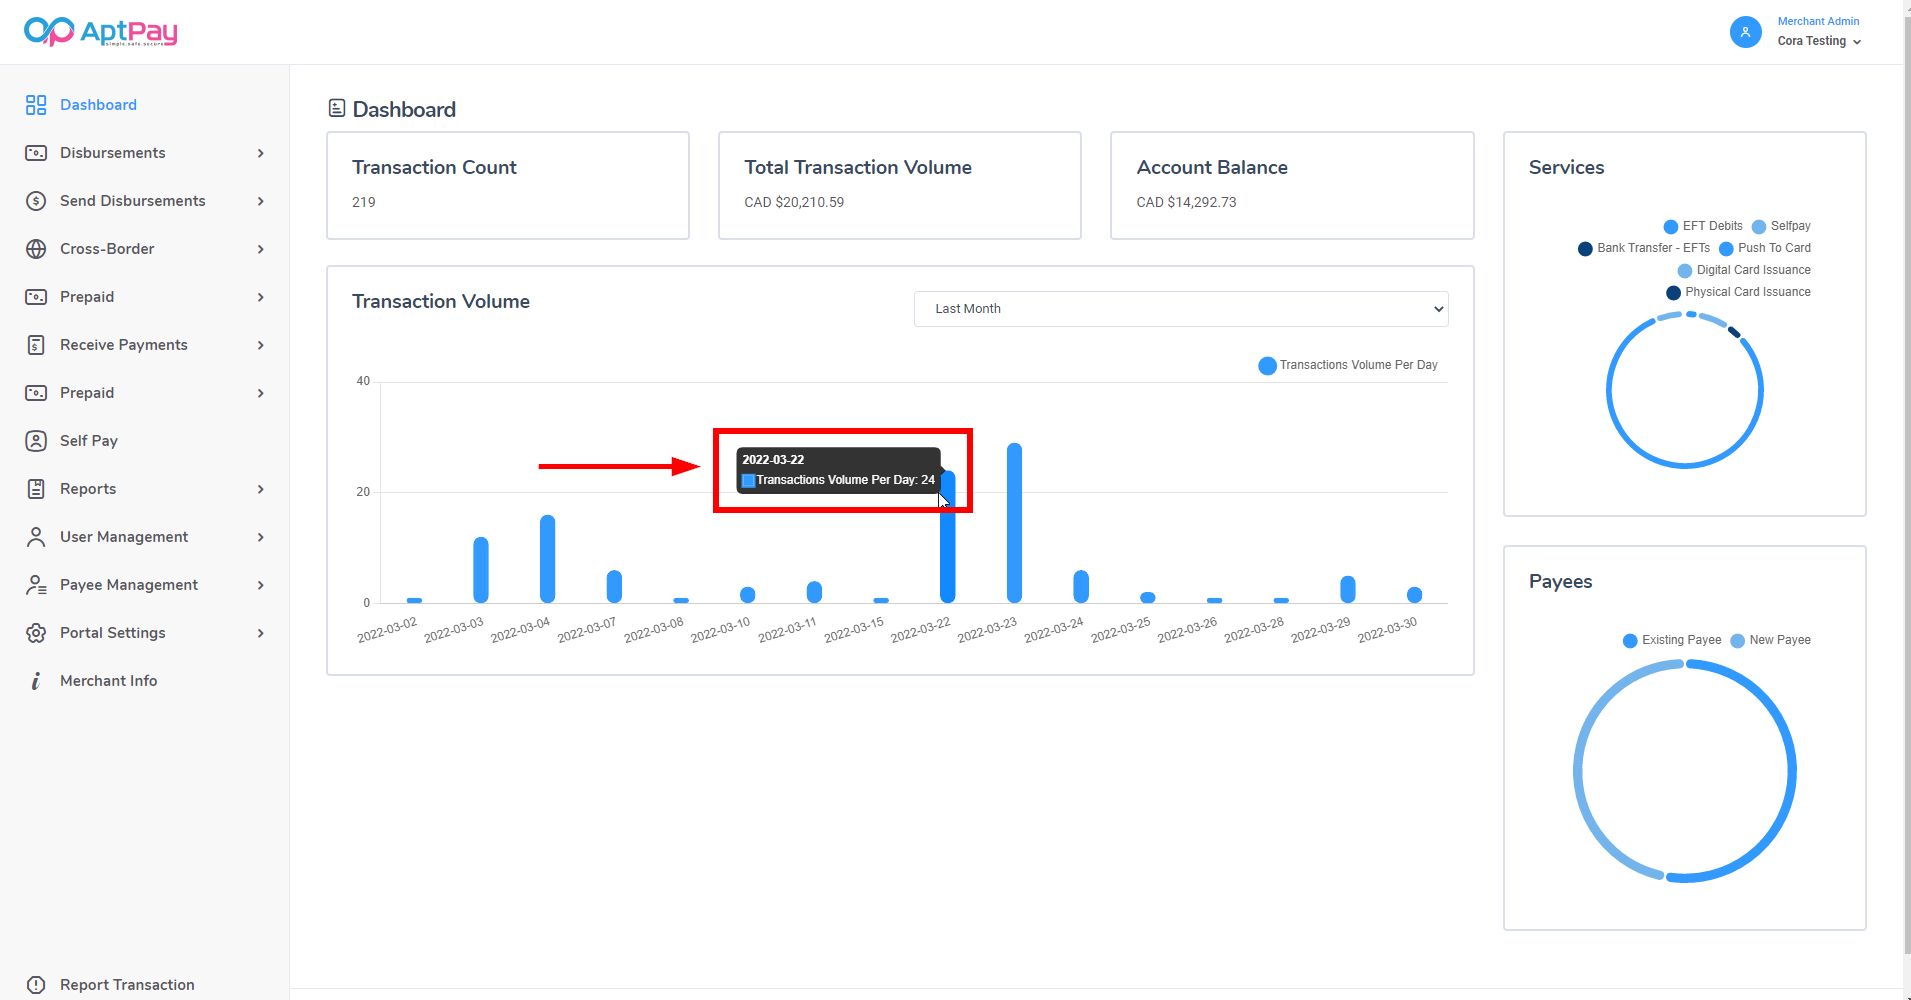
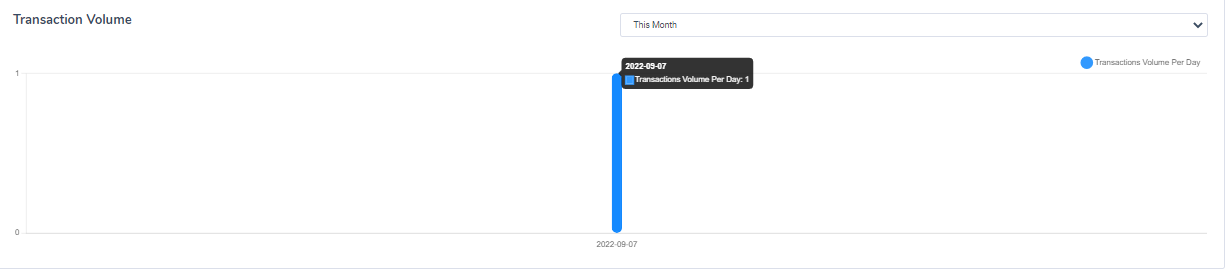
Transactional Volume - This displays the total number of transactions completed during the specified pay period. You can see a numeric value displayed for the day by hovering over the bar on the graph.
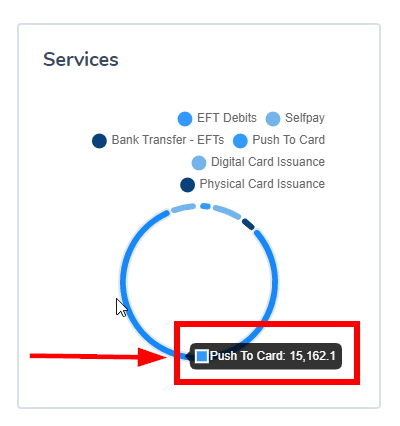
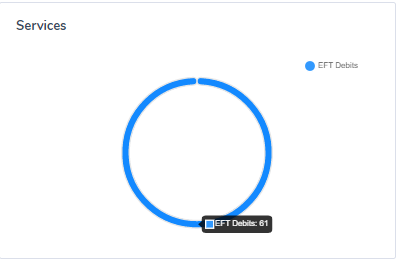
Services - This is a graph that displays the total number of transactions, in dollars, processed during the selected pay period. You can also see the total dollar amount processed by transactions listed by service. This information is in the circle graph labeled services in the upper right corner.

Highlighting a specific segment of the circle graph will display the type of service utilized.
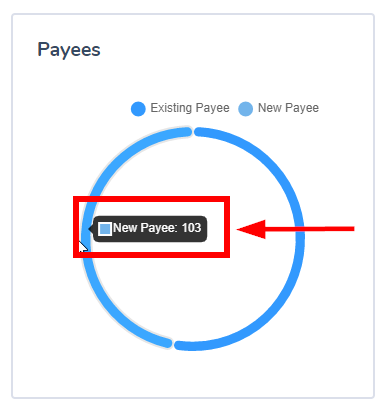
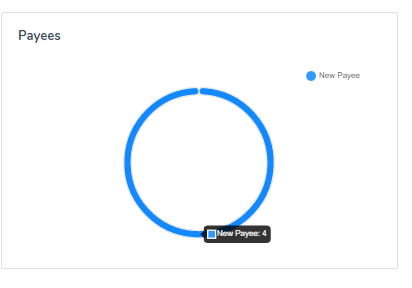
Payees- This graph projects the number of transactions performed by all payees during the selected pay period. Payee information is displayed as a circle graph in the bottom right corner.
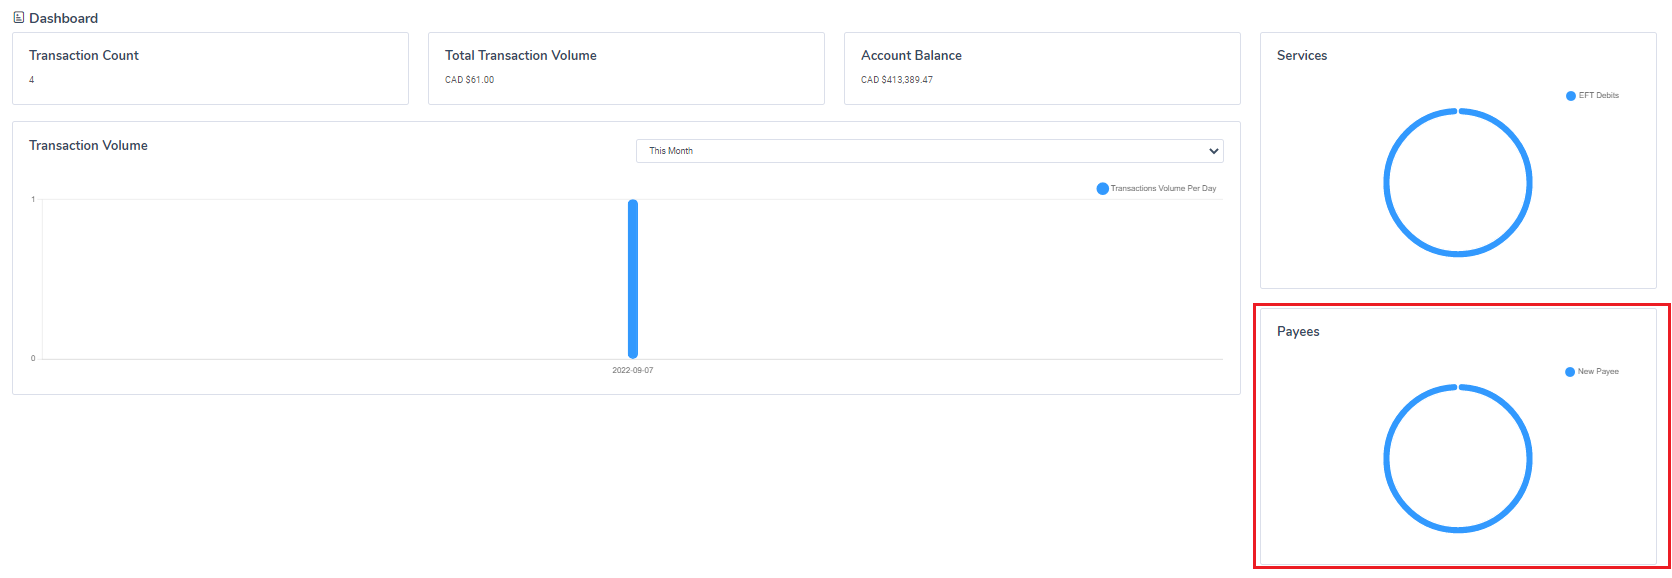
You can view the number of transactions actioned by each payee group by highlighting the segment of the circle graph associated with each group.
Receiving Payments Through the Receive Payments Portal
Receive Payments
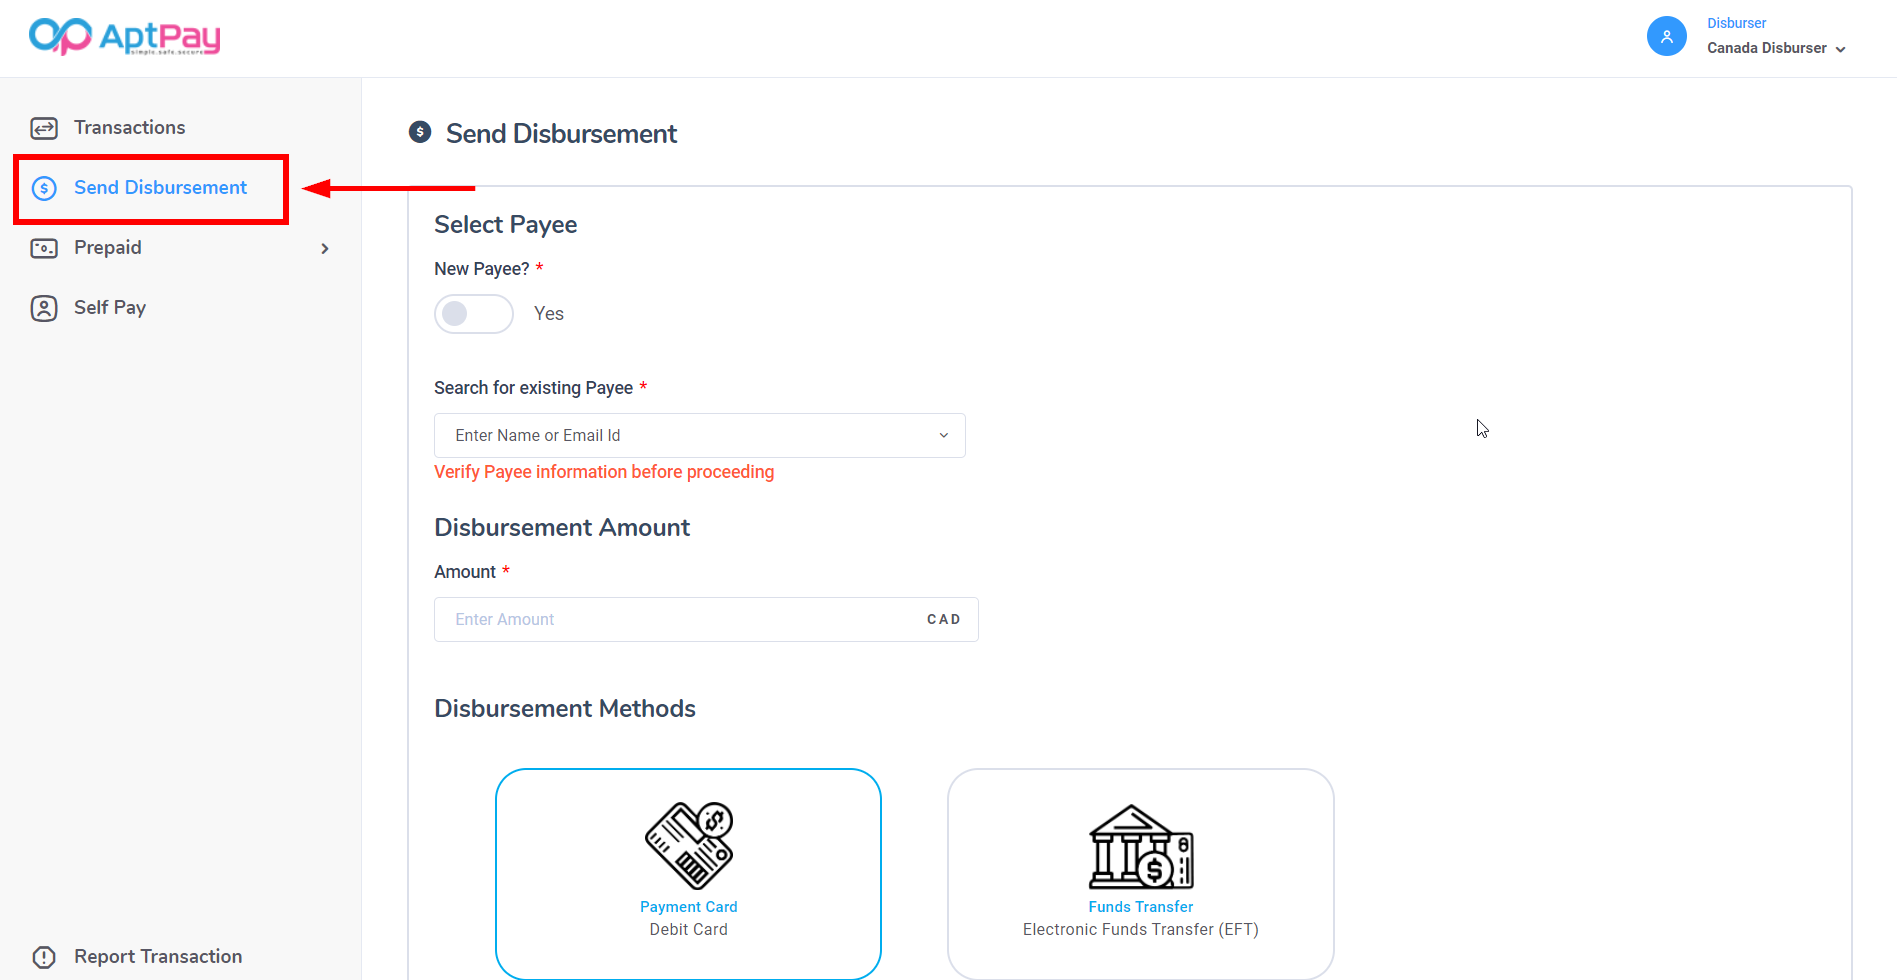
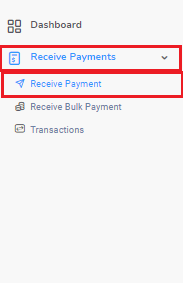
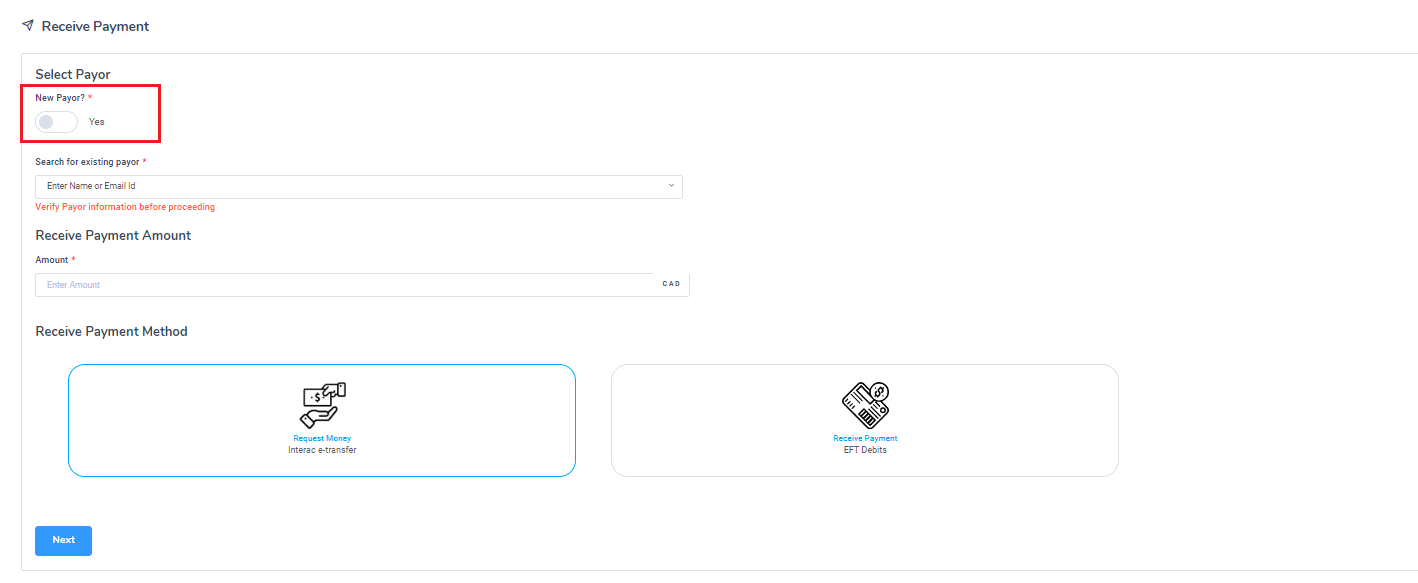
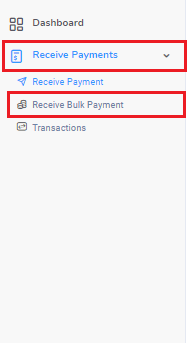
You can request payments through the AptPay portal. To do so, click on the Receive Payments drop-down and select Receive Payment.
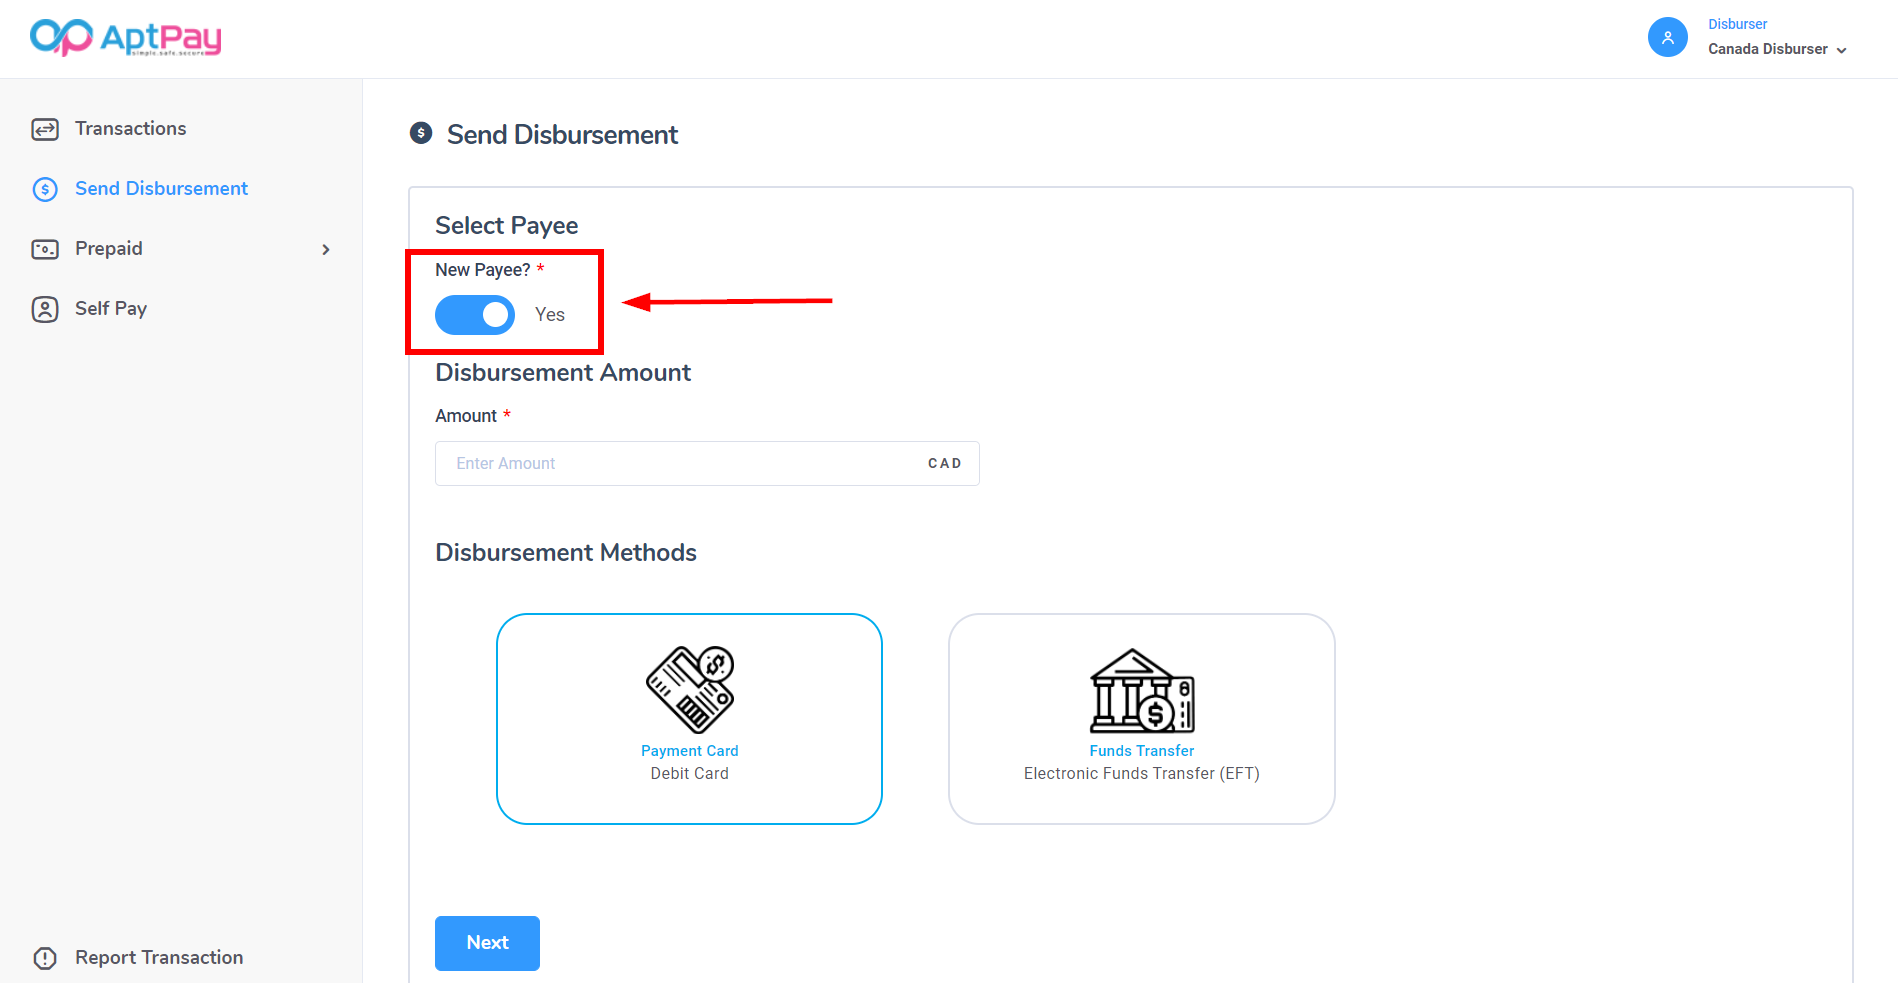
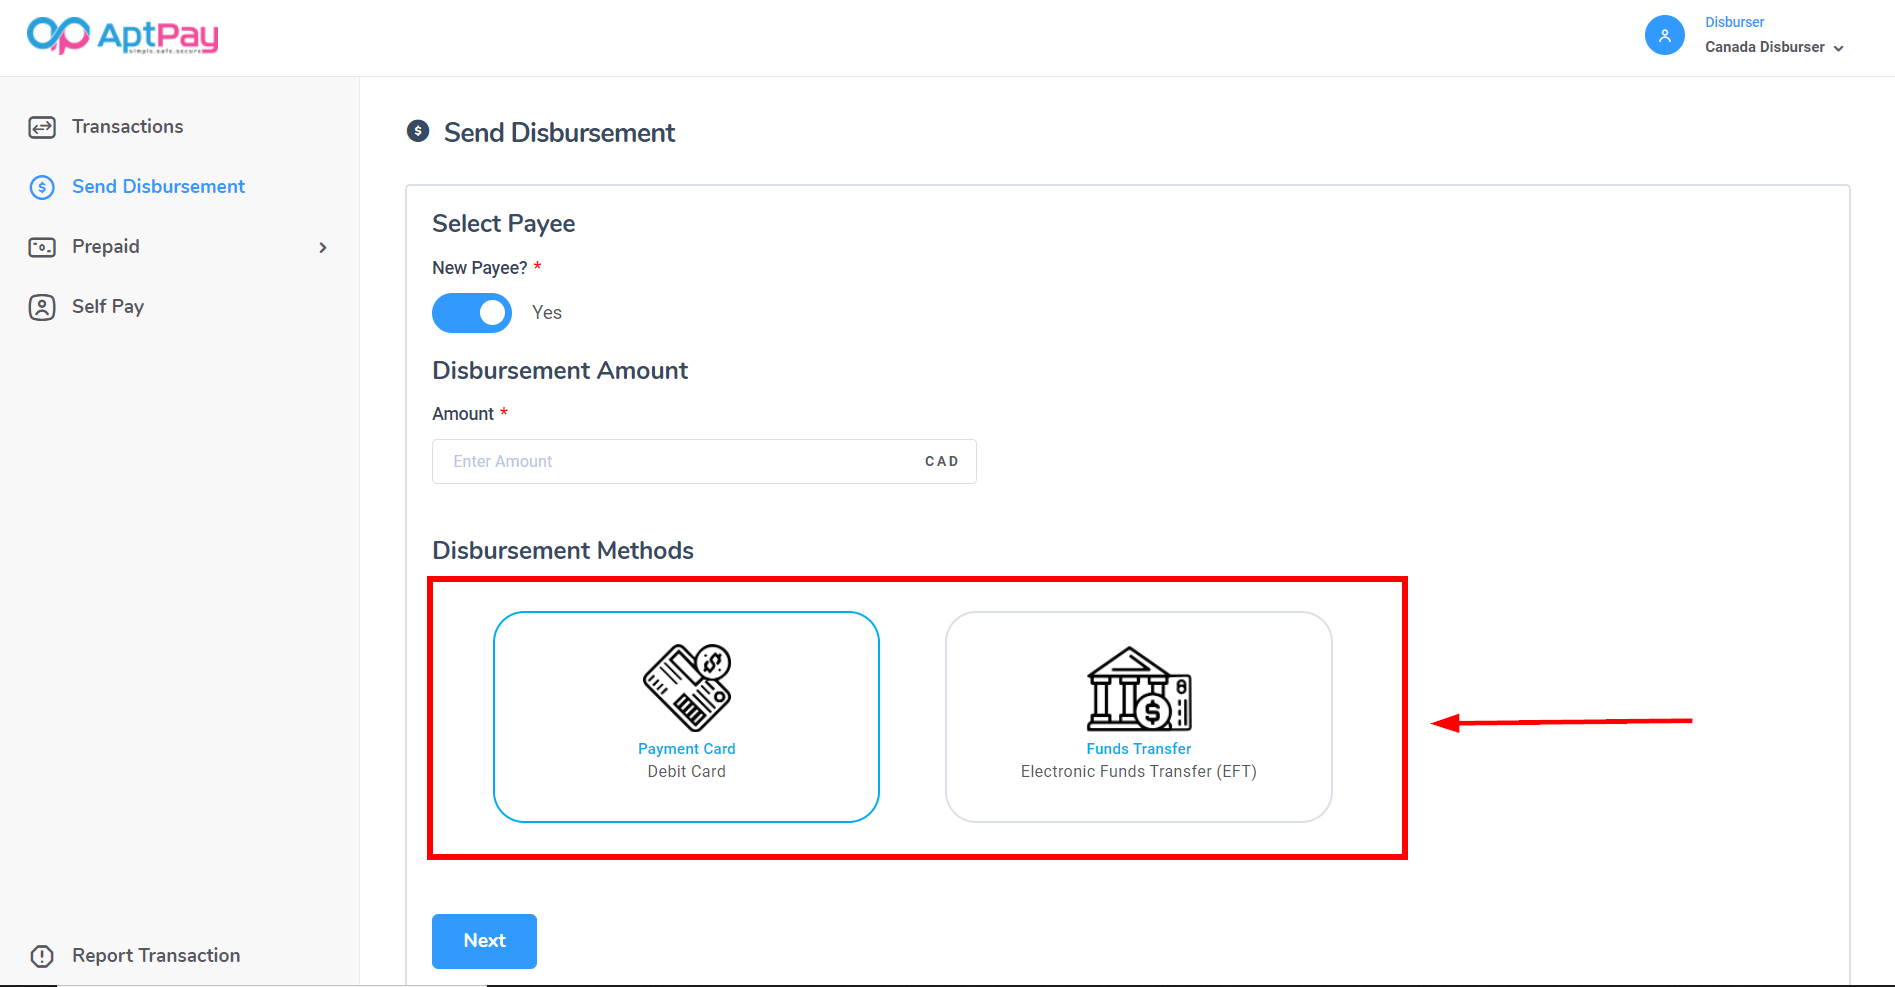
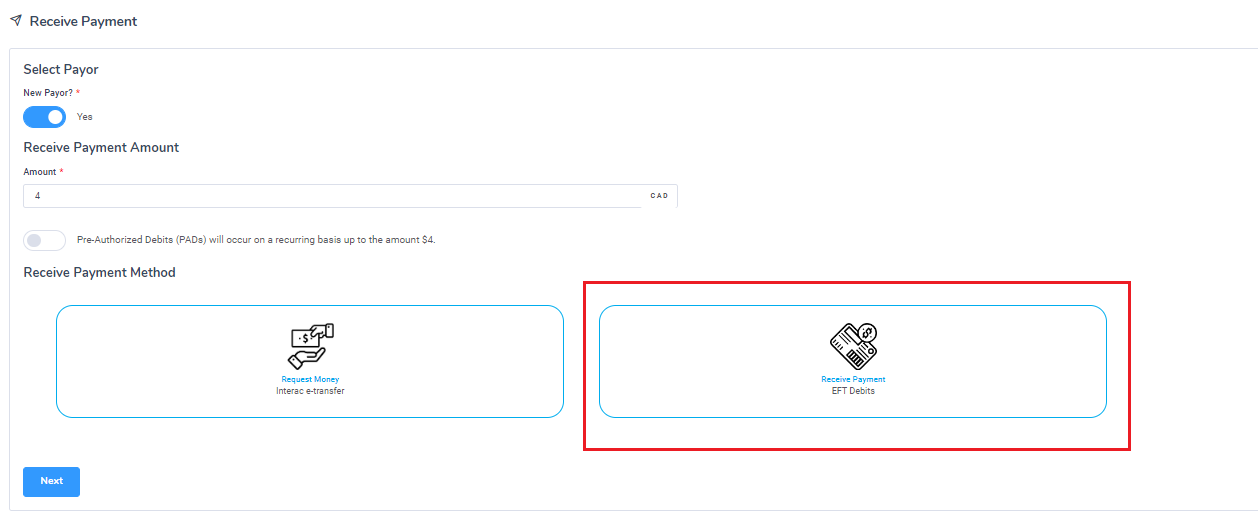
New Payor
If this is a new payer, click on the New Payor switch.
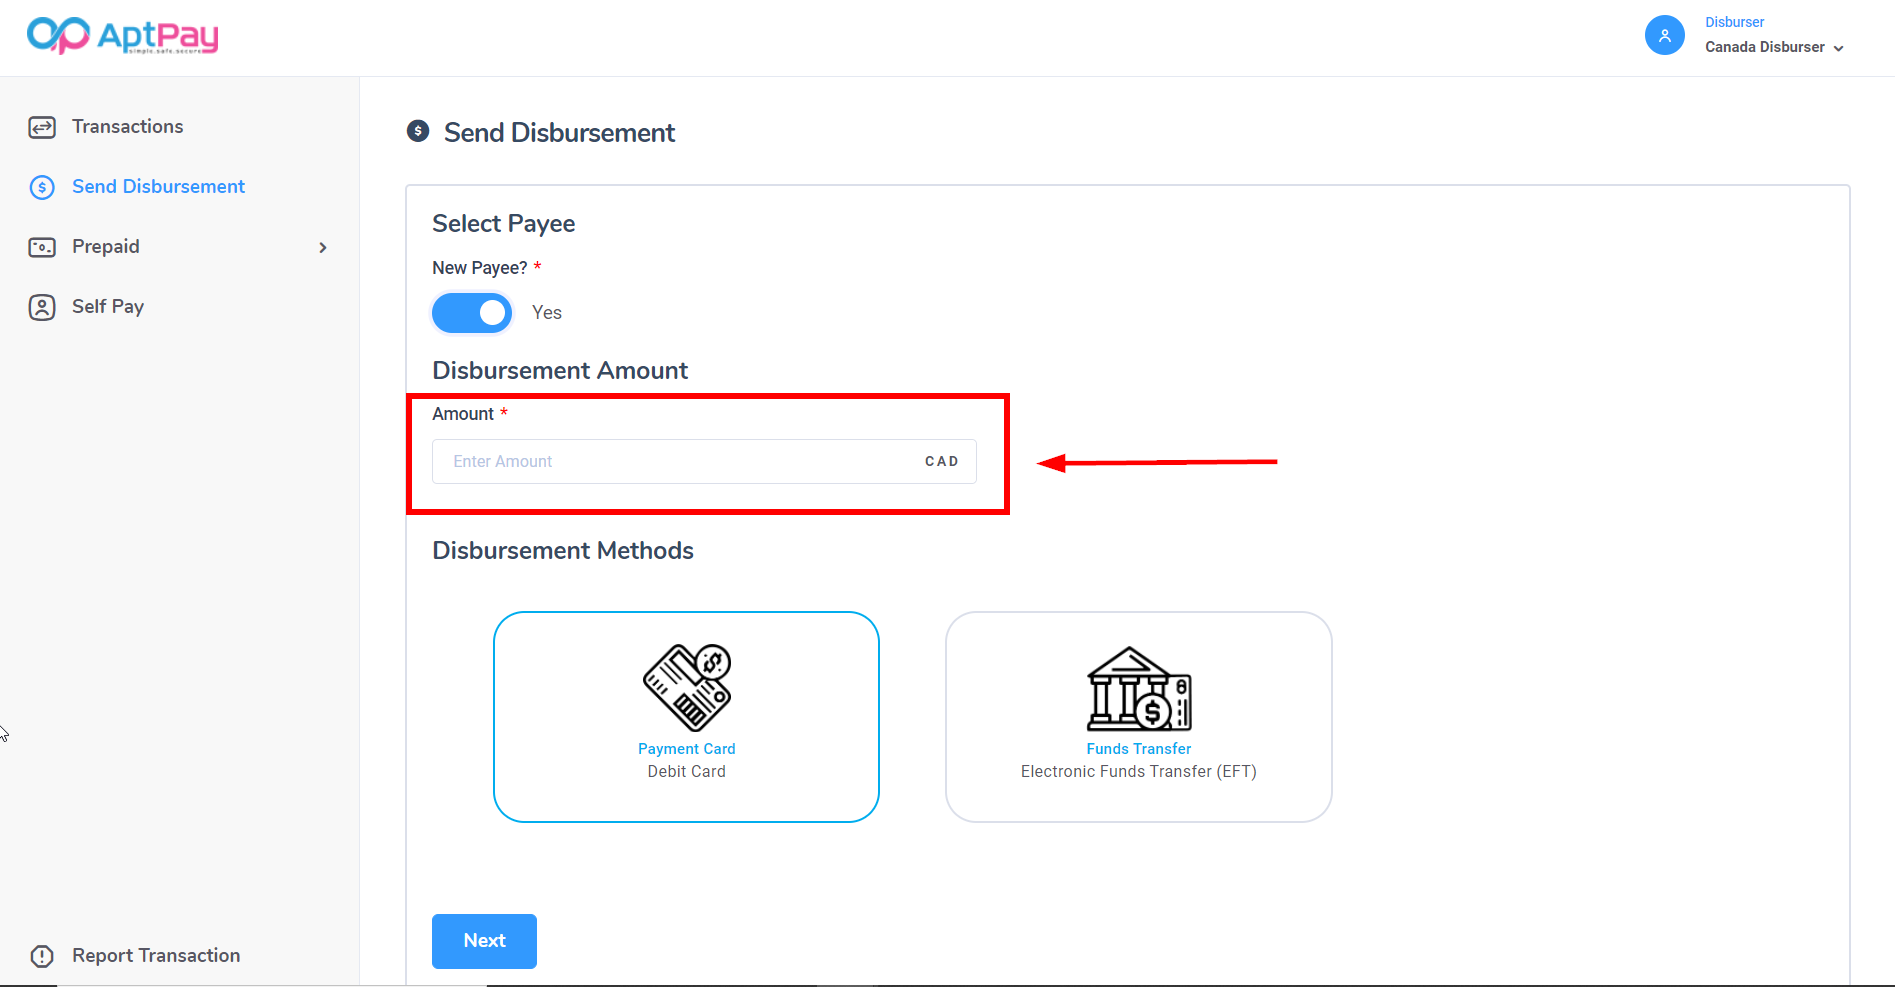
Provide the monetary amount requested.
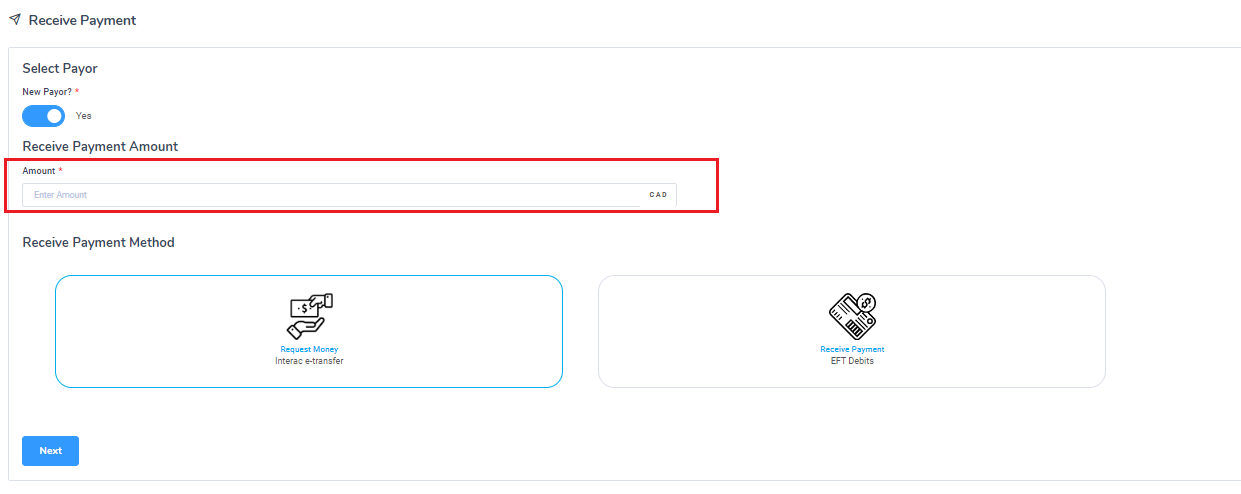
Select if you are requesting money or if you are receiving payment and click Next to proceed. Depending on what you have chosen, you can now follow the instructions listed in either Requesting Money or Receiving Payment.
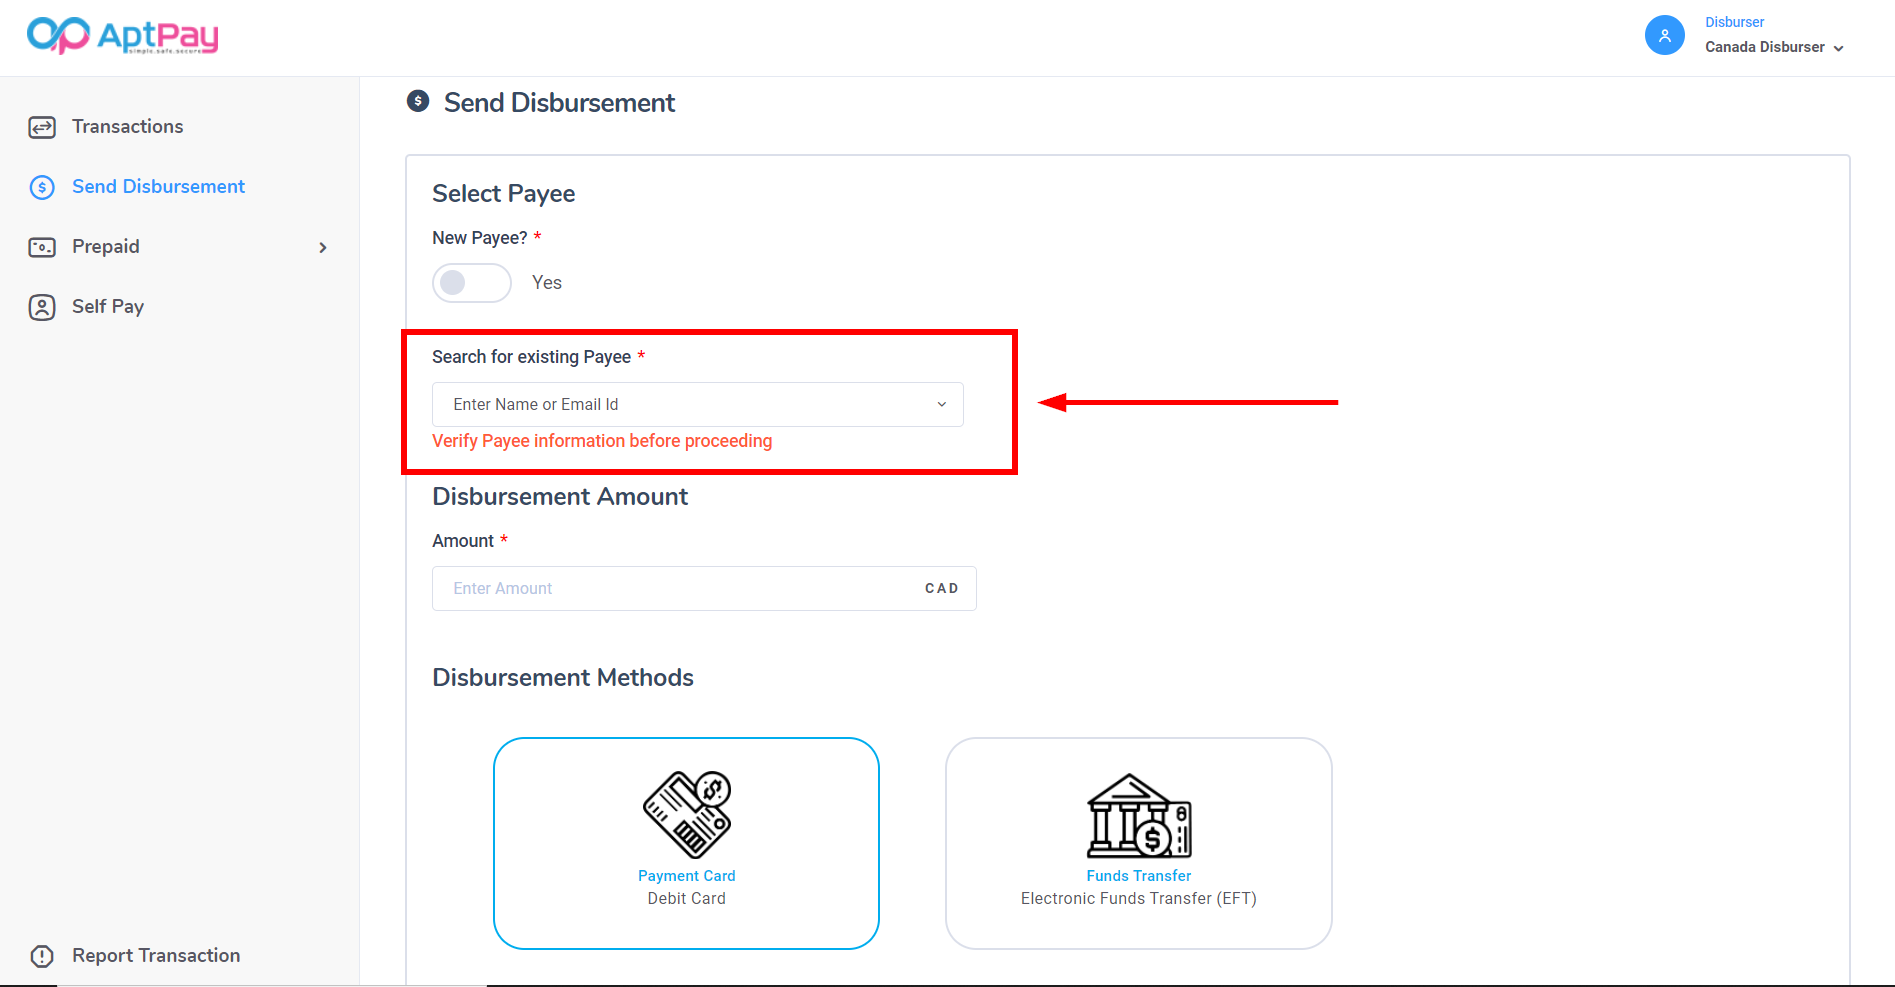
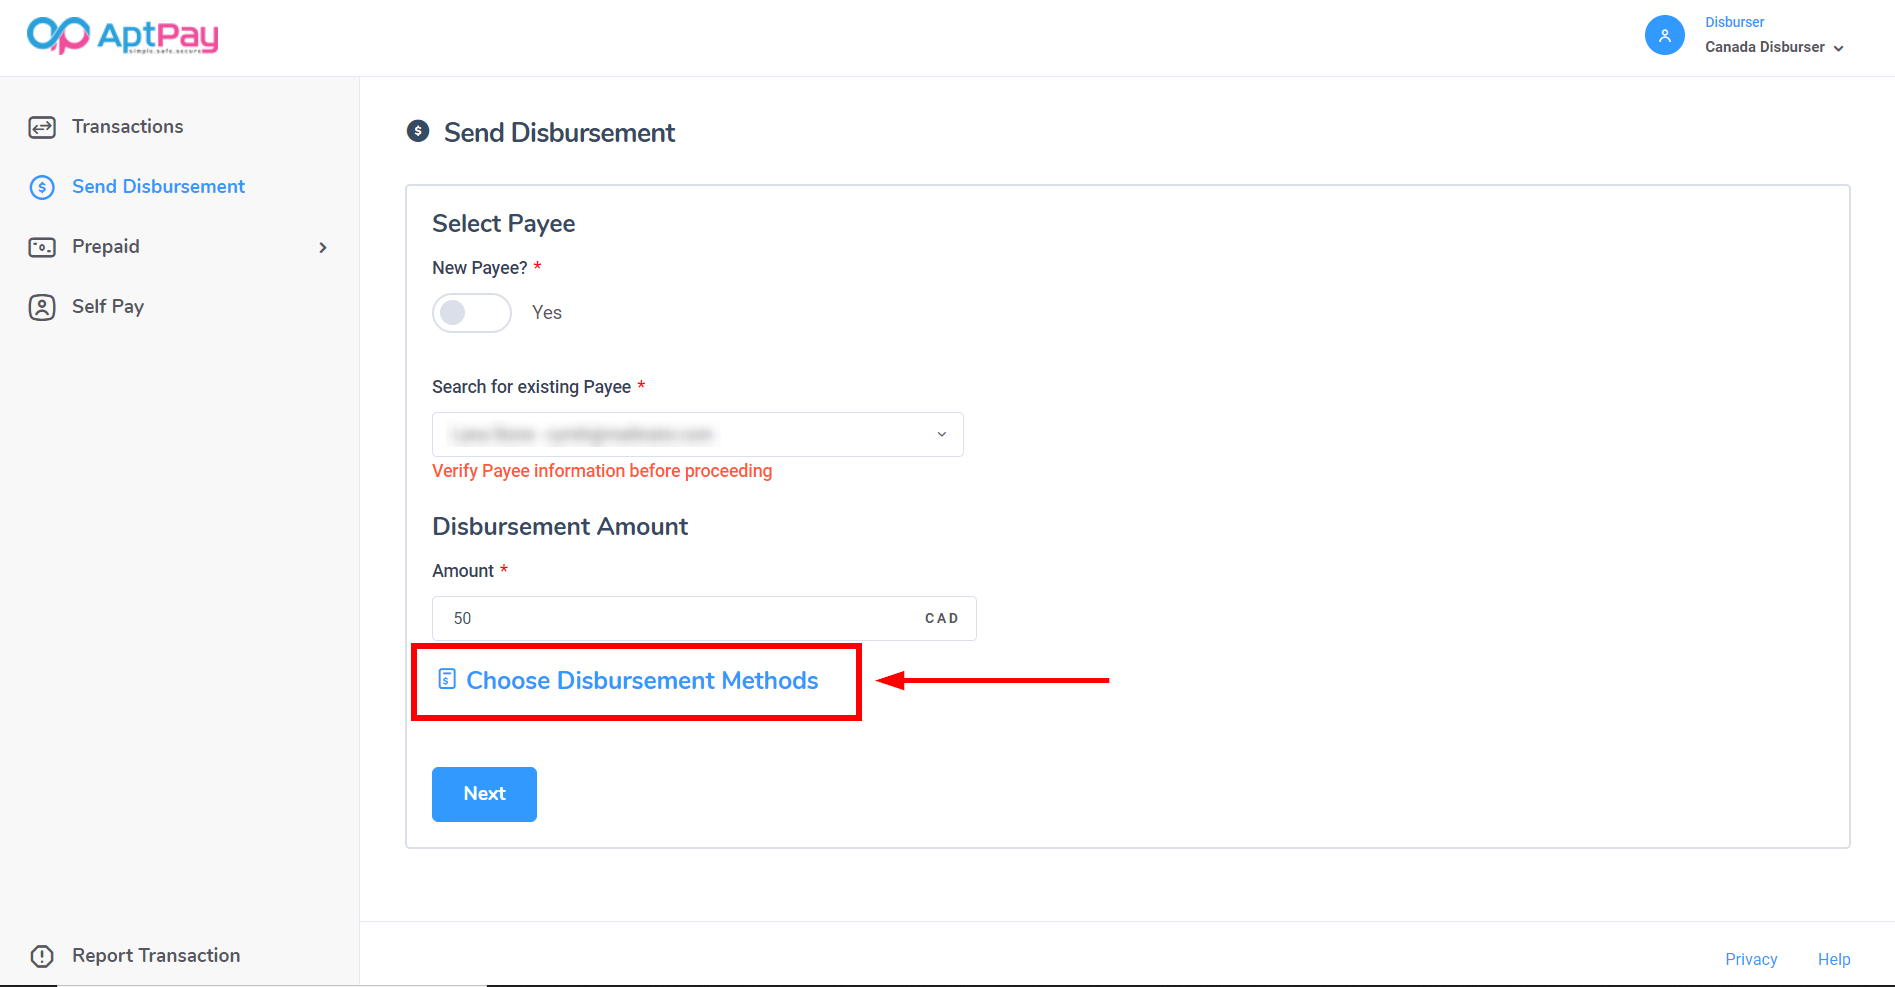
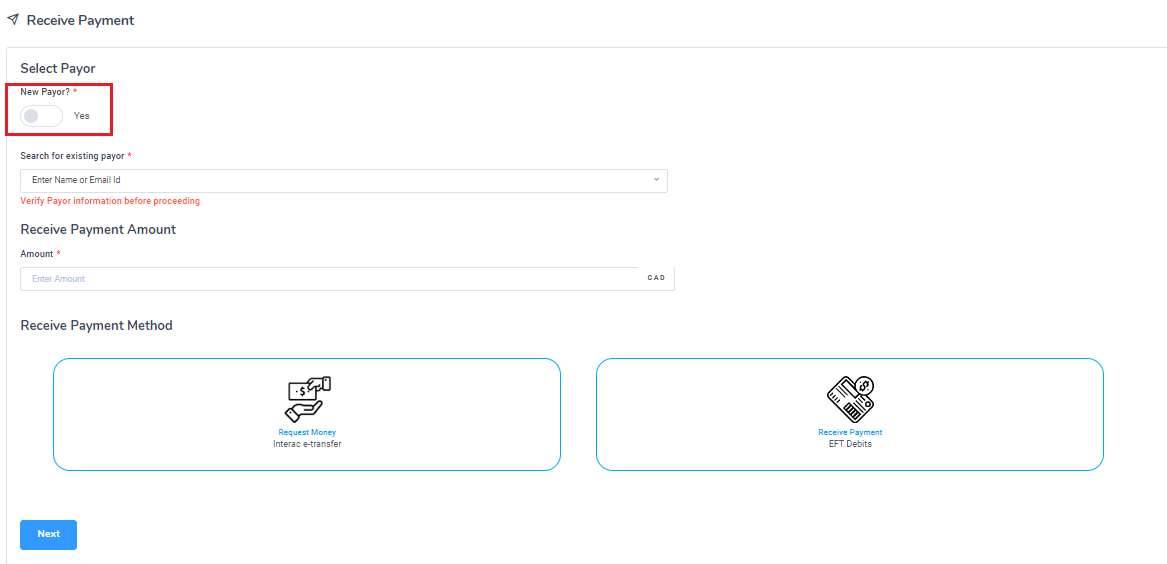
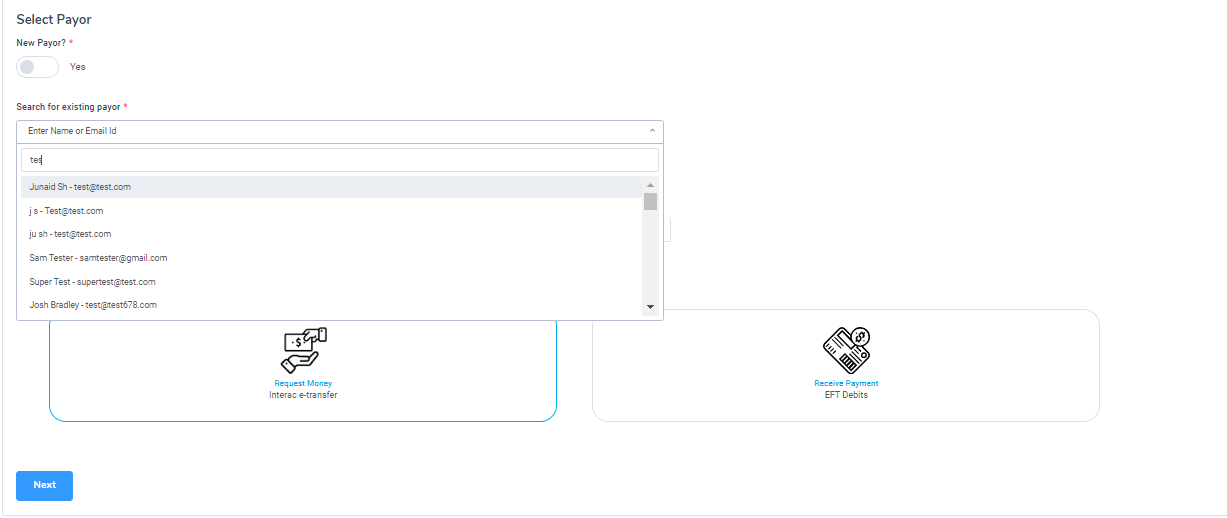
Existing Payor
If this is an existing payer, leave the switch deselected for New Payor.
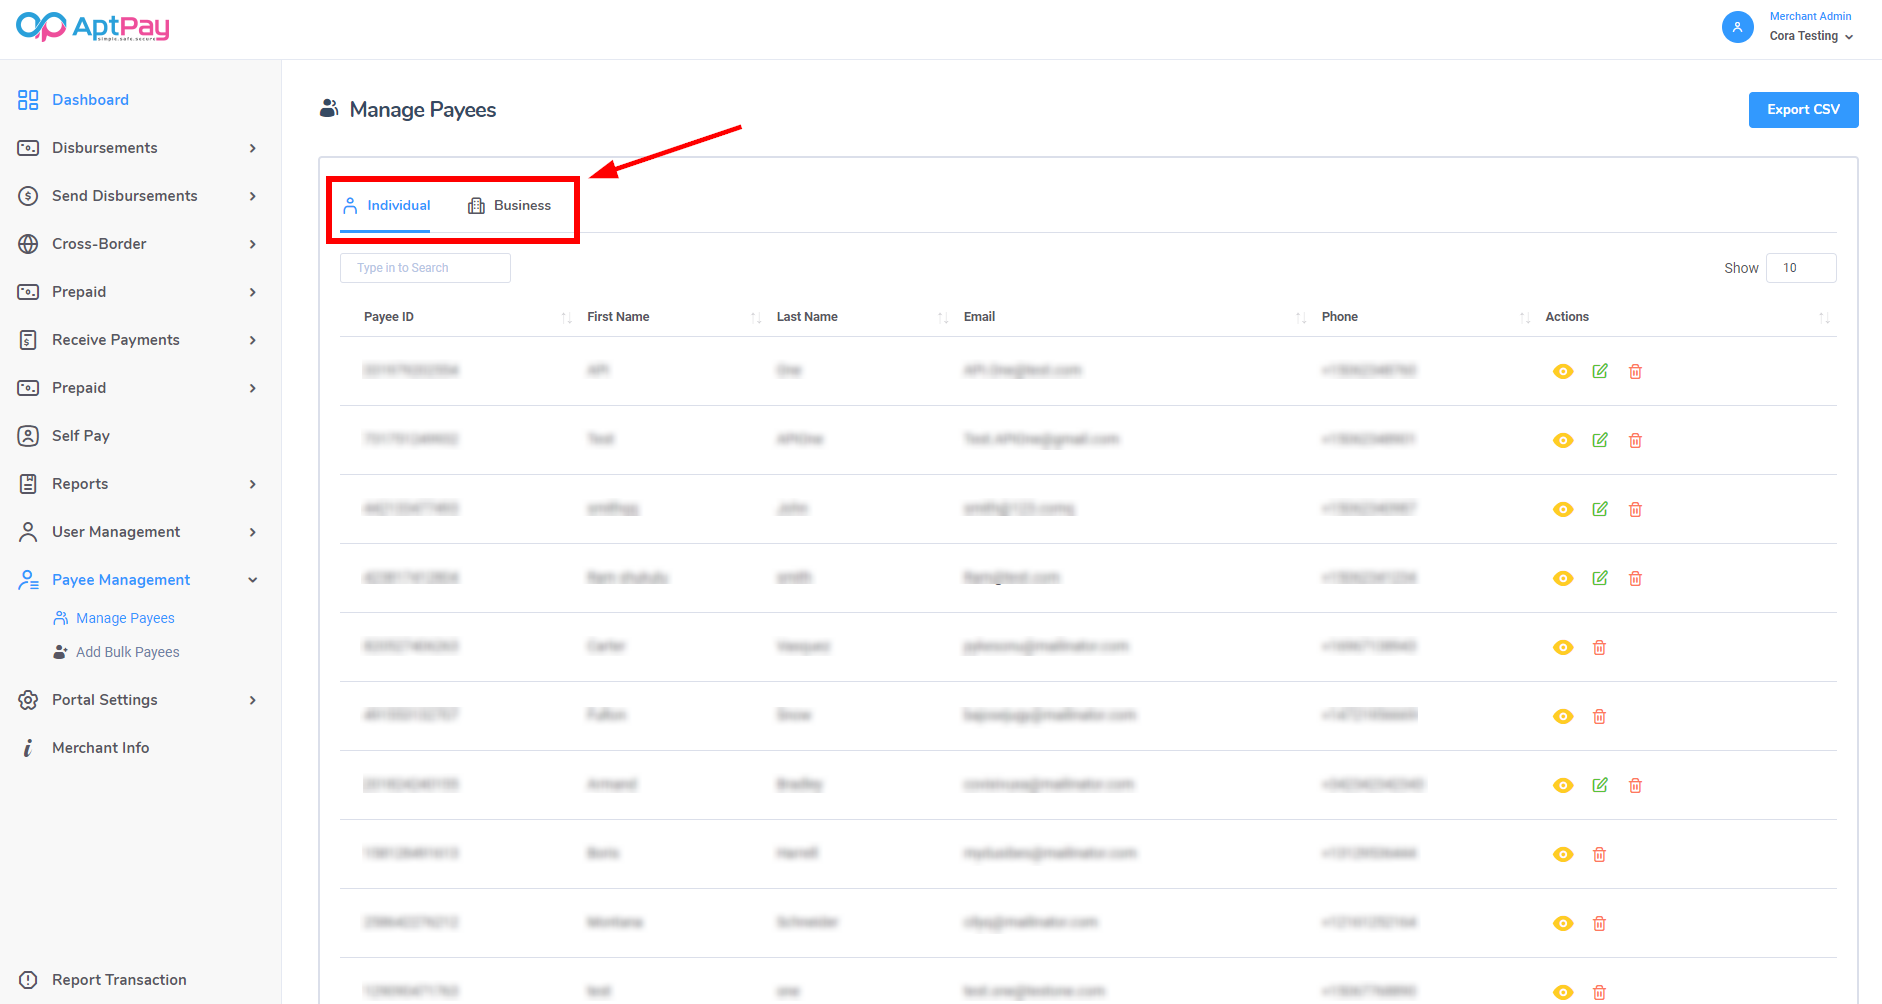
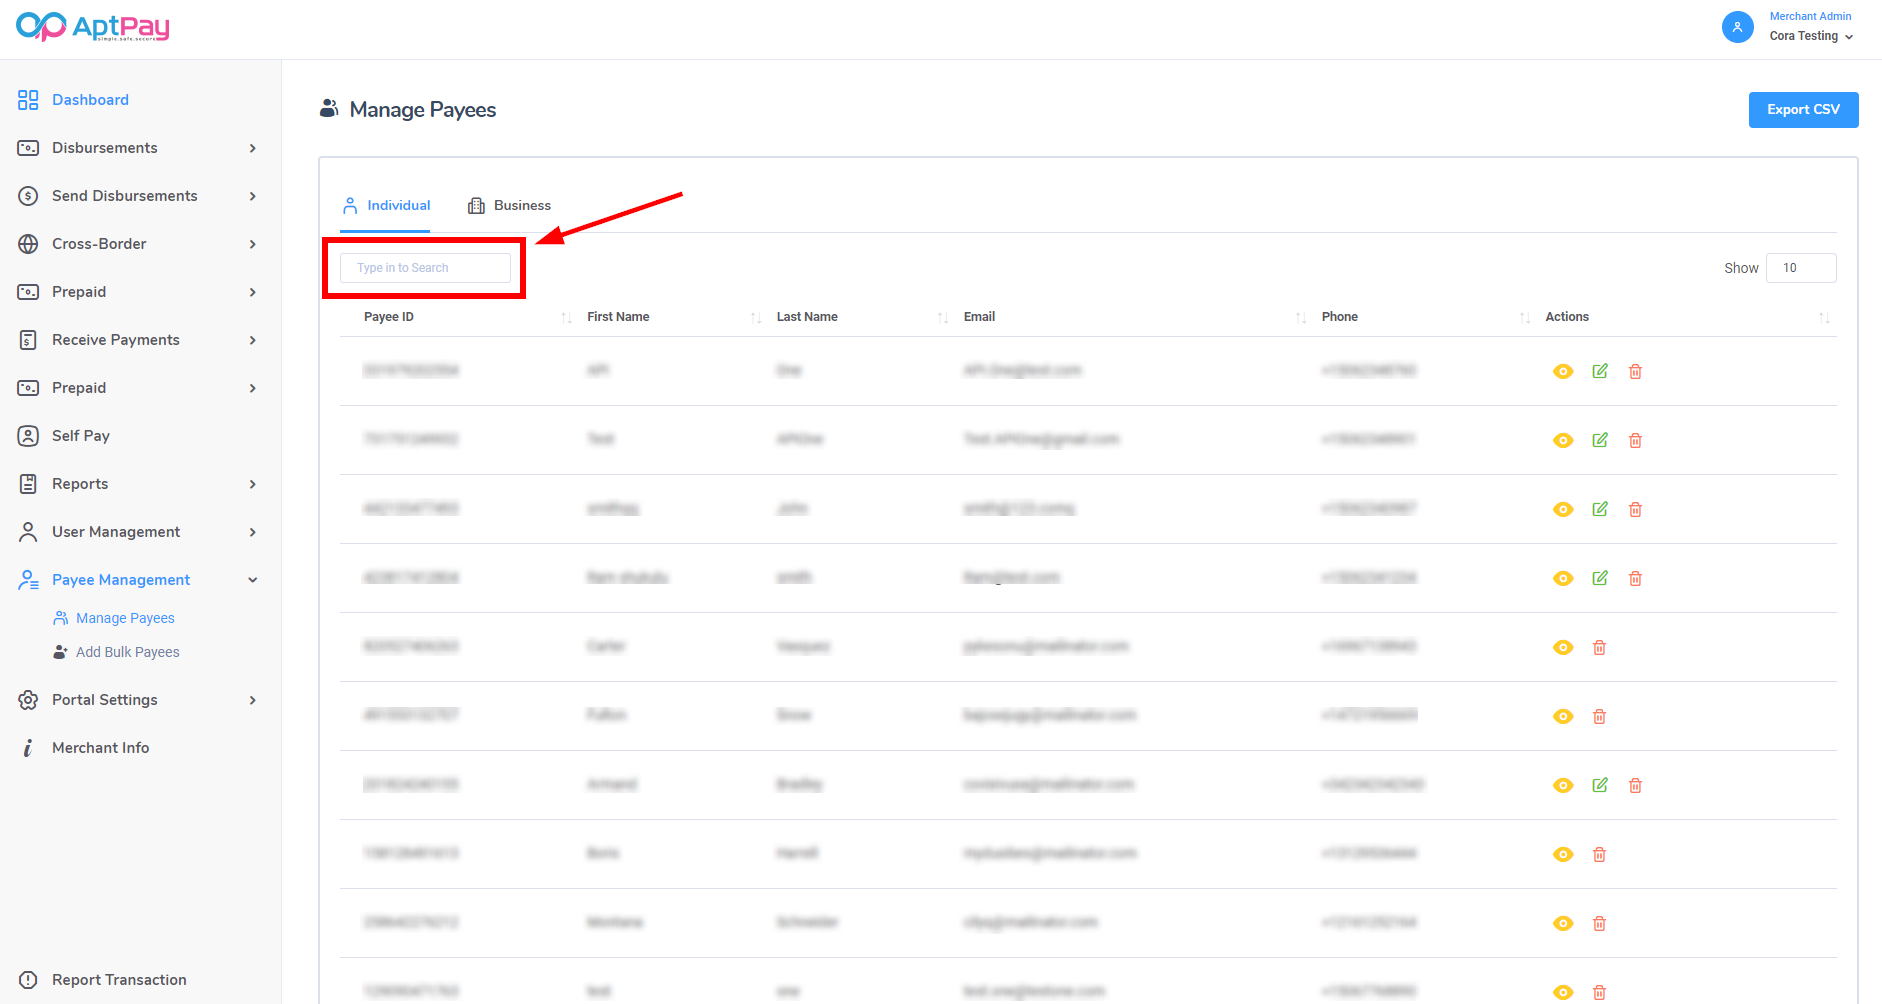
Click on the drop-down menu labeled Search for existing payor. You can search for specific records by typing in the record desired.
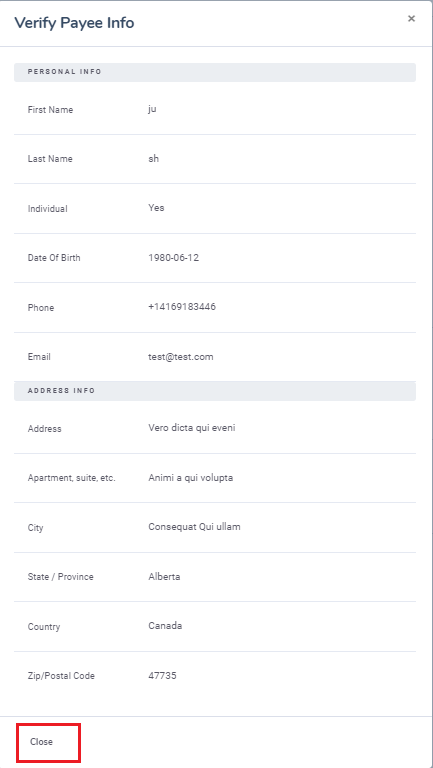
A pop-up will appear asking you to confirm that this is the correct information. Click Close.
Select if you are requesting money or if you are receiving payment and click Next to proceed.
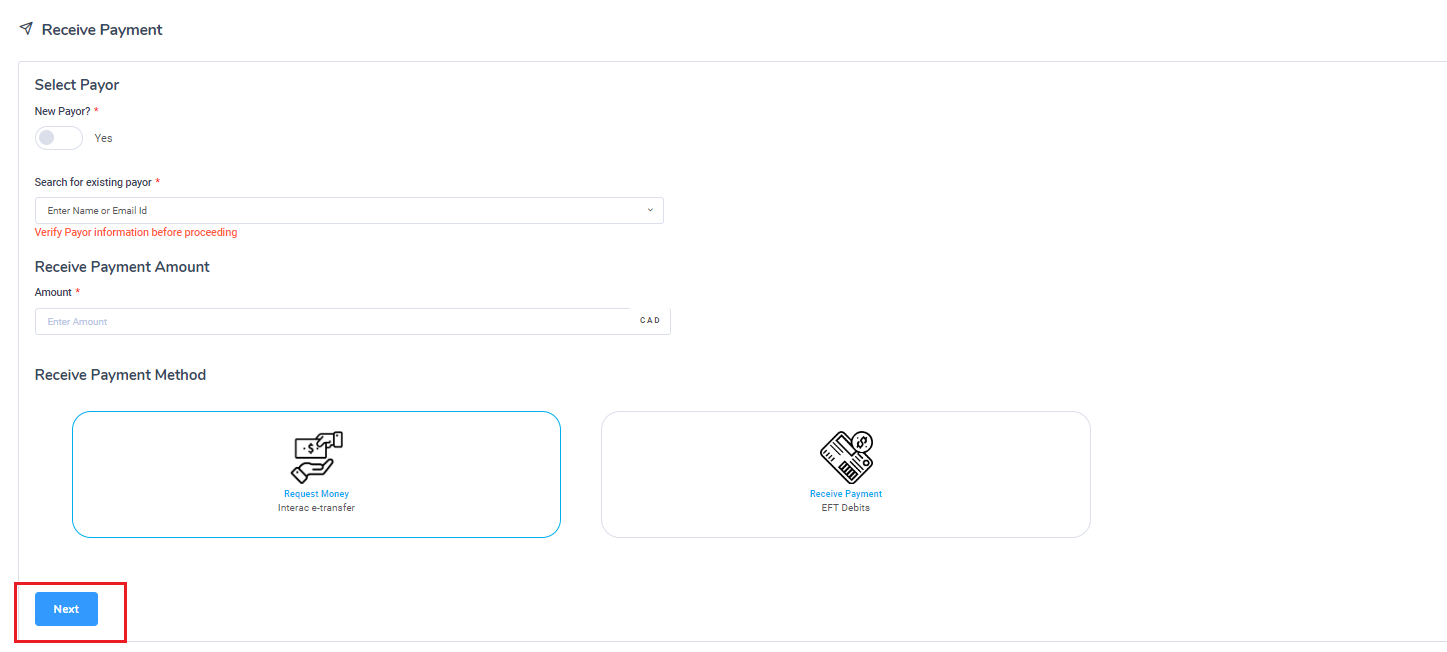
Depending on what you have chosen, you can now follow the instructions listed in either Requesting Money or Receiving Payment.
Requesting Money
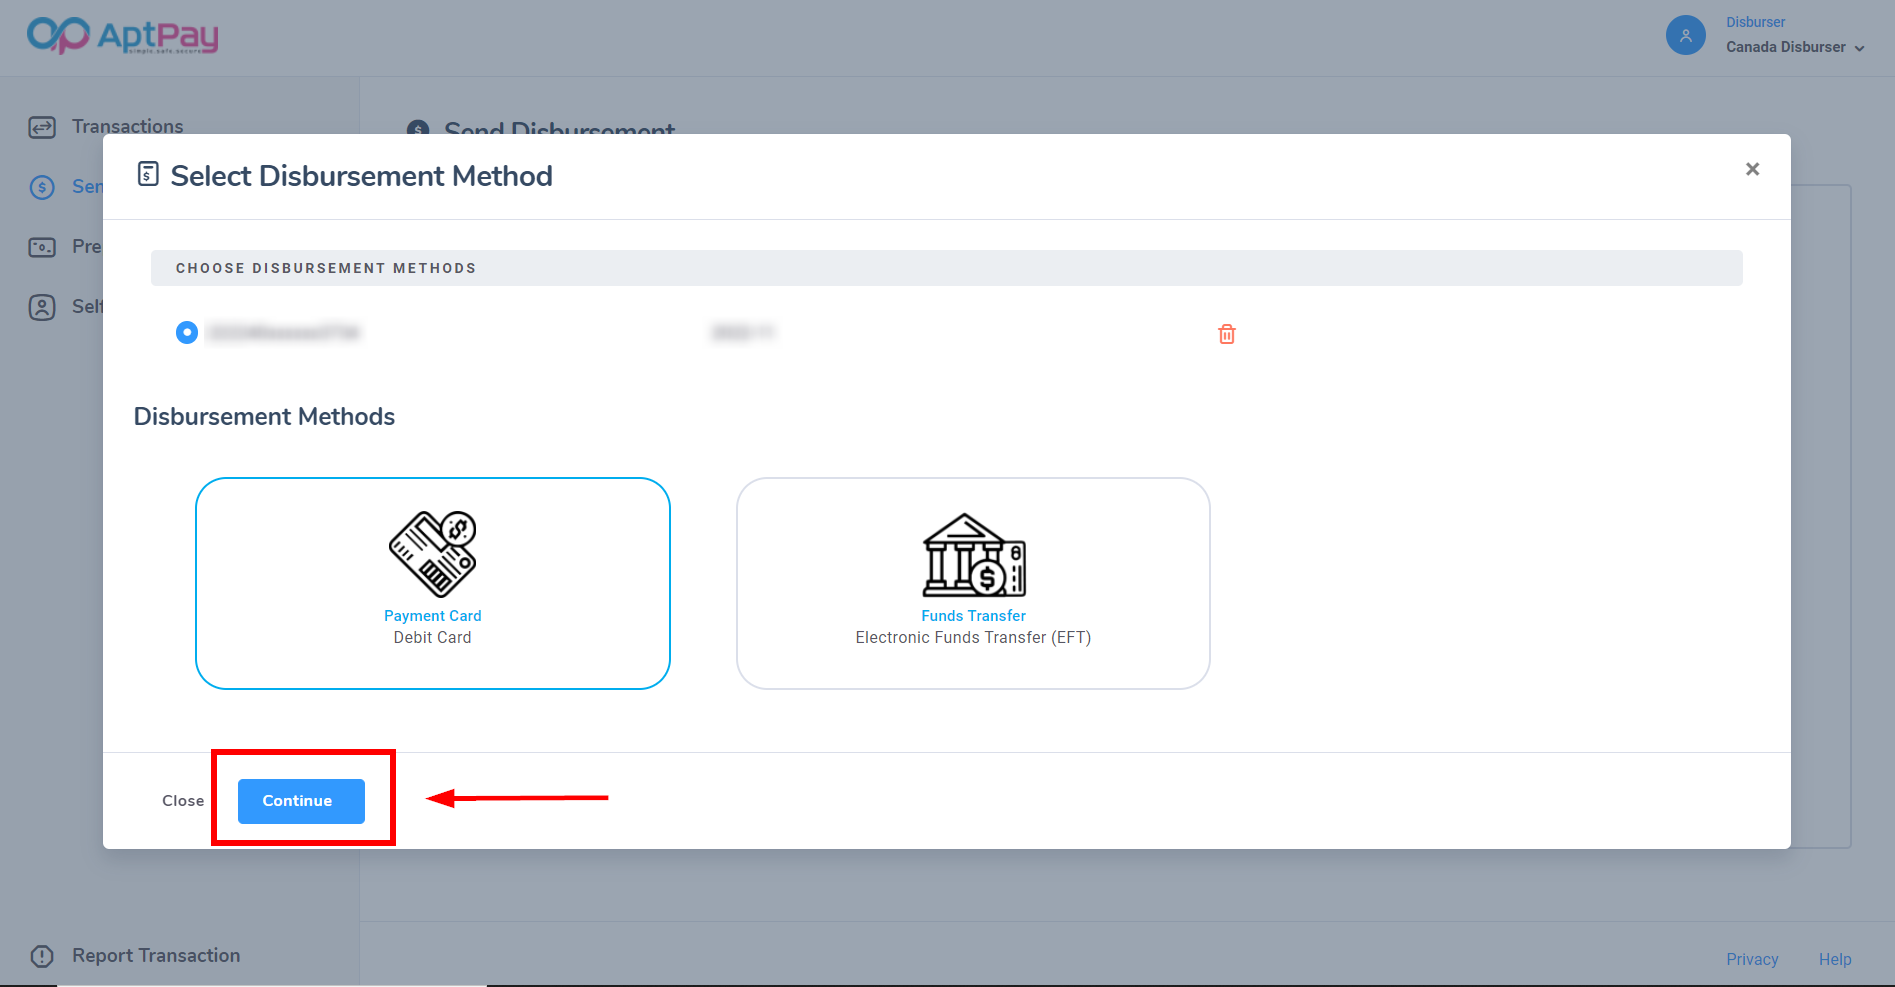
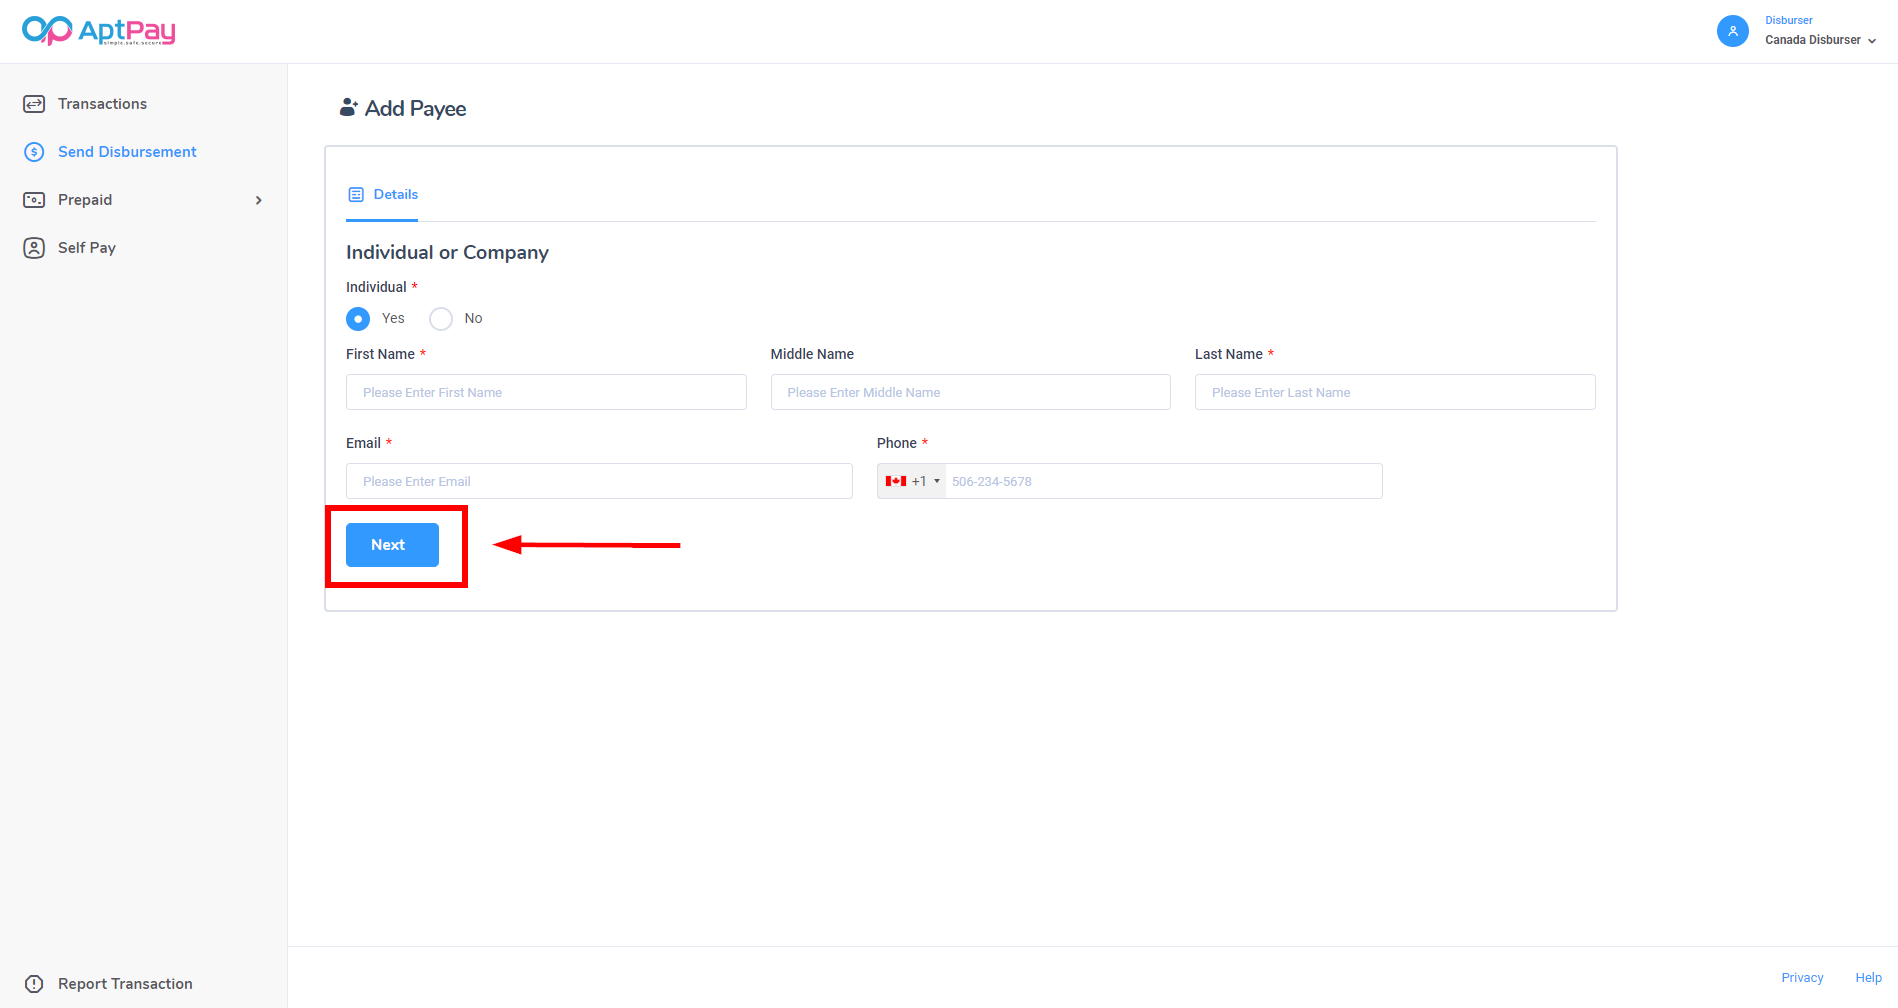
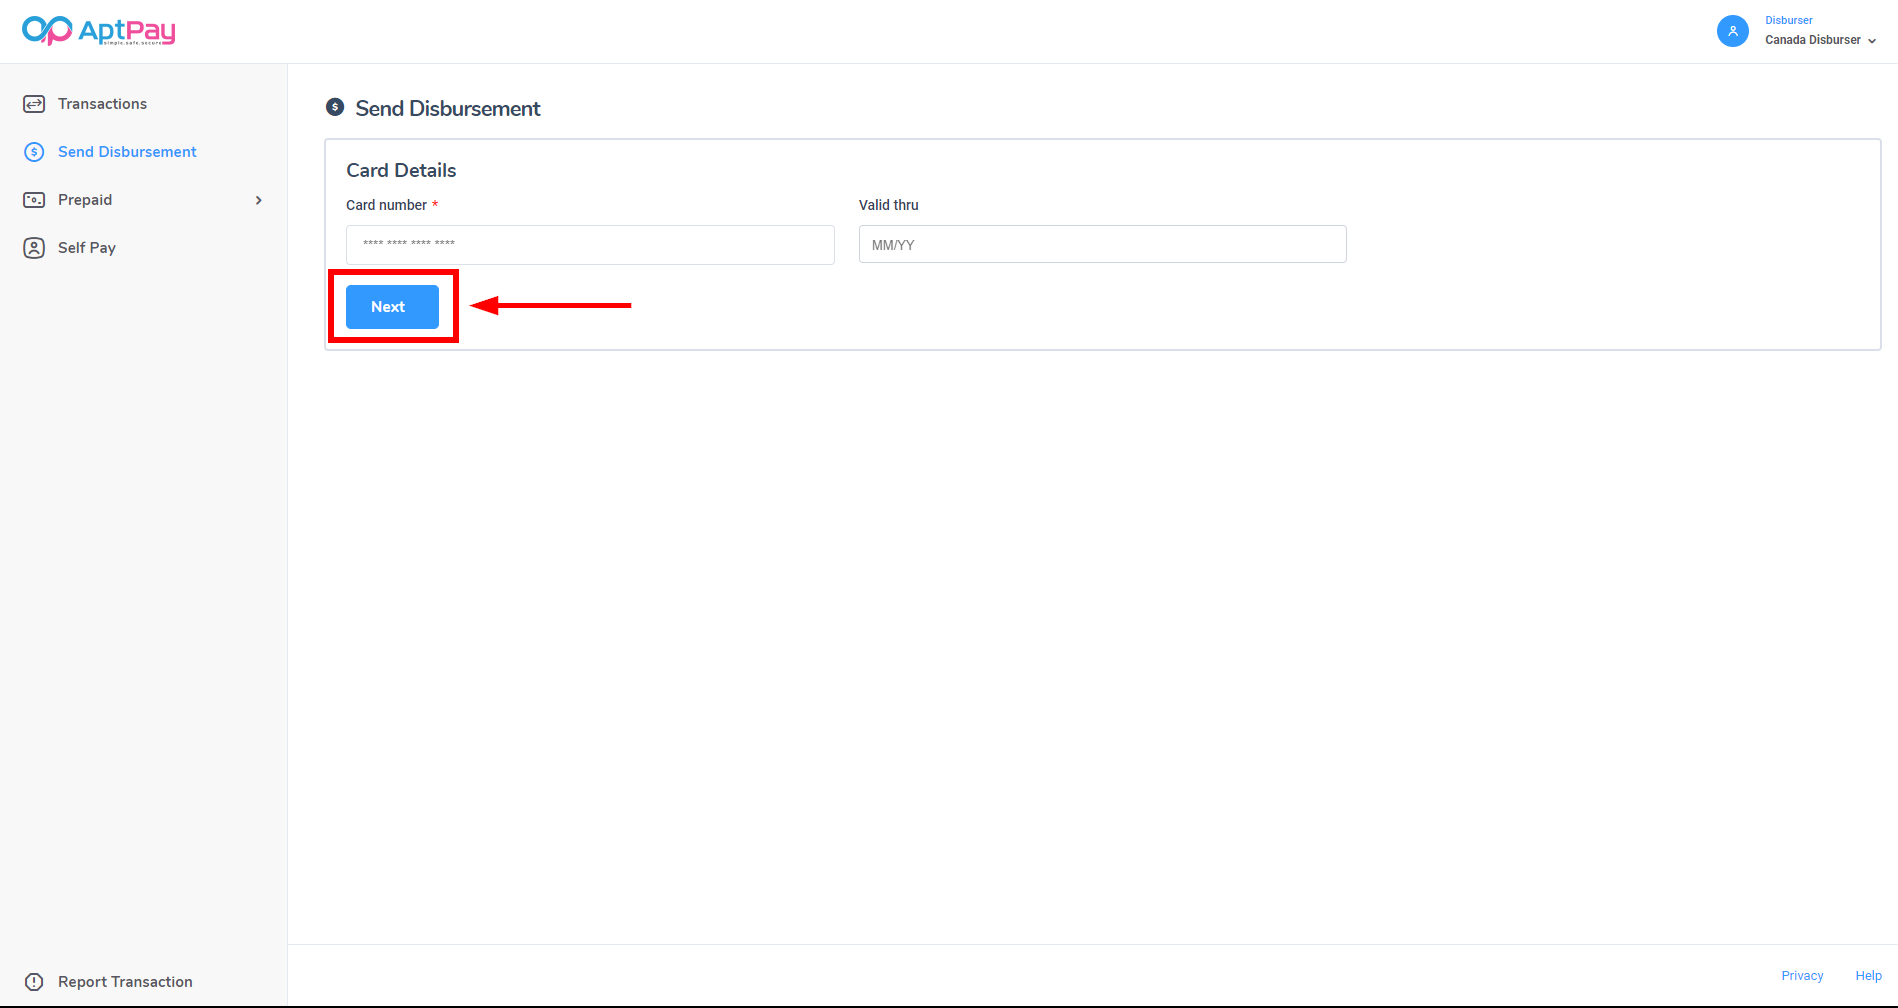
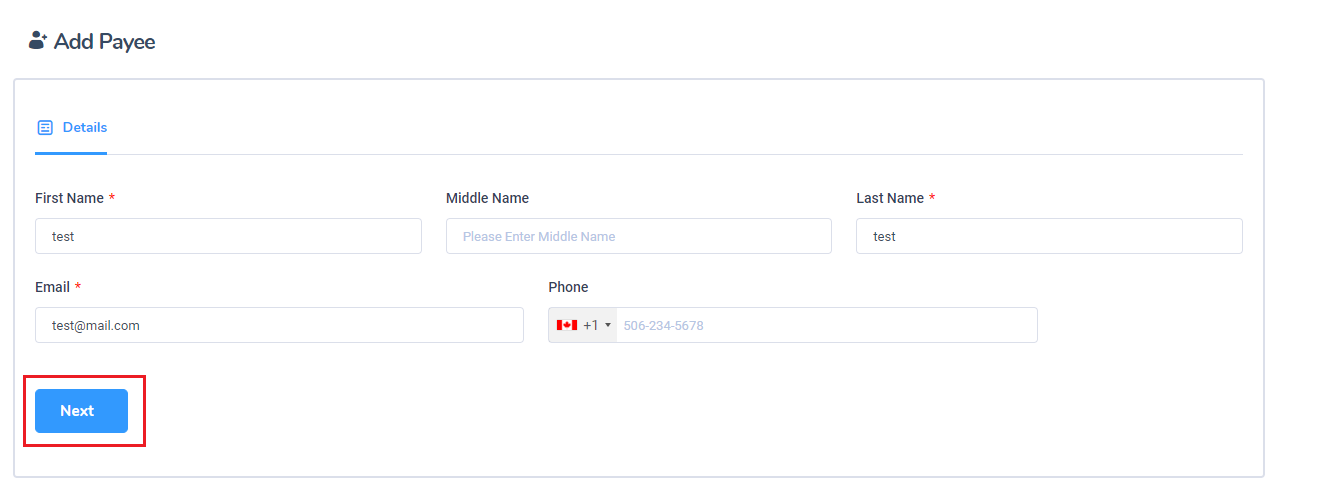
Fill out the information requested by the form.
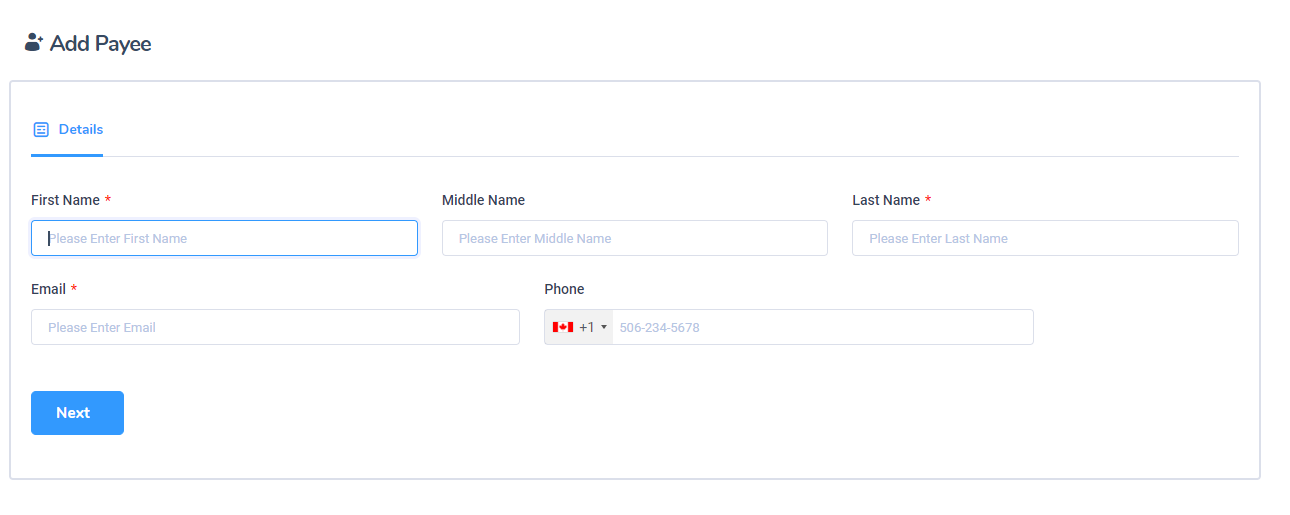
Once complete, click on Next to proceed.
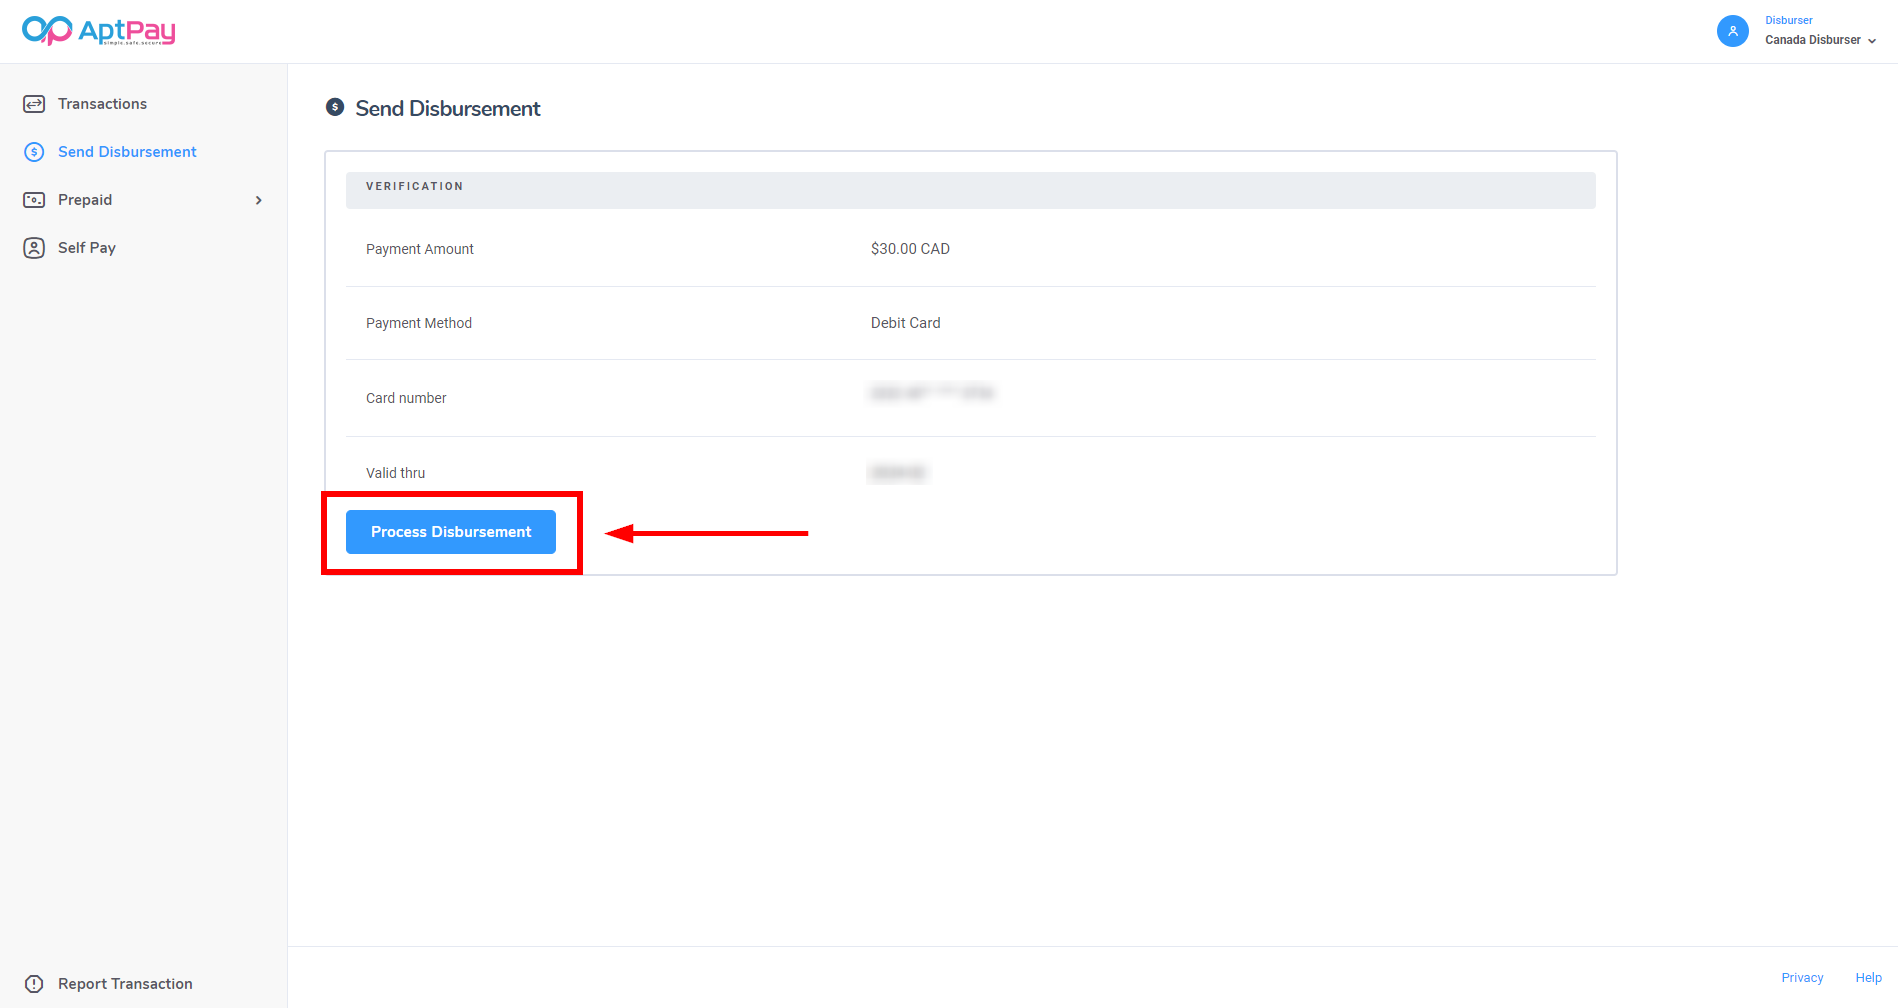
You will be then brought to a confirmation page, where you can review the transfer. Once satisfied, click on Process Disbursement to complete the transaction.
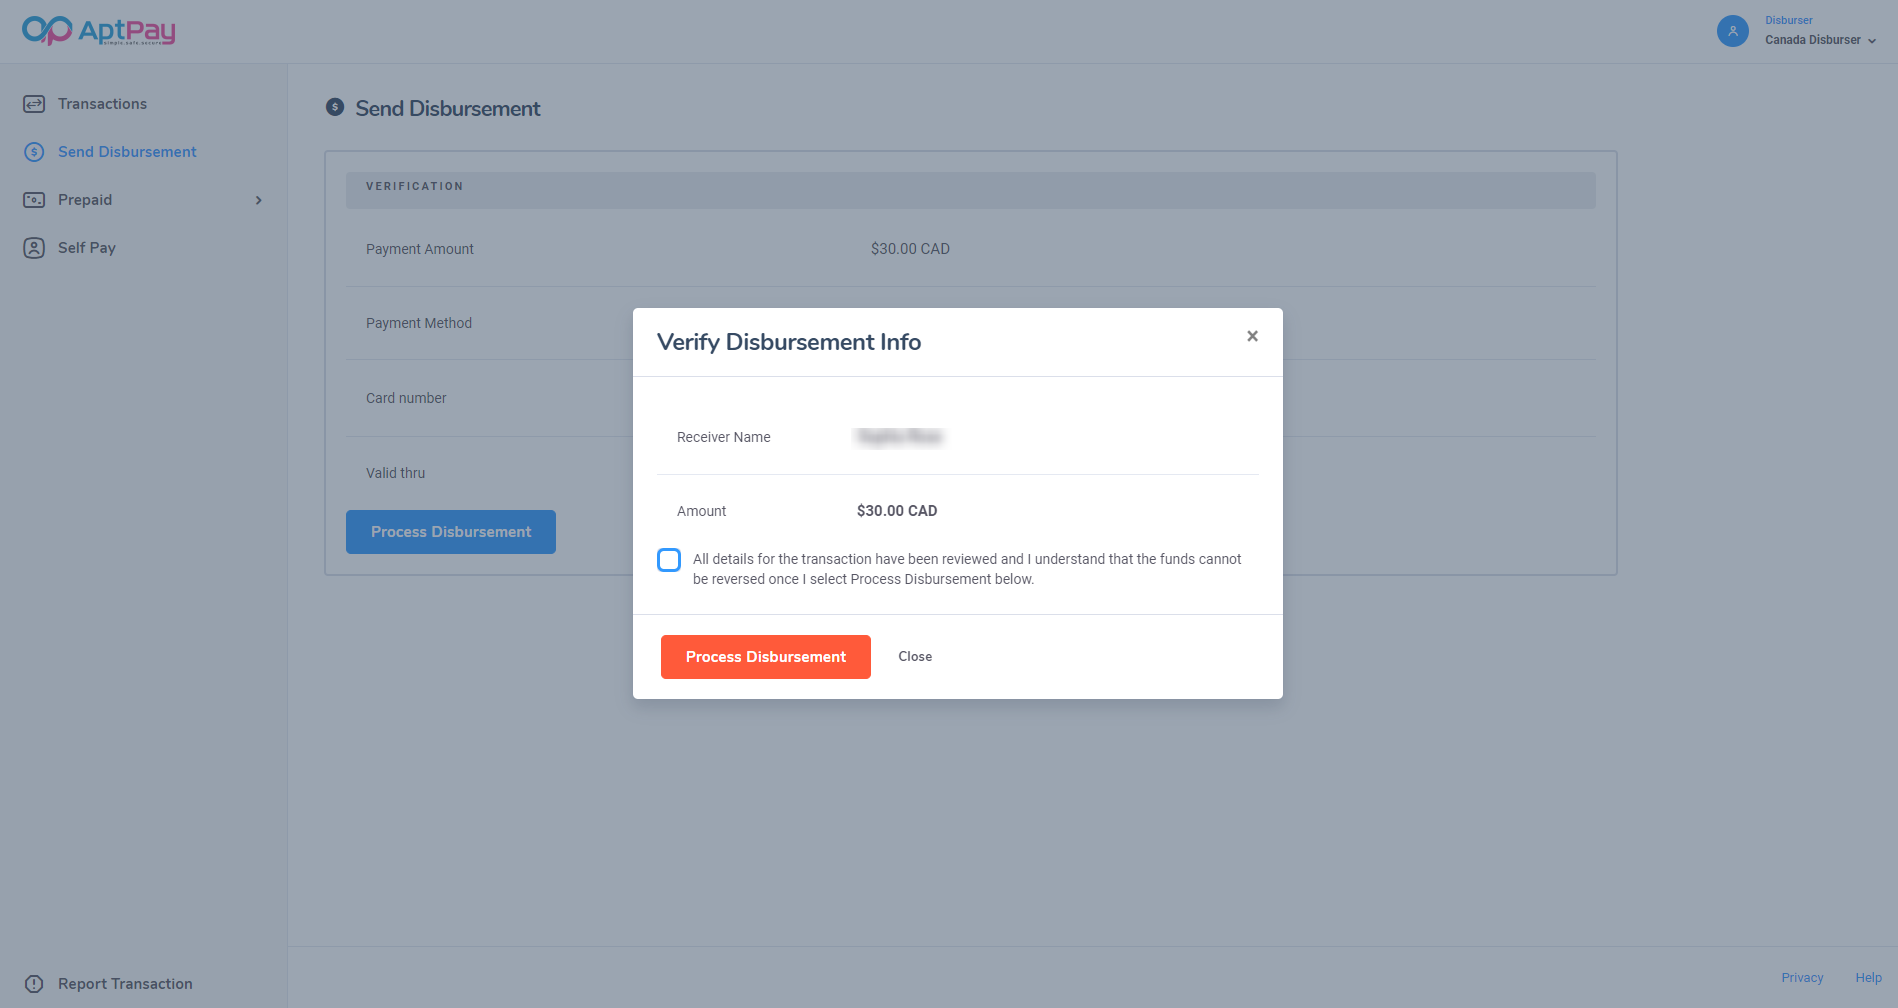
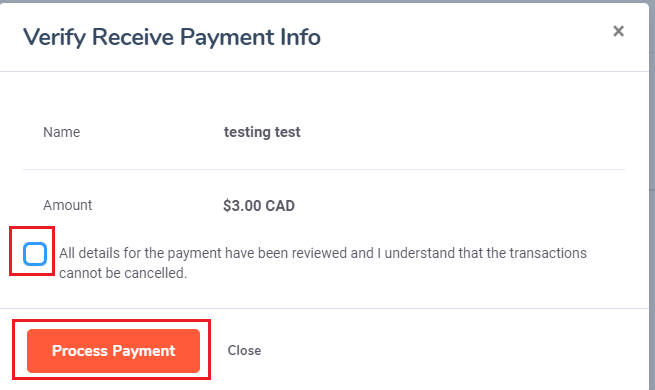
You will be prompted to confirm the request. Click the check box to confirm that the details provided are correct and click Process Payment.
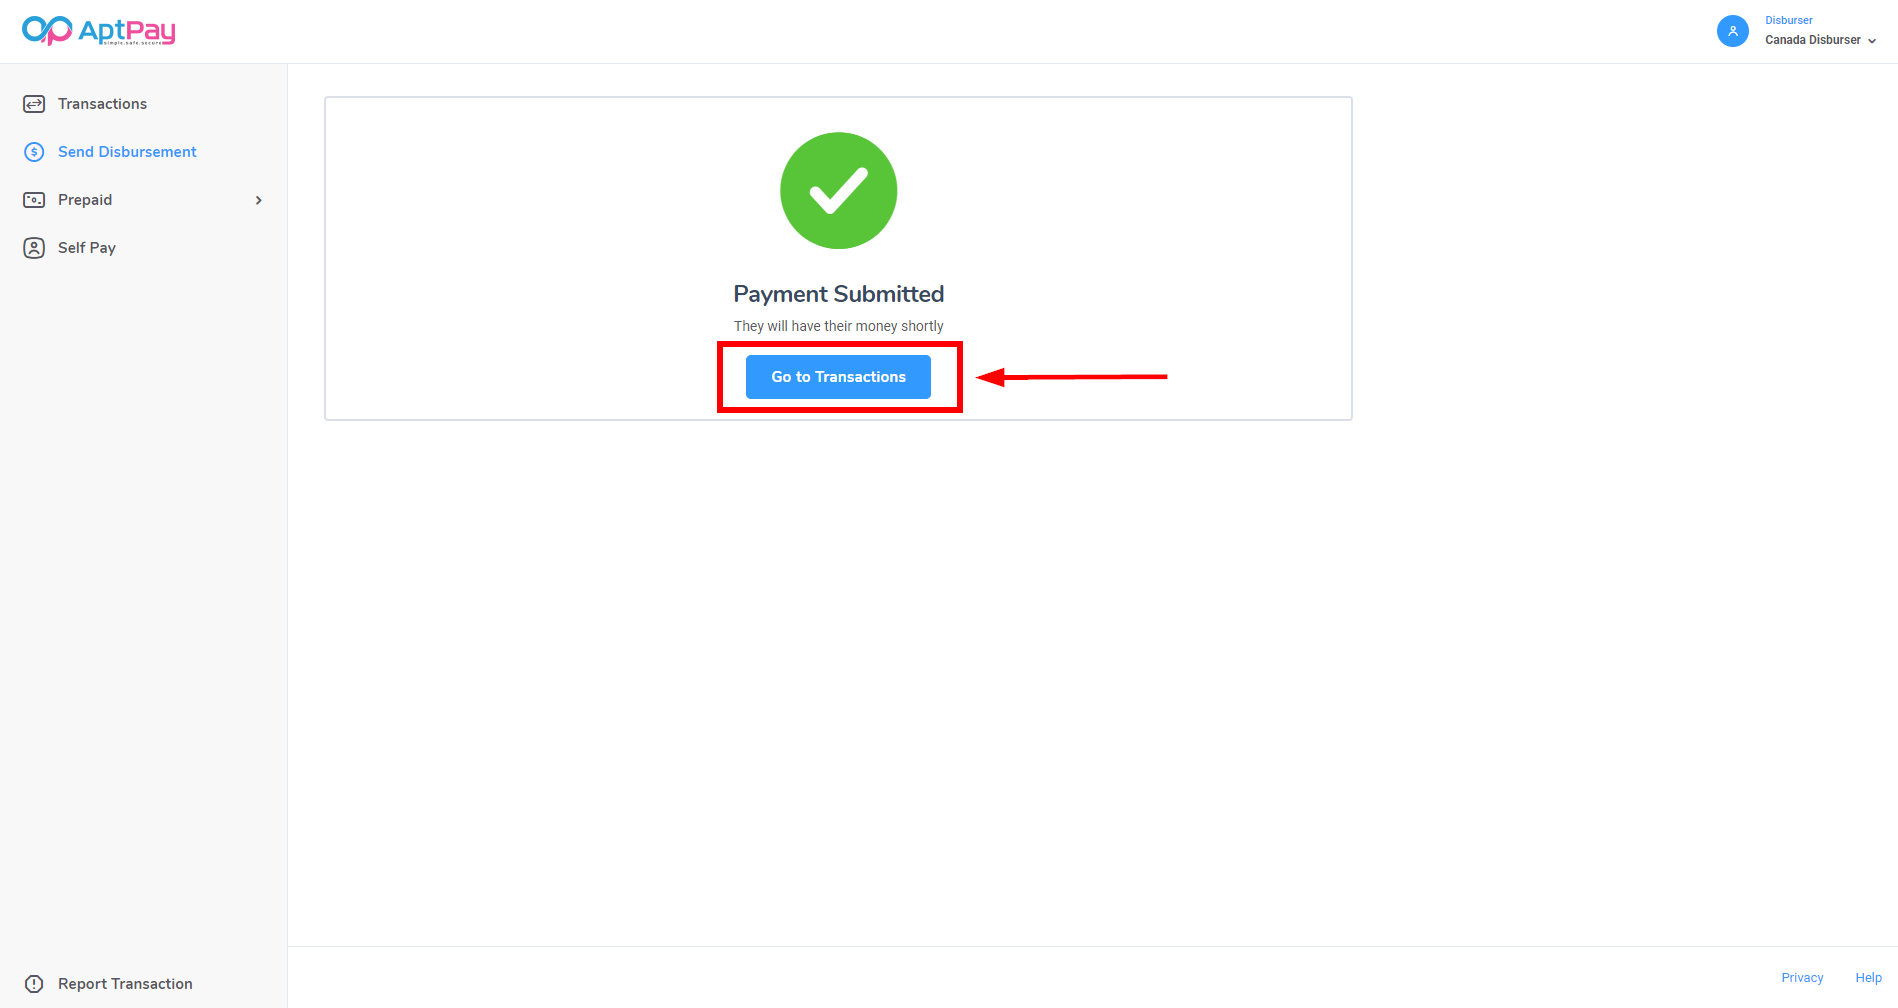
You should receive a Receive Payment Submitted notification if the transaction was successfully processed. Click on Go to Transactions to redirect to the Transactions notification page.

Receiving Payment
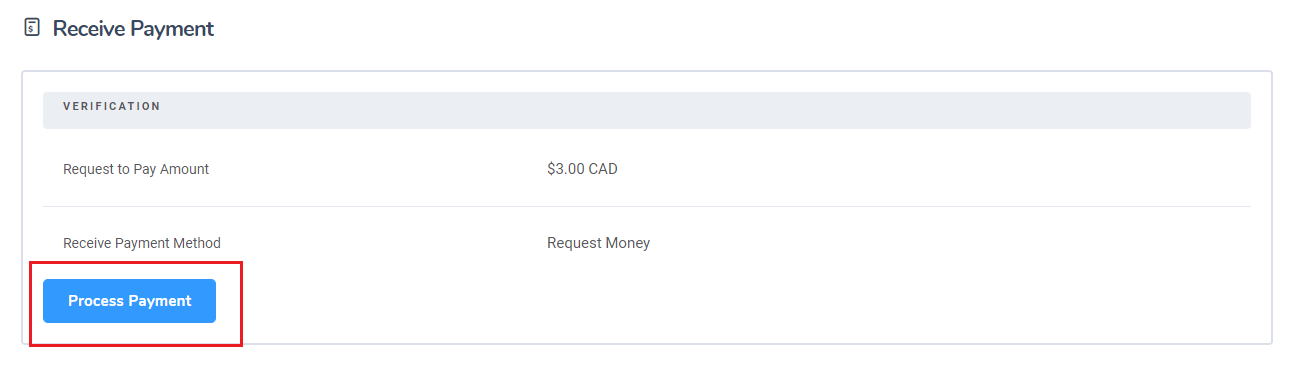
To create a payment reception request, click on Receive Payment.
You will be brought to a screen to confirm the request. If the information looks correct, click Process Payment.

After confirming that the details are correct, click the checkbox that acknowledges the information has been reviewed and click Process Disbursement to finish processing.

You should receive a Receive Payment Submitted notification if the transaction was successfully processed. Click on Go to Transactions to redirect to the Transactions notification page.

Receiving Bulk Payments Through the Disbursement Portal
Receiving Bulk Payments
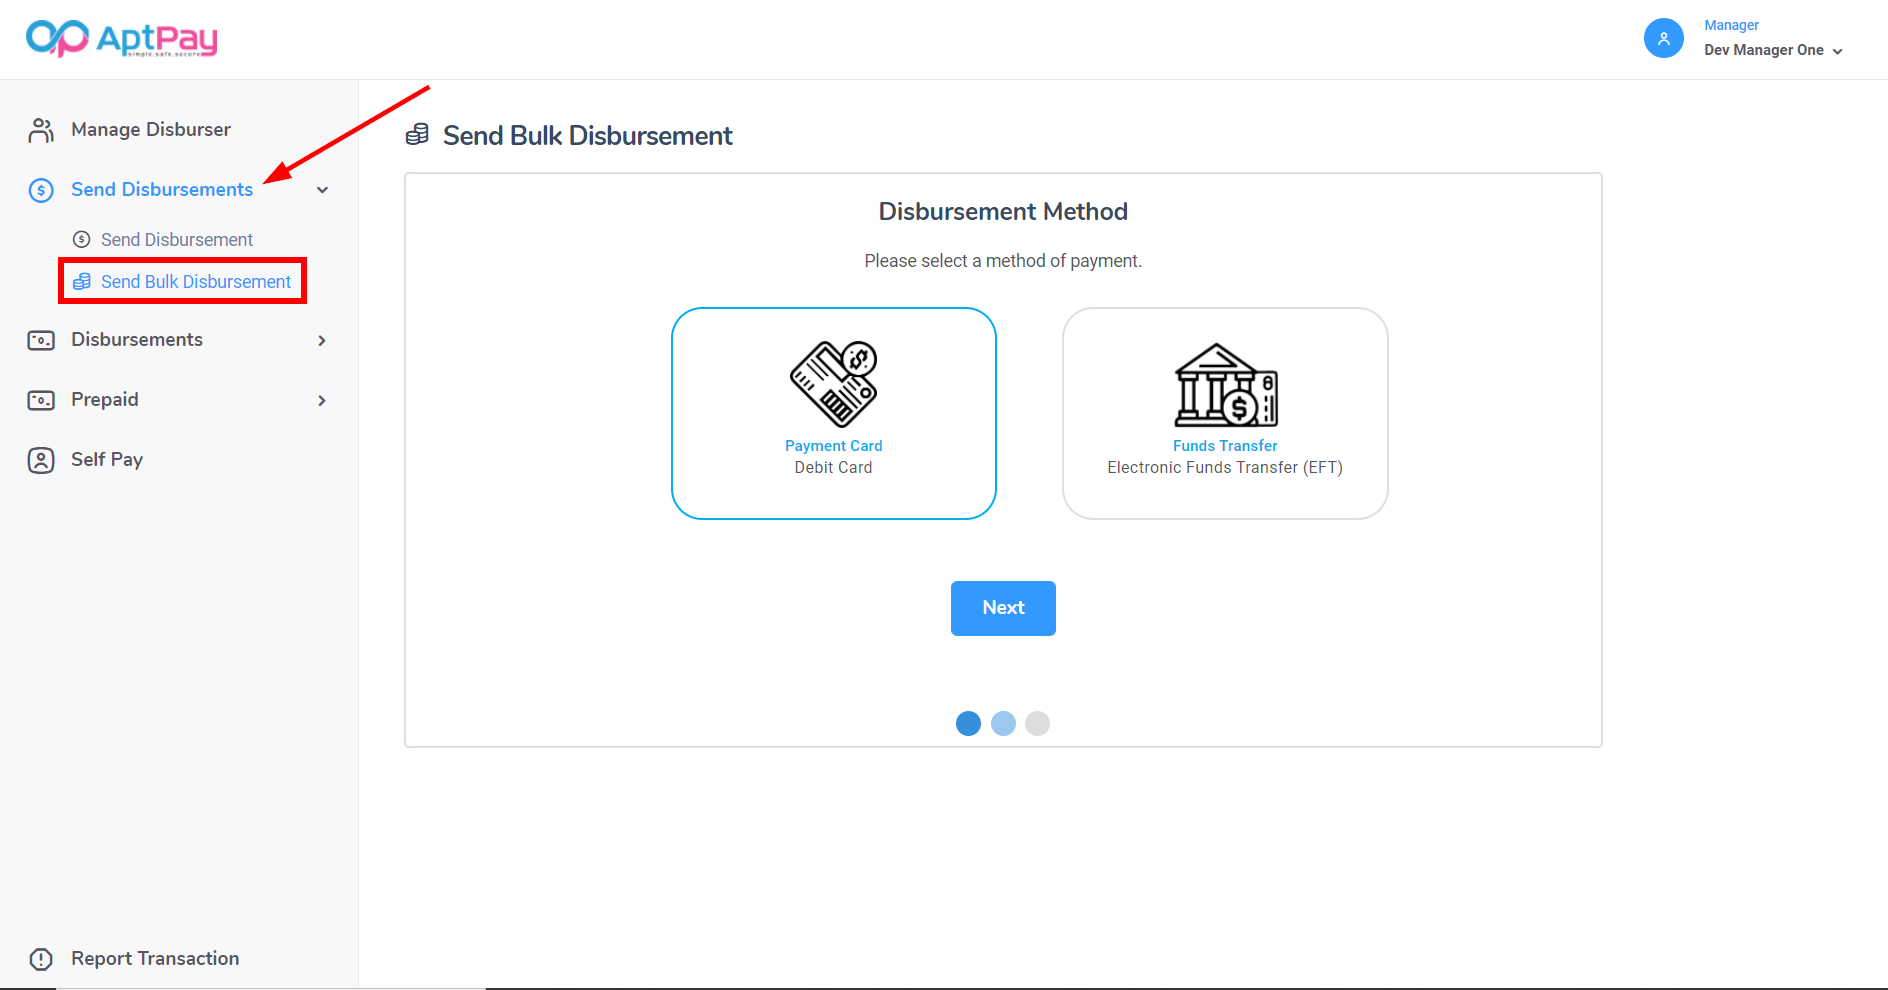
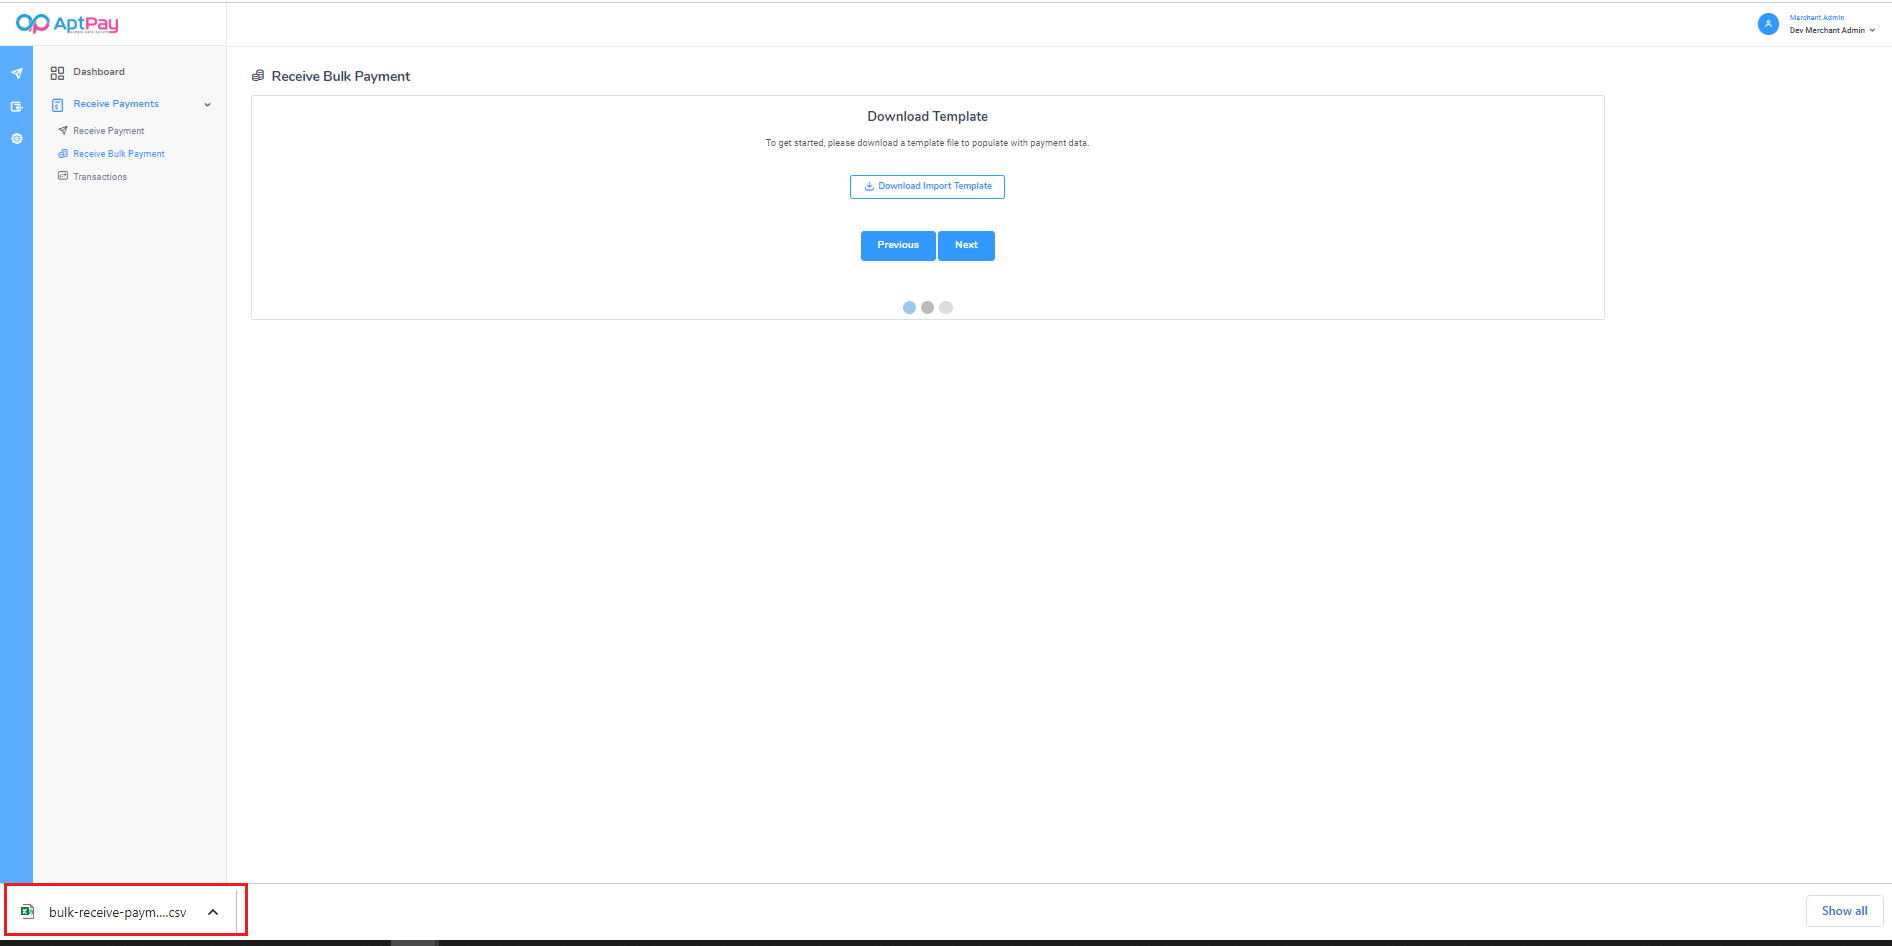
To receive bulk payments, click on Receive Bulk Payment located inside the Receive Payments drop-down menu.
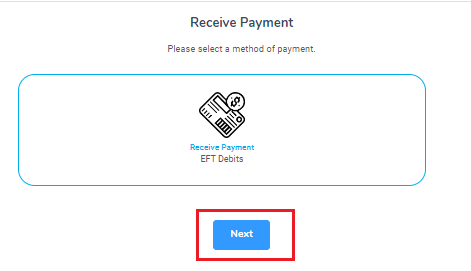
You will be asked for the method used to receive the payment request. As of this writing, only direct funds transfers are supported. Click Next.
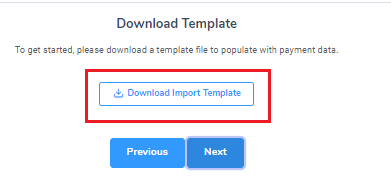
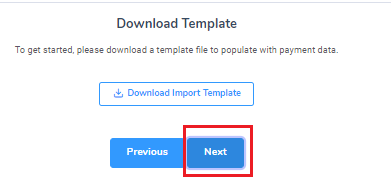
Click Download Import Template. This will download an excel file that you will need to populate.
Click on the pop-up that appears in the bottom-left corner of your browser to open the file.
Populate the fields requested by the spreadsheet.
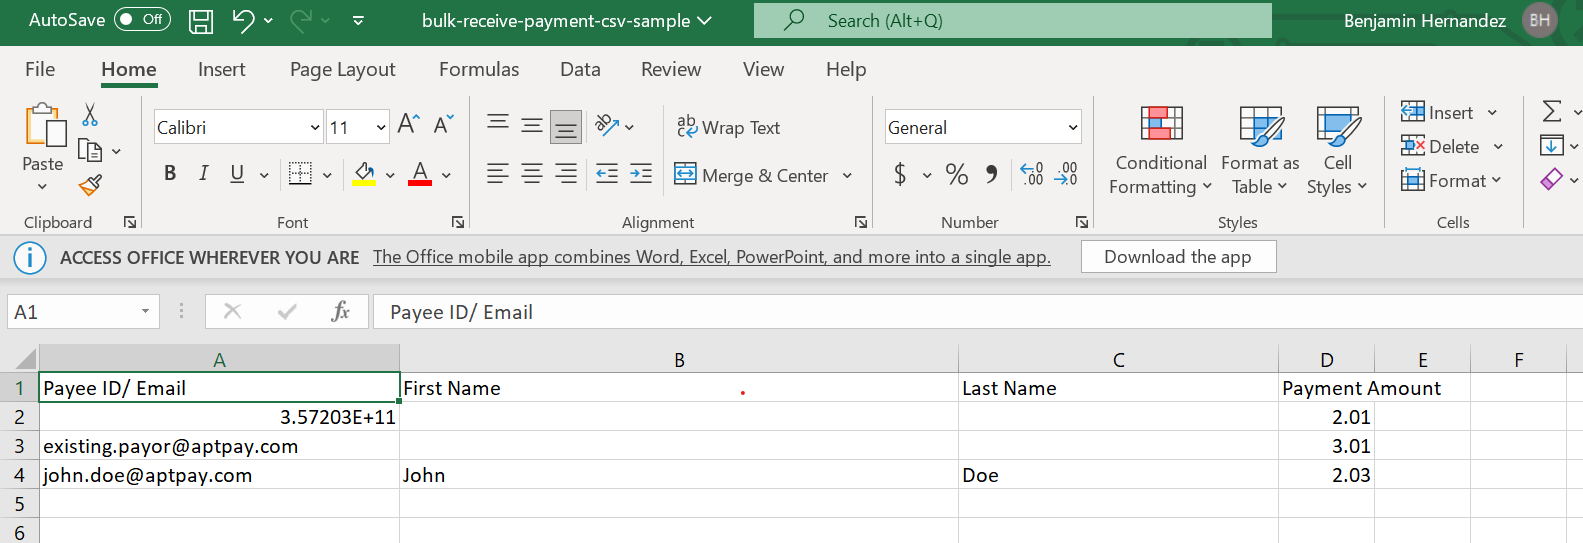
Once completed, save the excel file. Back in the portal, click Next to continue.
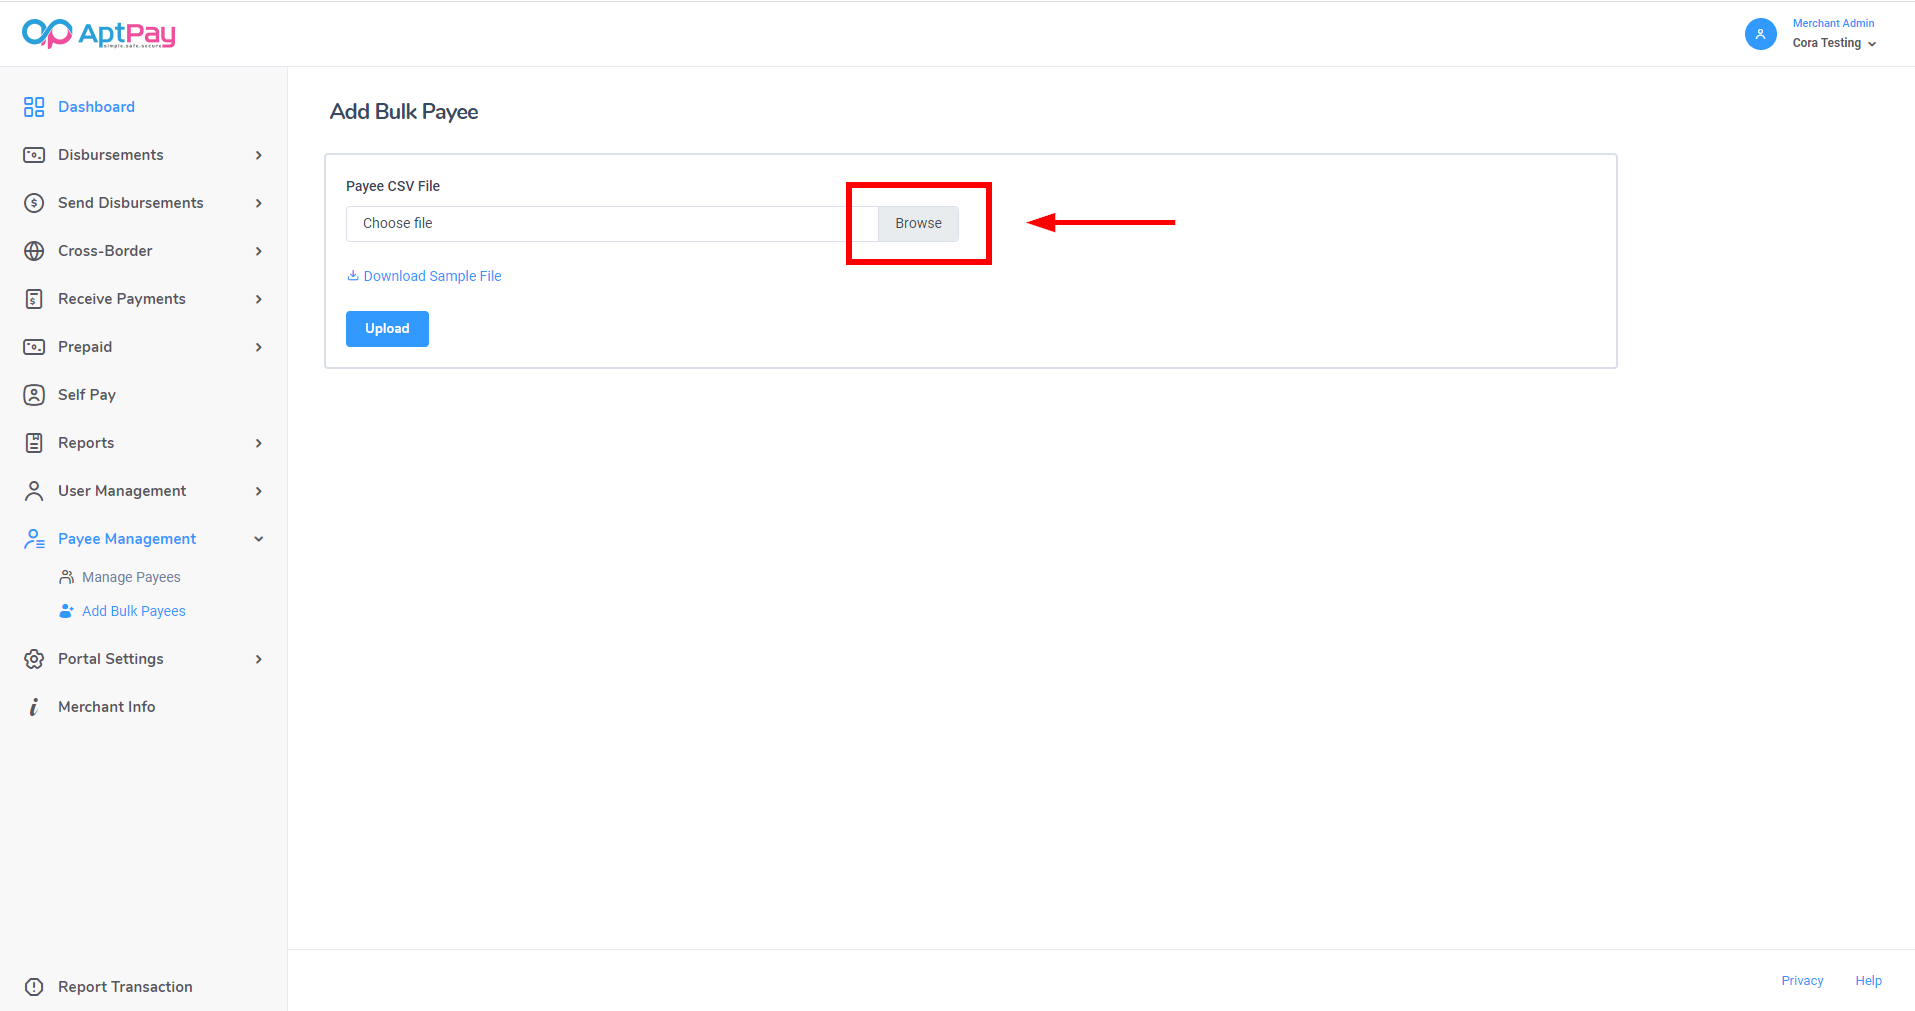
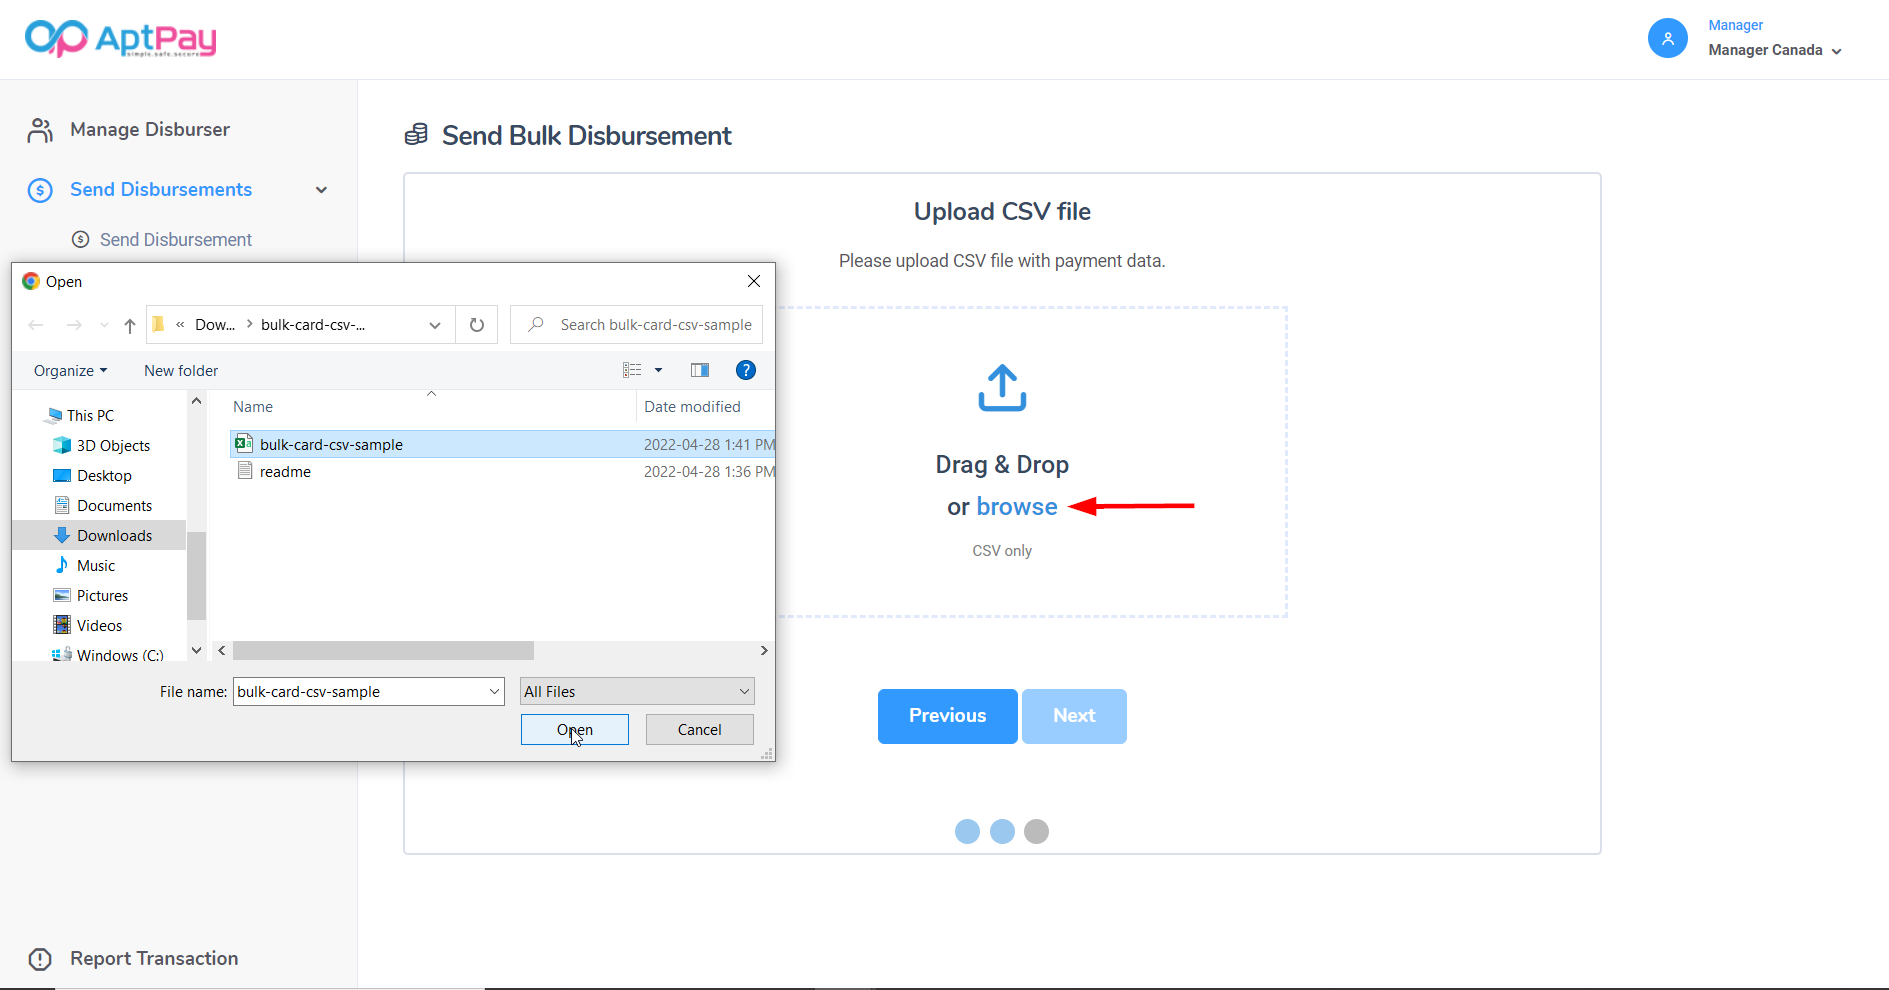
Click browse.
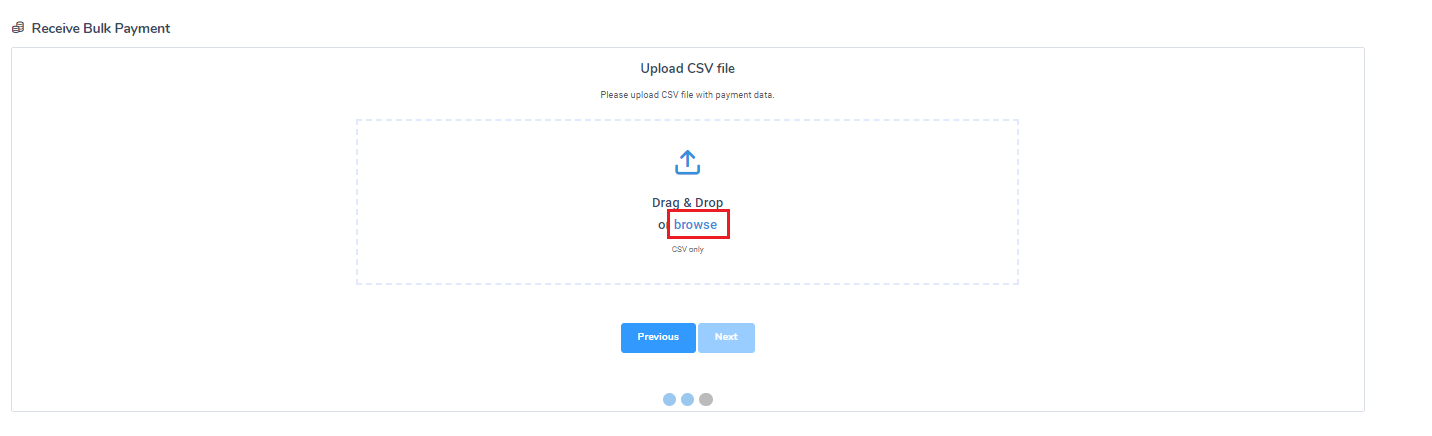
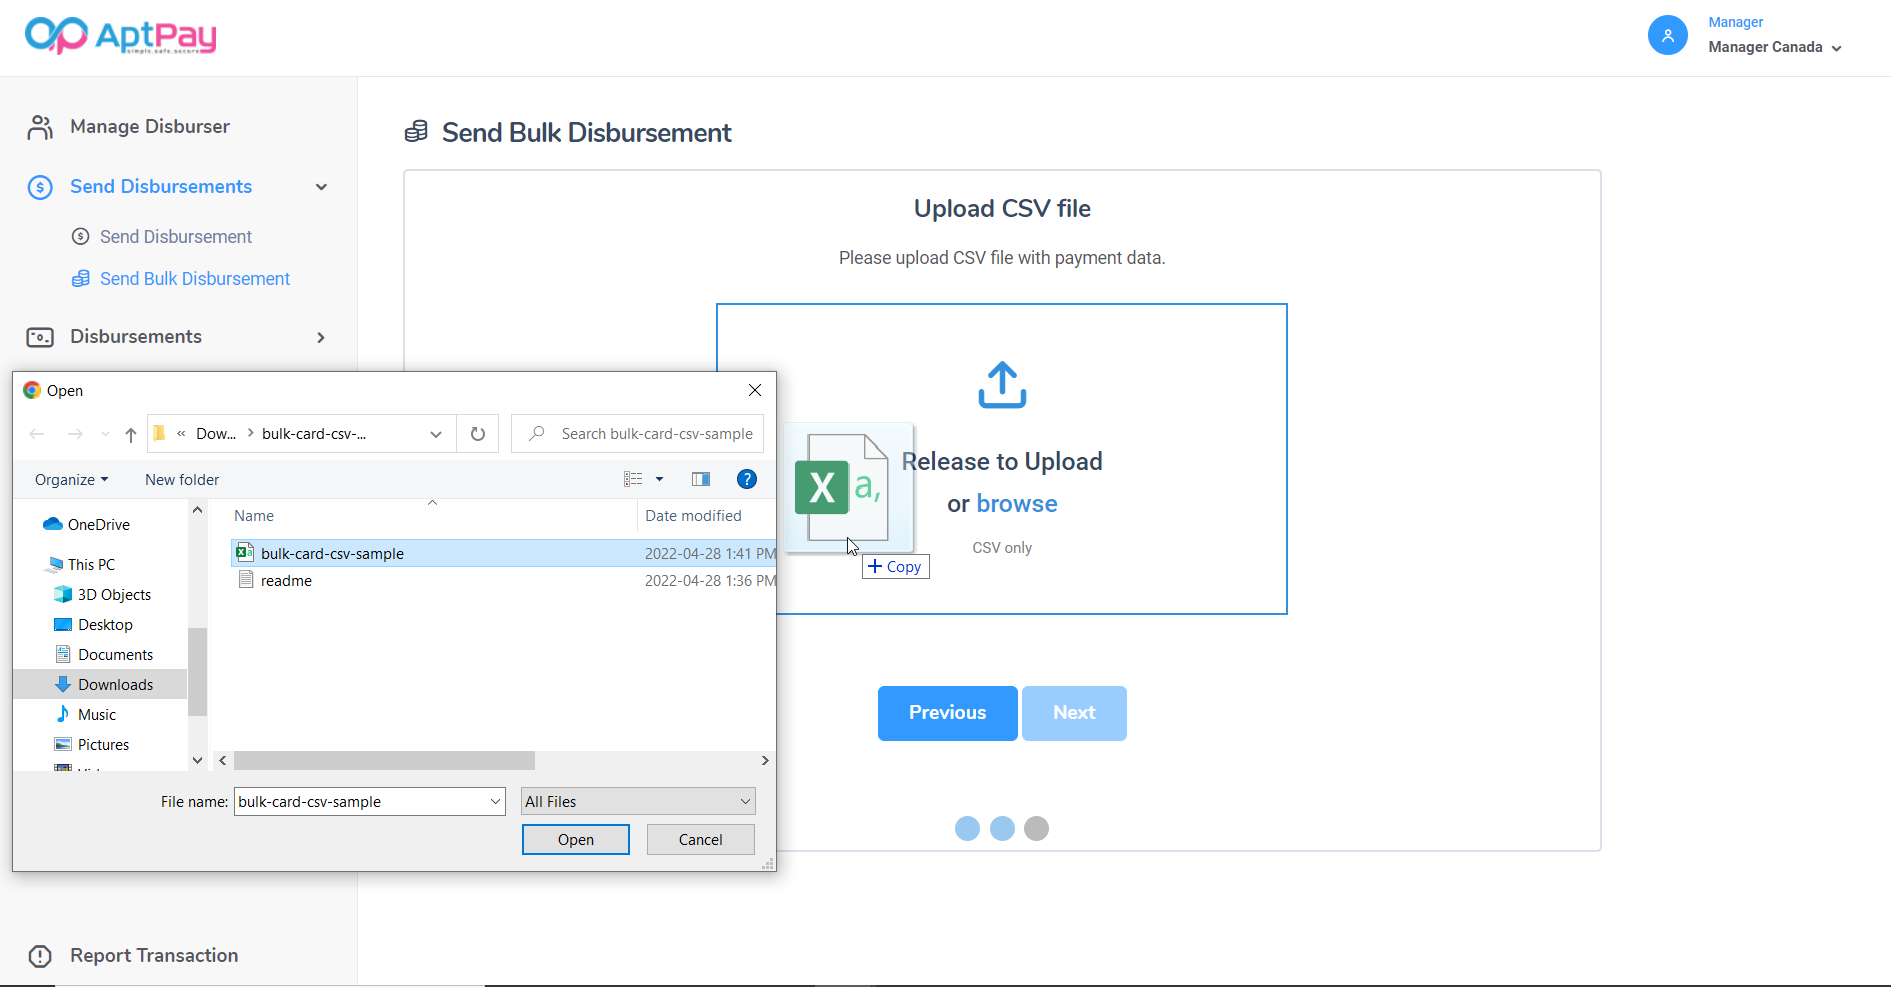
This will open a pop-up. Navigate to where you saved the excel file and click Open to load the file.
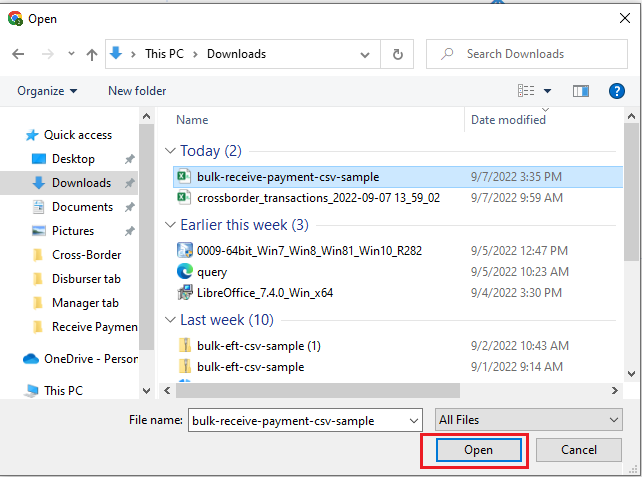
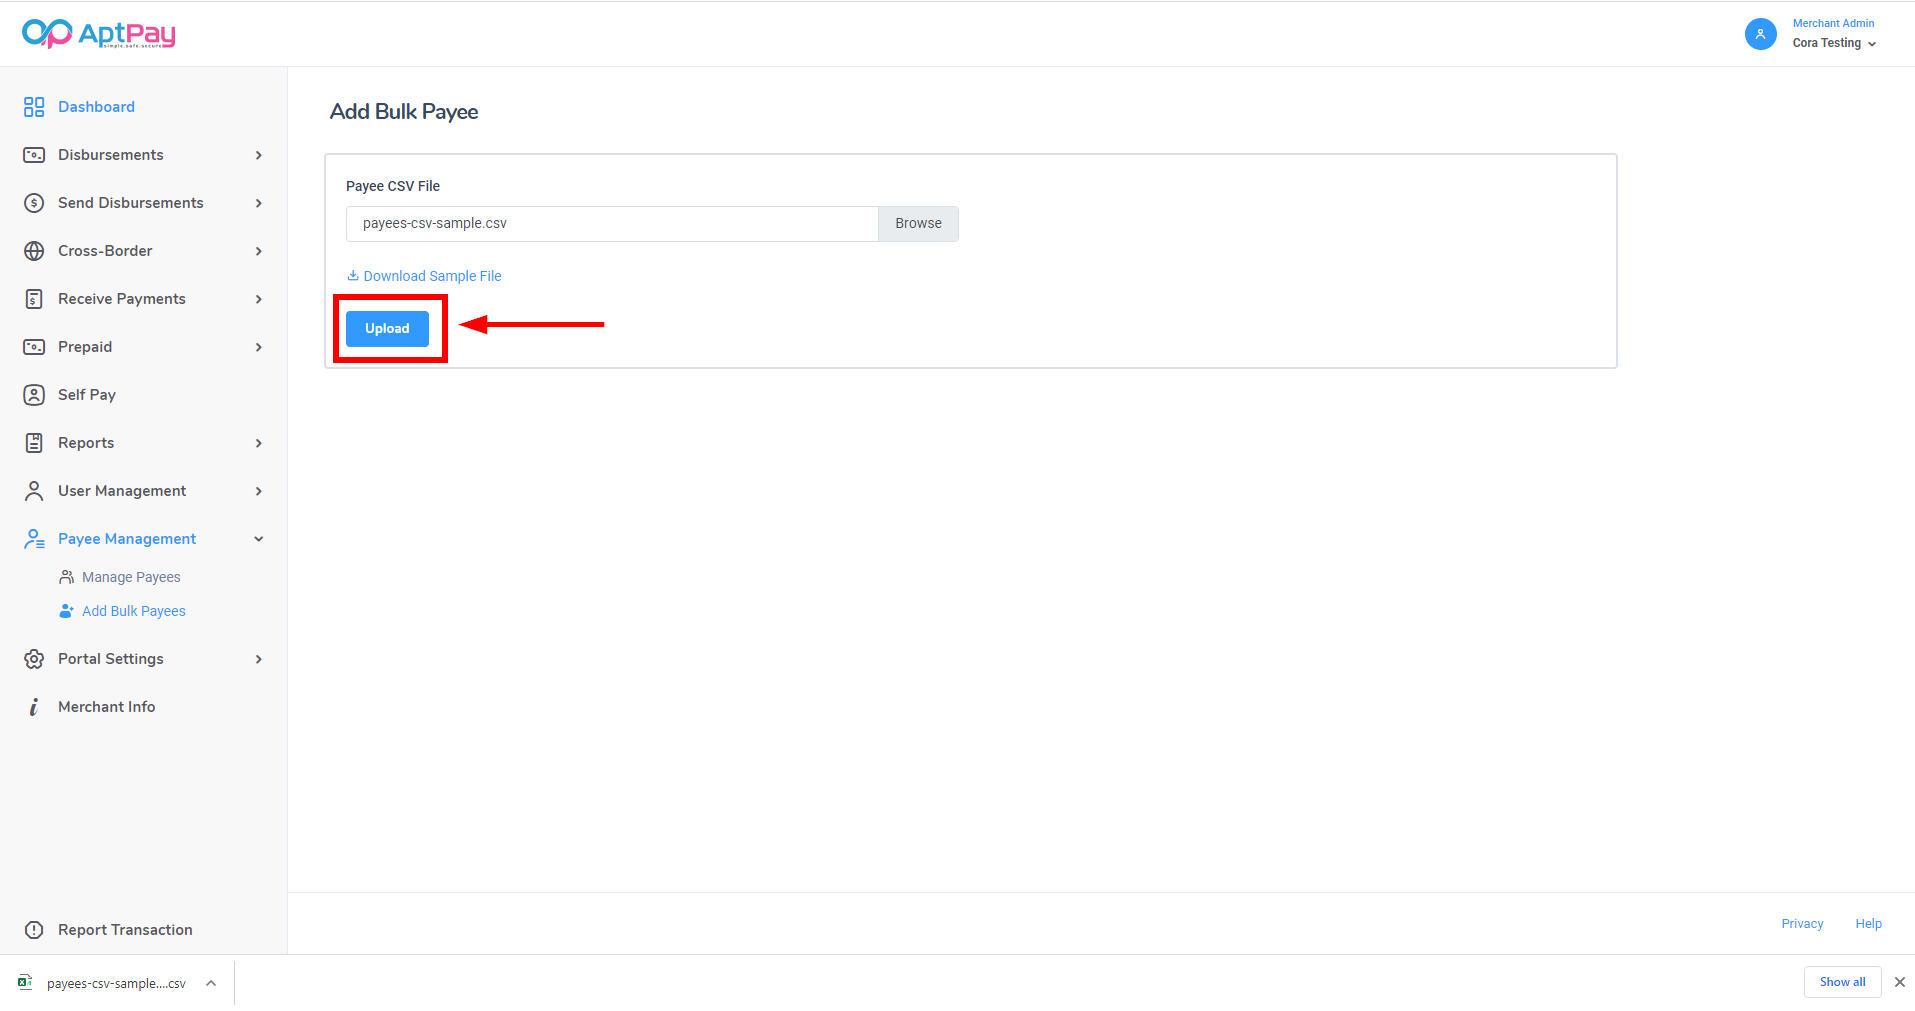
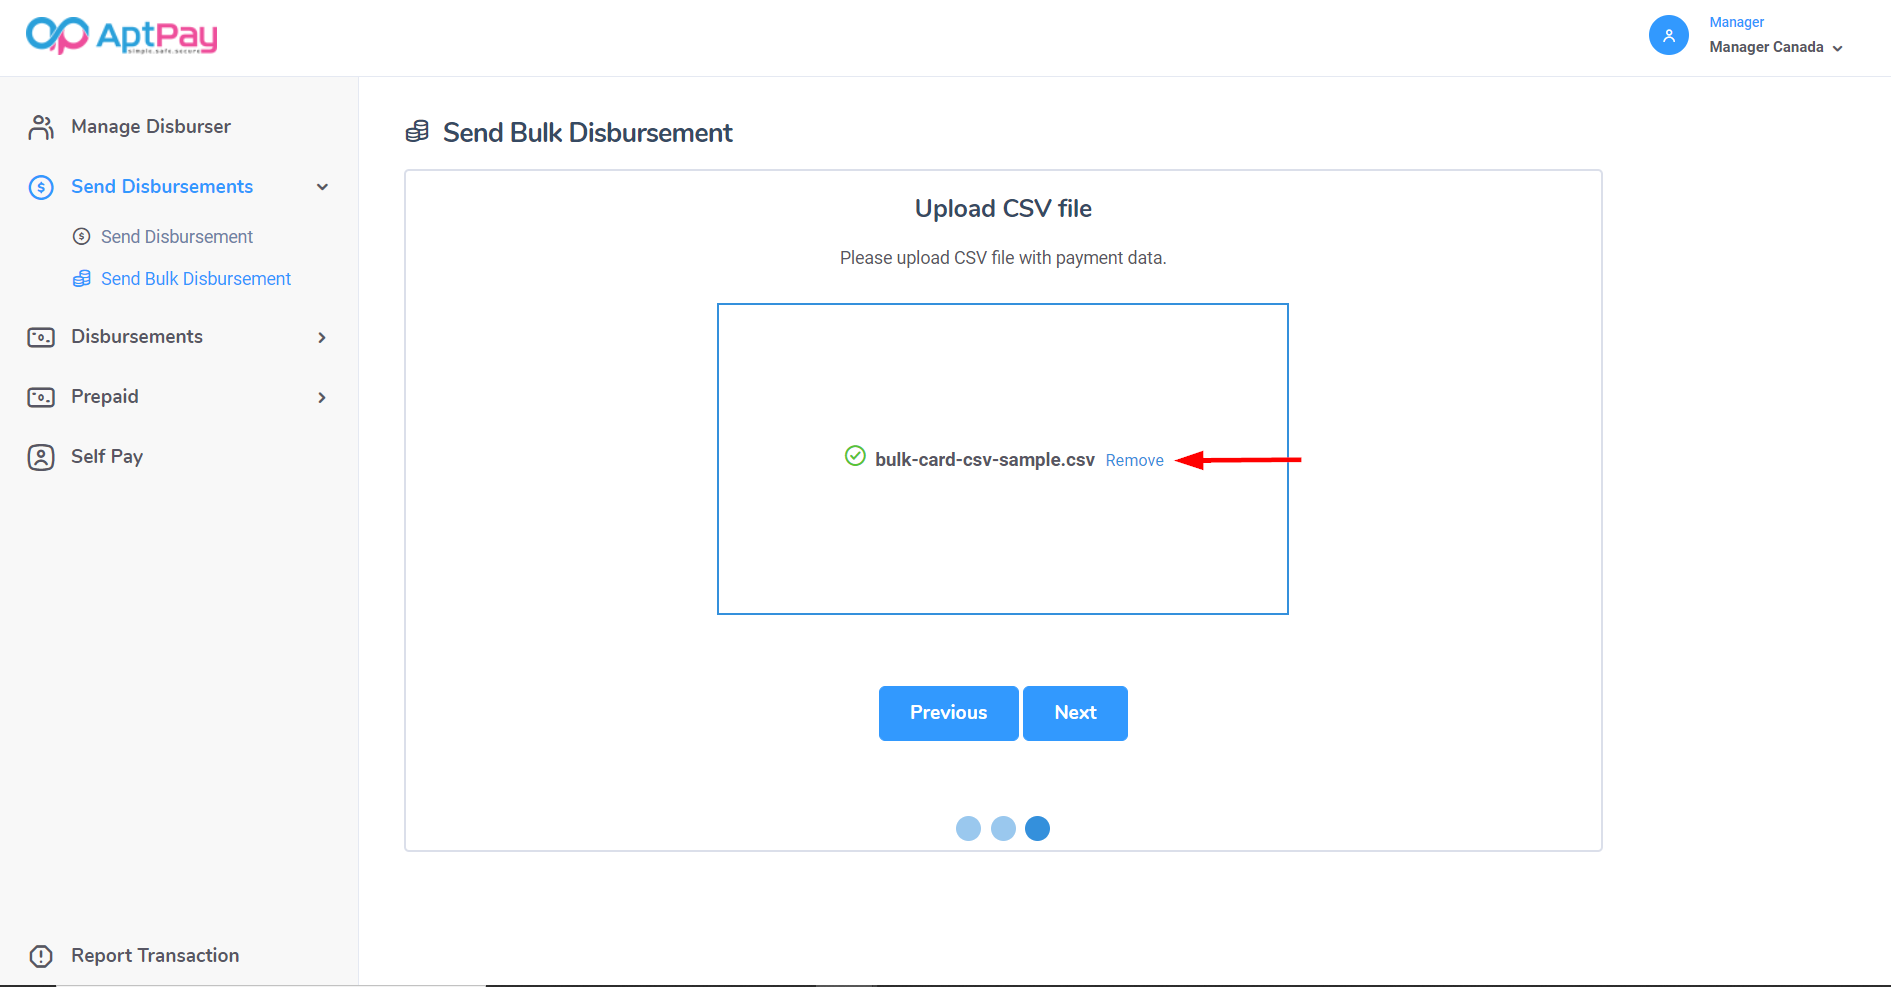
This will load the file. Click Next.

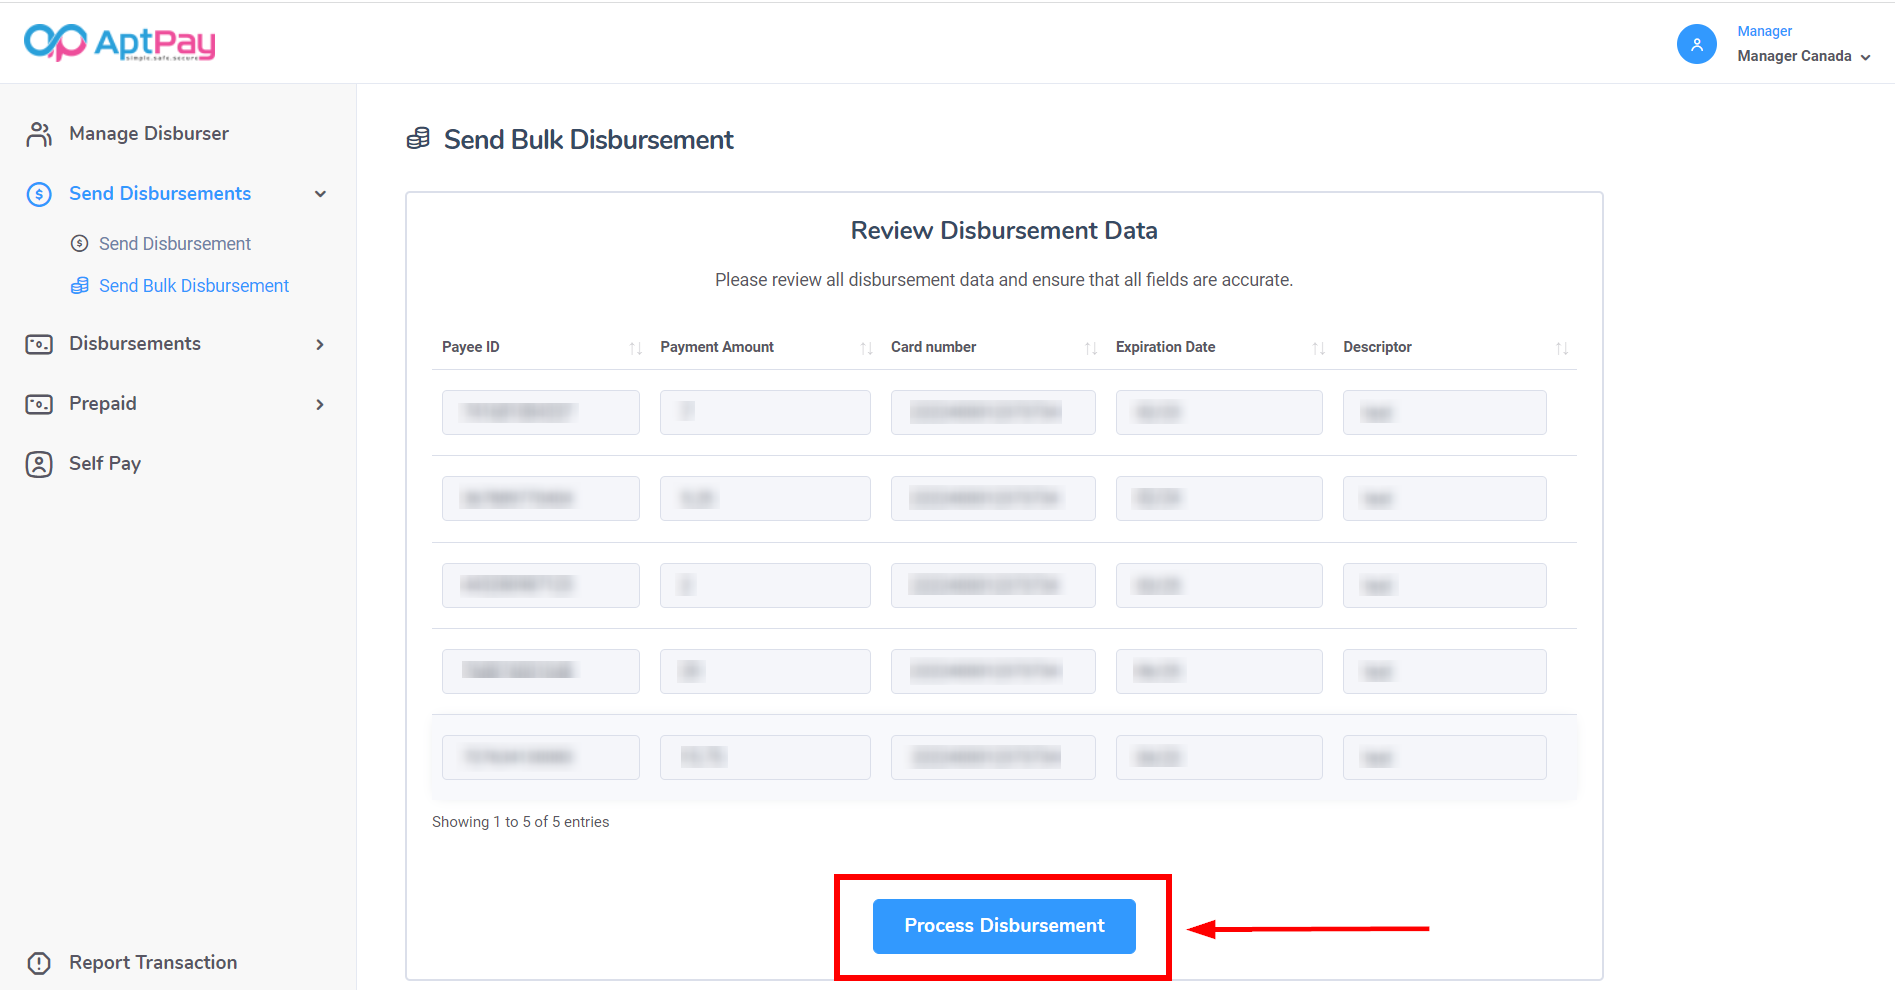
This will prompt you to review the data inside the file. If correct, click Process Disbursement.
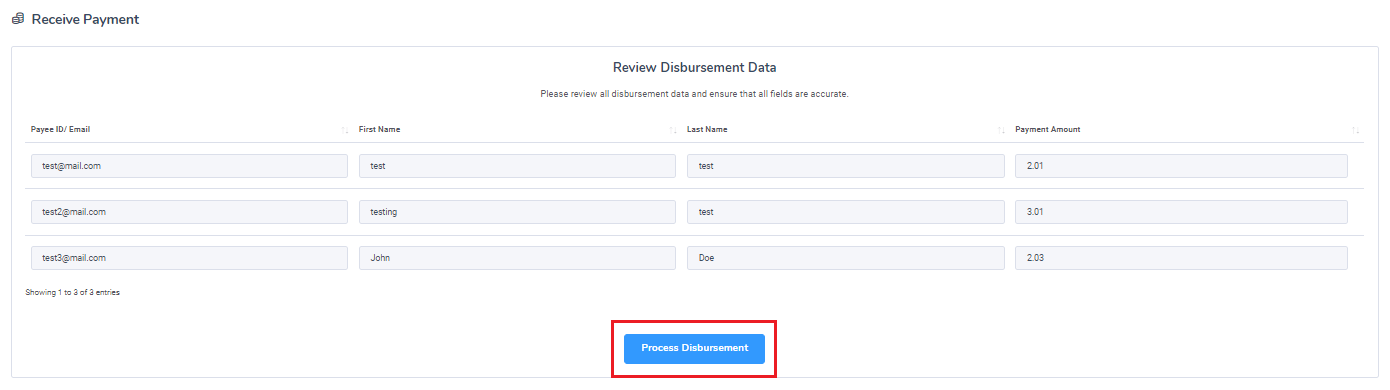
After confirming that the details are correct, click the checkbox that acknowledges the information has been reviewed and click Process Disbursement to finish processing.

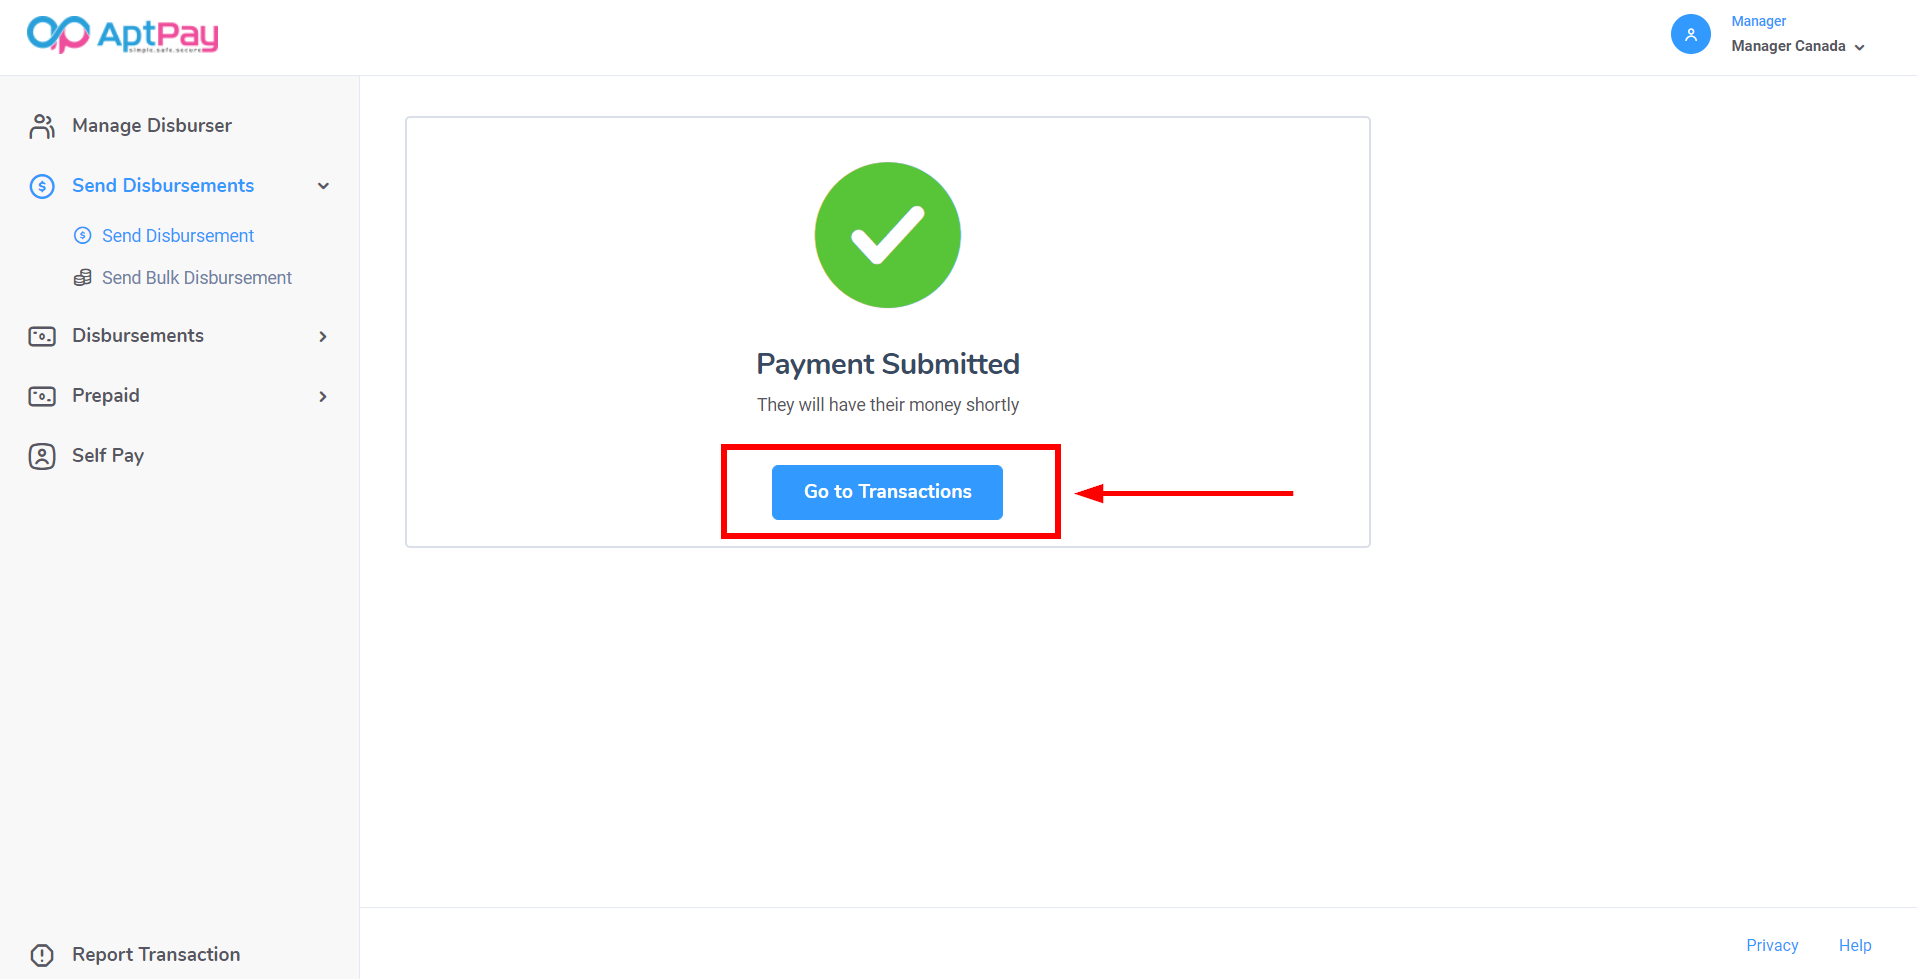
You should receive a Payment Submitted notification if the transaction was successfully processed. Click on Go to Transactions to redirect to the Transactions notification page.

Viewing Transaction Data in the Receive Payments Portal
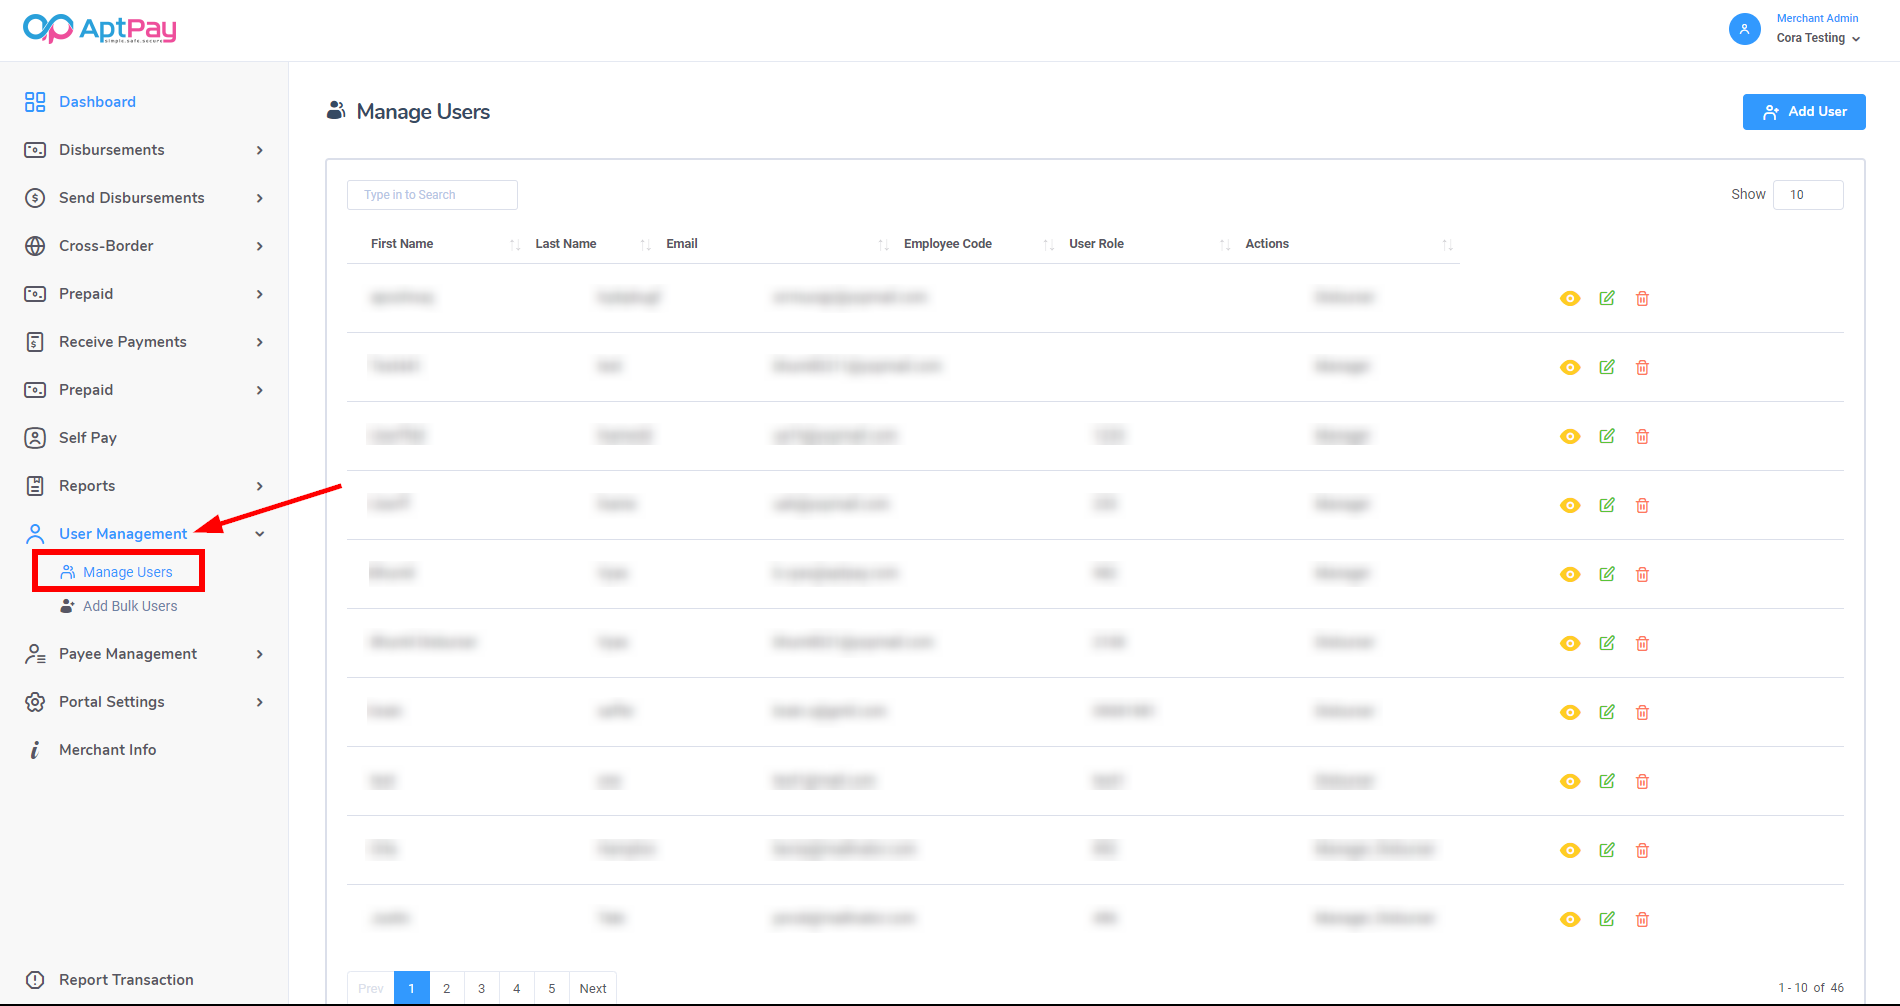
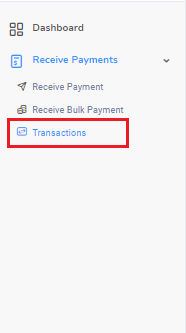
To view transaction data for received payments, click on Transactions located inside the Review Payments drop-down.
This will display a list of transactions processed during the specified time period. If no date range is specified, the time frame will default to today’s date.
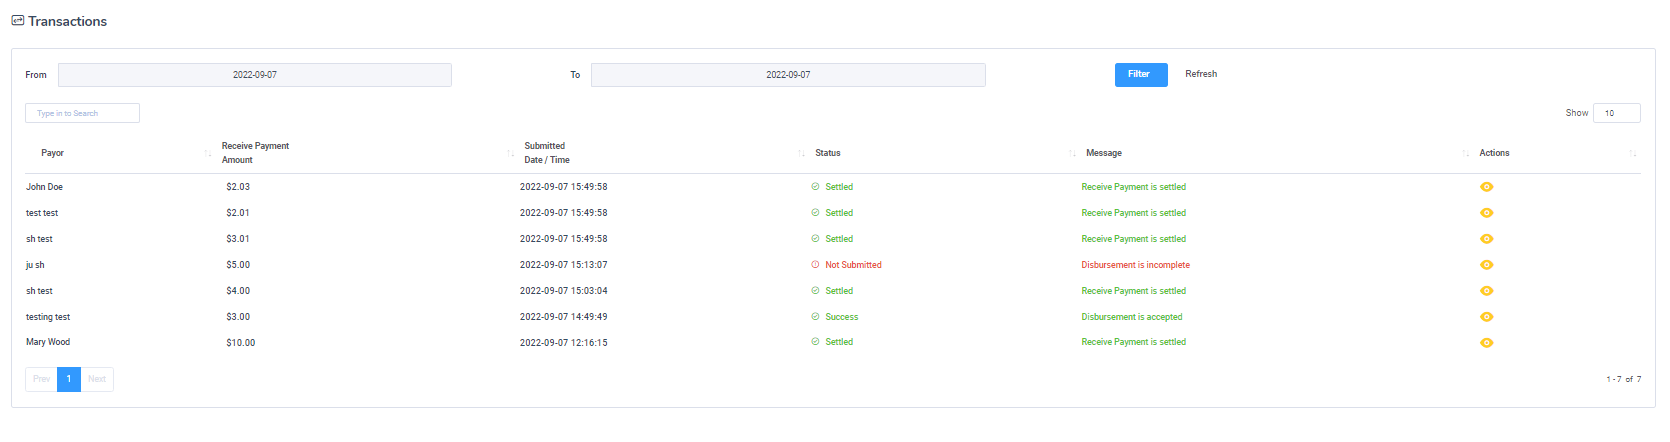
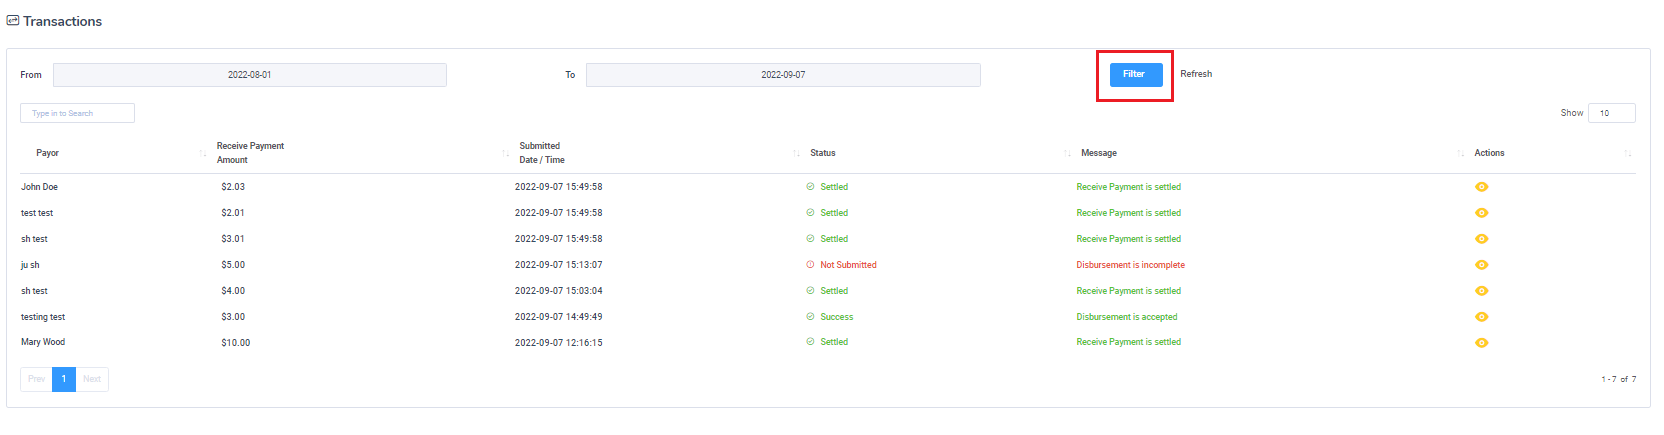
To change the reported date range, click on the calendar options in the upper left corner.
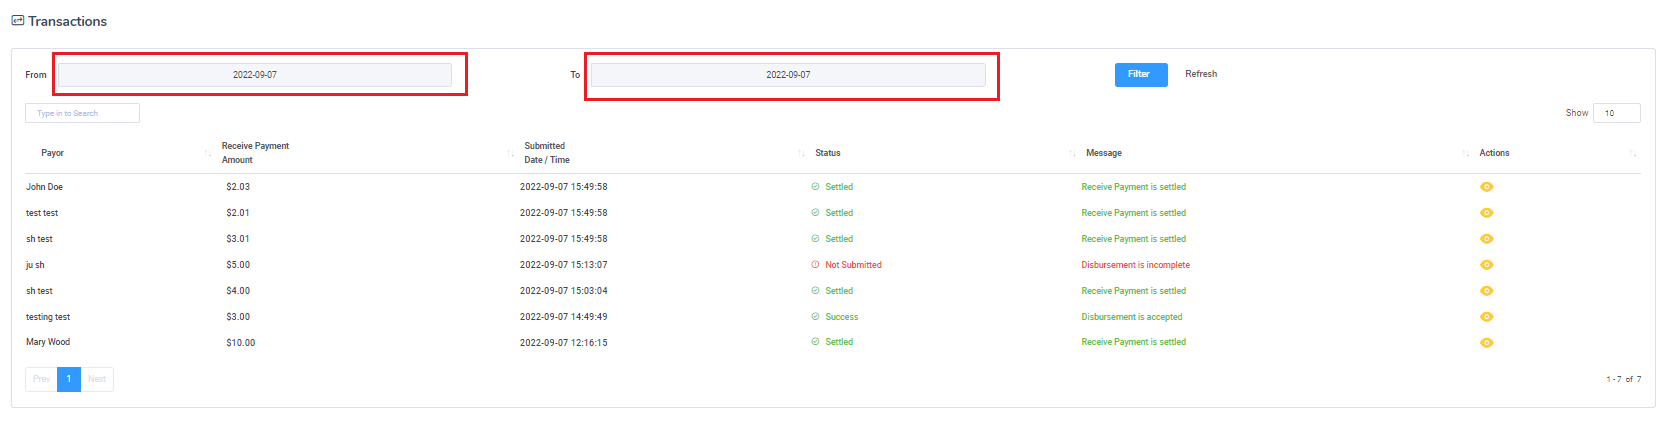
When satisfied with the range, click on Filter to process the report.
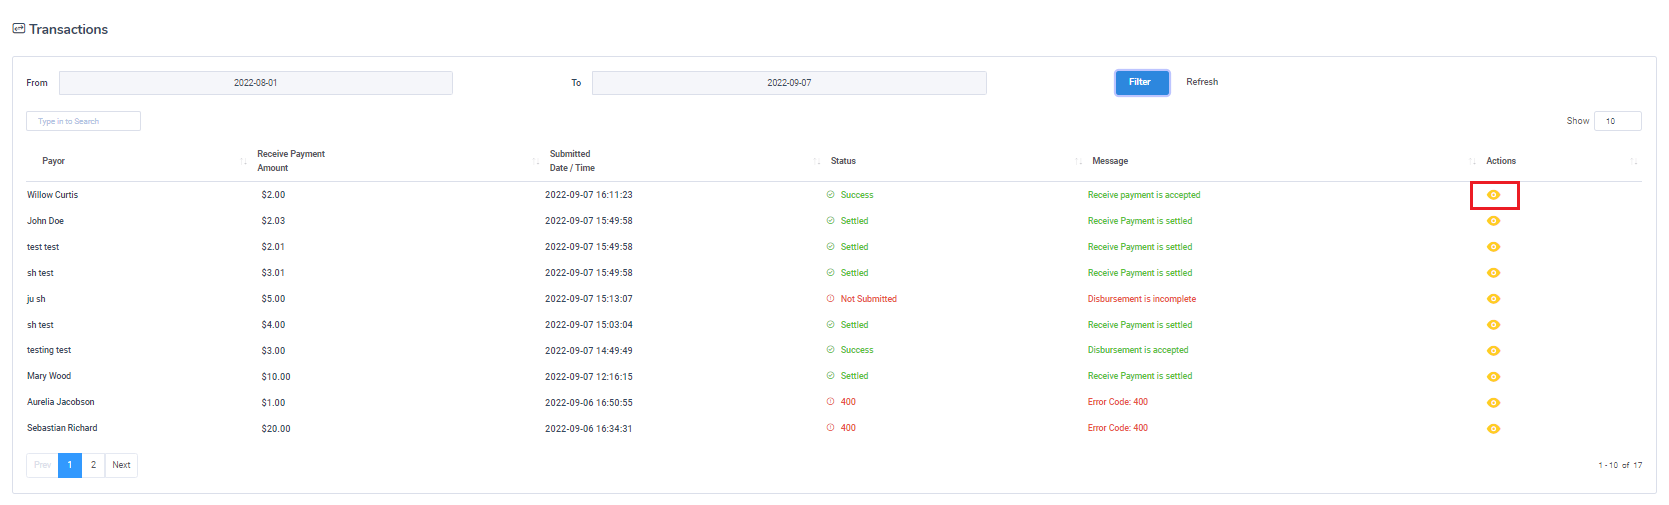
Transaction data is organized into several fields, which are listed and defined below:
| Field Name |
Description |
| Payor |
The name of the payor. |
| Receive Payment Amount |
Amount received for the transaction. |
| Submitted Date / Time |
Returns date and time in which transaction was submitted. |
| Status |
Current status of the processed request. |
| Message |
If there are additional details for the status of the request, it will be displayed here. |
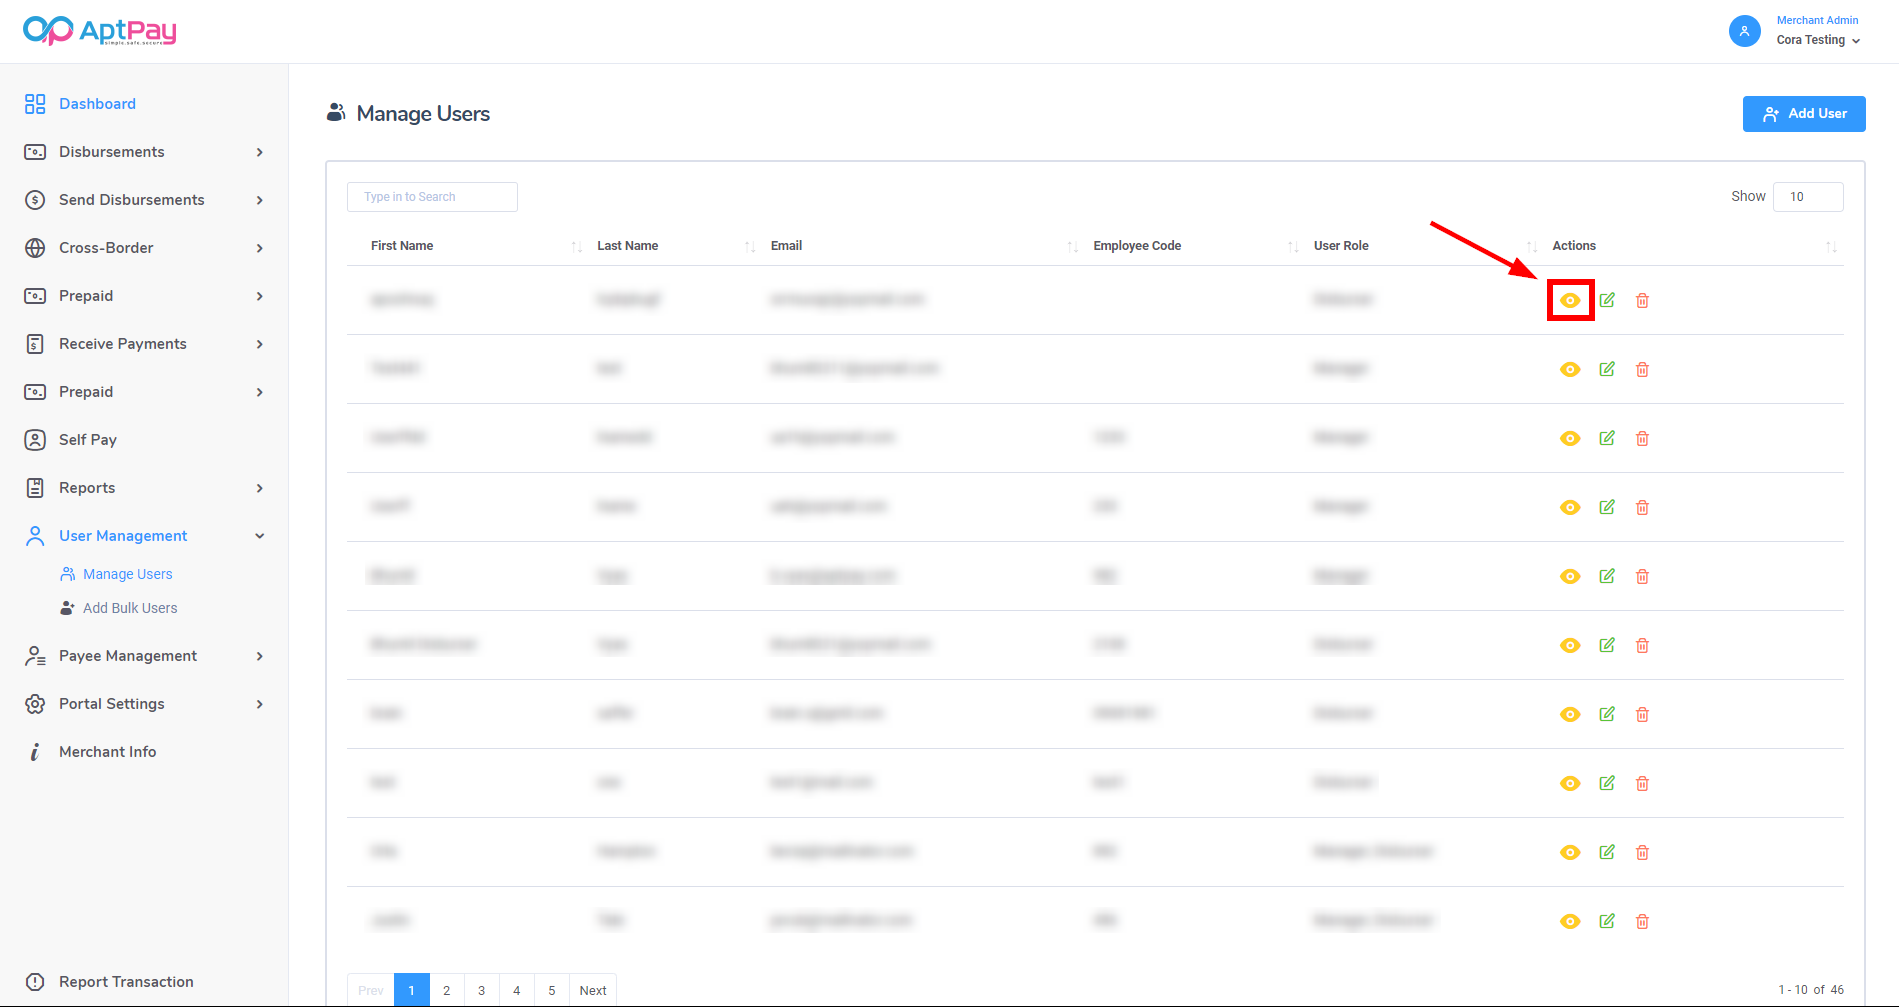
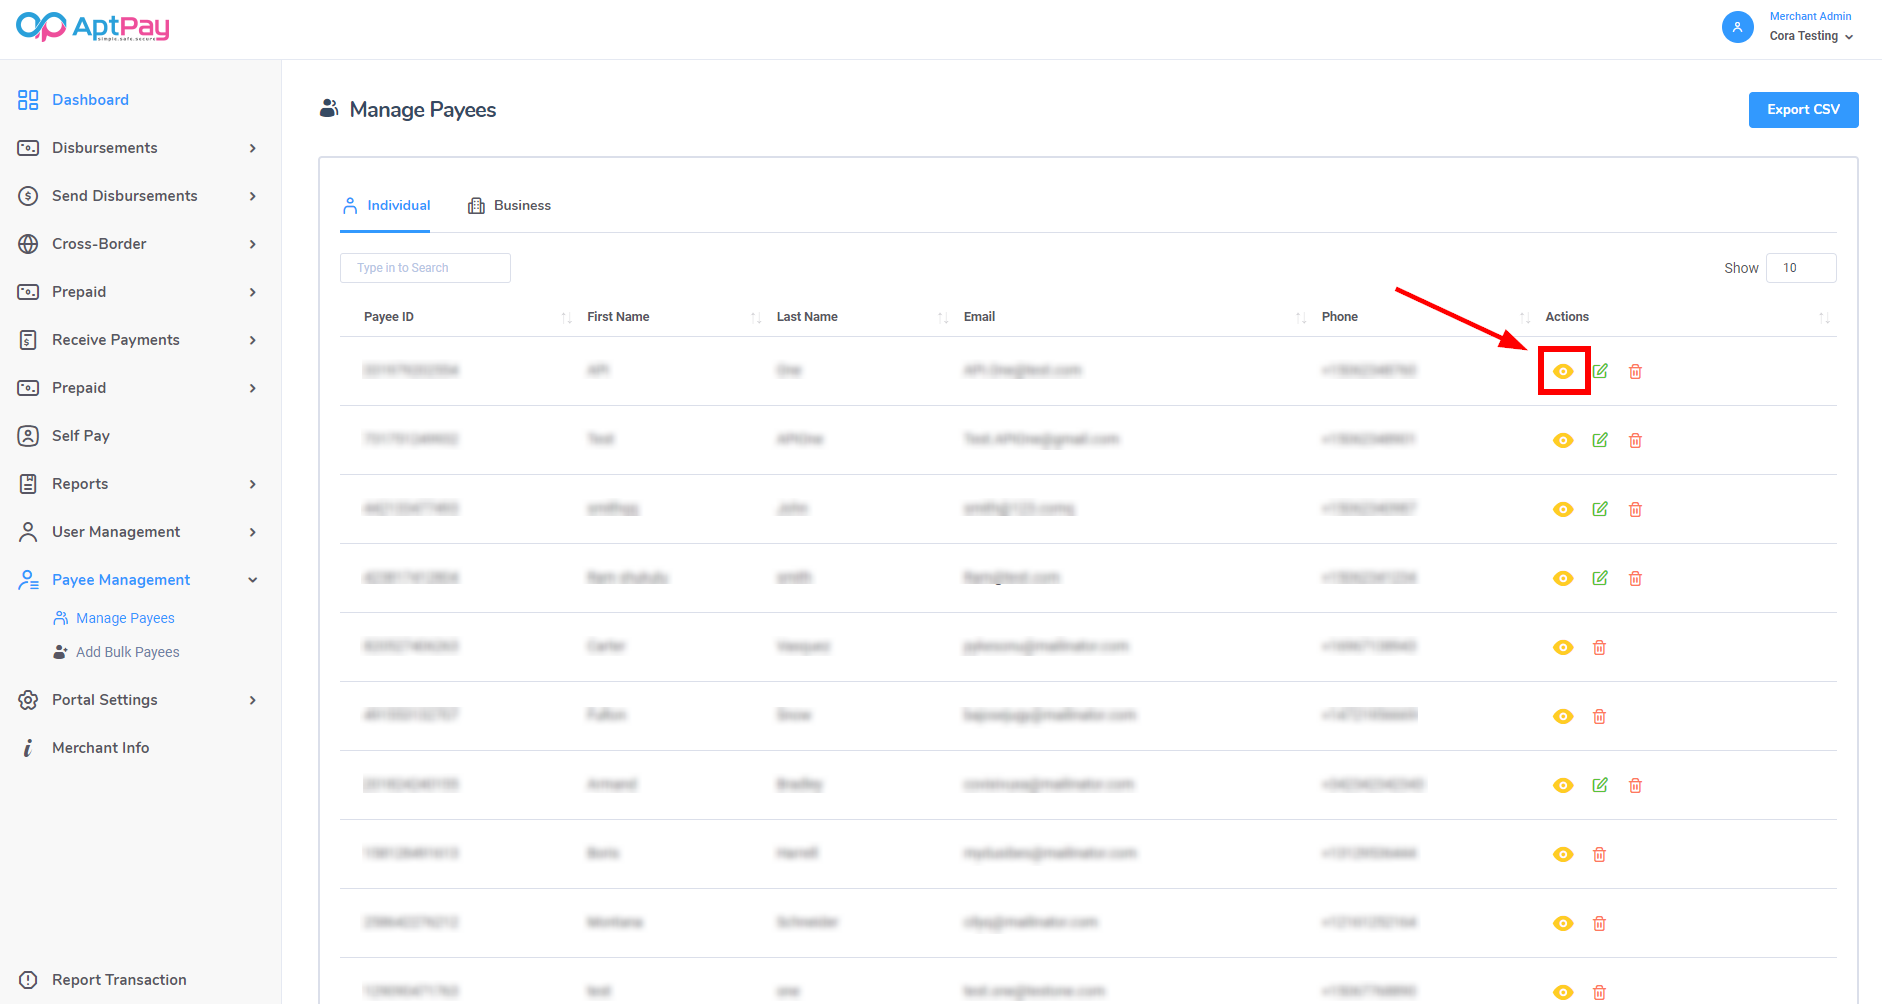
You can view additional details for each transaction by clicking on the Eye icon to the right of the recrd.
This will provide a new window that will provide additional details.
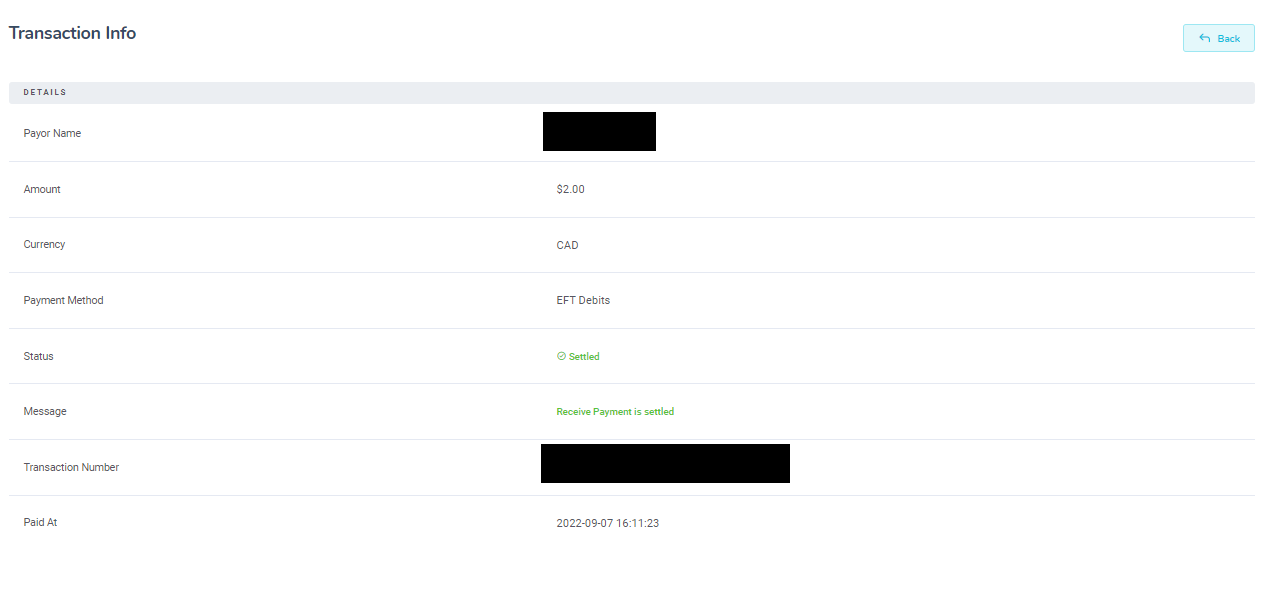
These fields are listed and defined below:
| Field Name |
Description |
| Payor |
The name of the payor. |
| Amount |
Amount received for the transaction. |
| Currency |
Type of currency utilized. The information is displayed as a three-letter code. |
| Payment Method |
The type of payment method used. |
| Status |
Current status of the processed request. |
| Message |
If there are additional details for the status of the request, it will be displayed here. |
| Transaction Number |
Unique identifier used to track request in the system. |
| Paid At |
Date and time in which transaction was paid. |